Kikowani Station
Mombasa Streets: ‘NMPD HQ’ – ‘Kikowani Station’ Interim
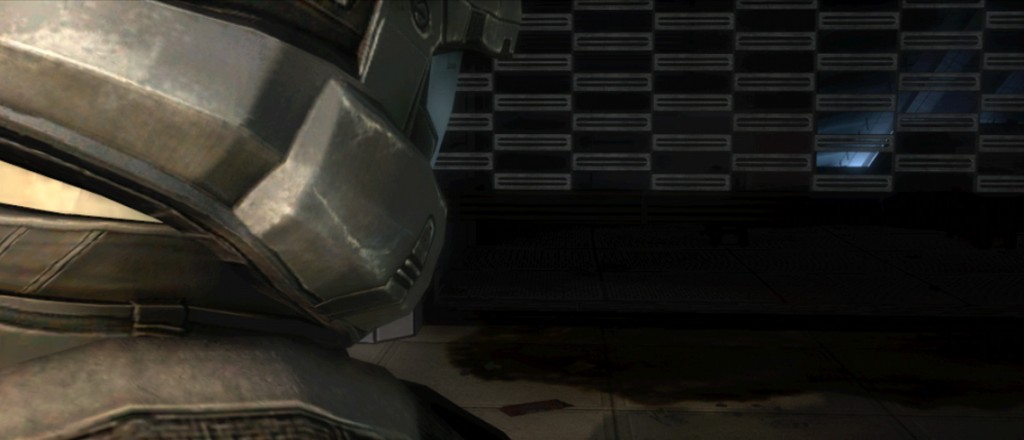
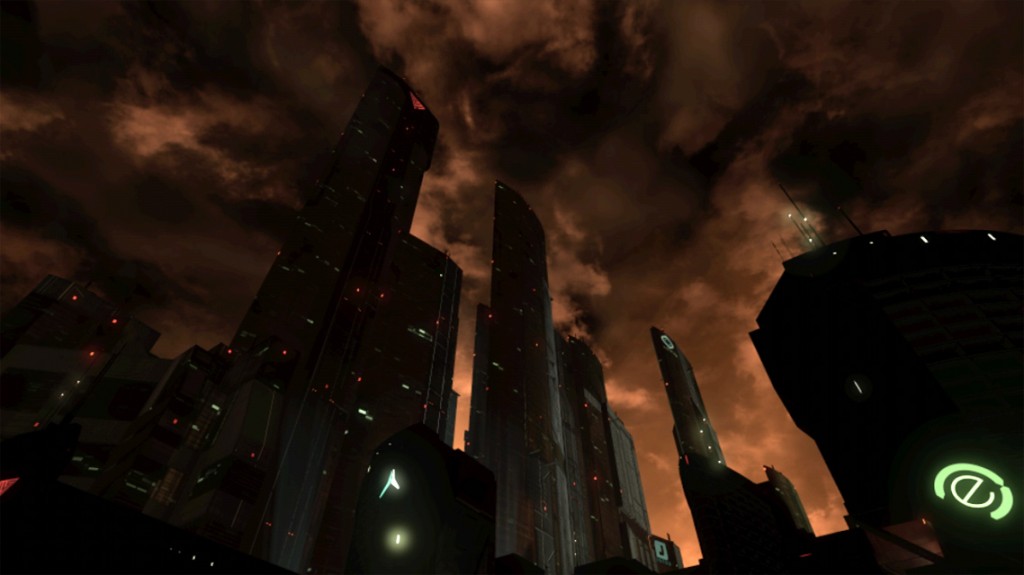
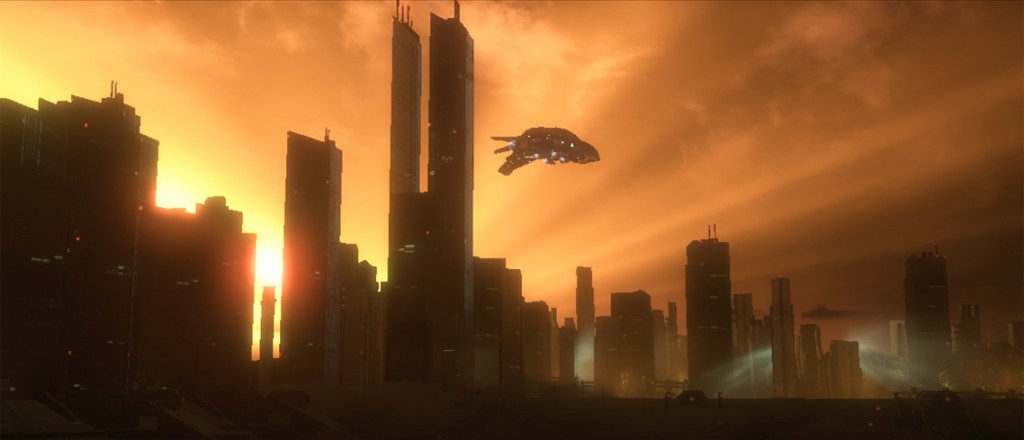
The screen fades up into the Rookie’s perspective of the towering Mombasa skyscrapers, making for a smooth transition point from the heights of those buildings to the city streets
below.
The Rookie tugs one last time on the sniper rifle before giving up and tossing it aside.
The music that greets you is fast but gentle. The pacing is fitting as a Phantom flies into the vicinity to drop off Brutes in jetpacks and sniper Jackals. The music fades after you’ve dealt with the small group of Covenant.
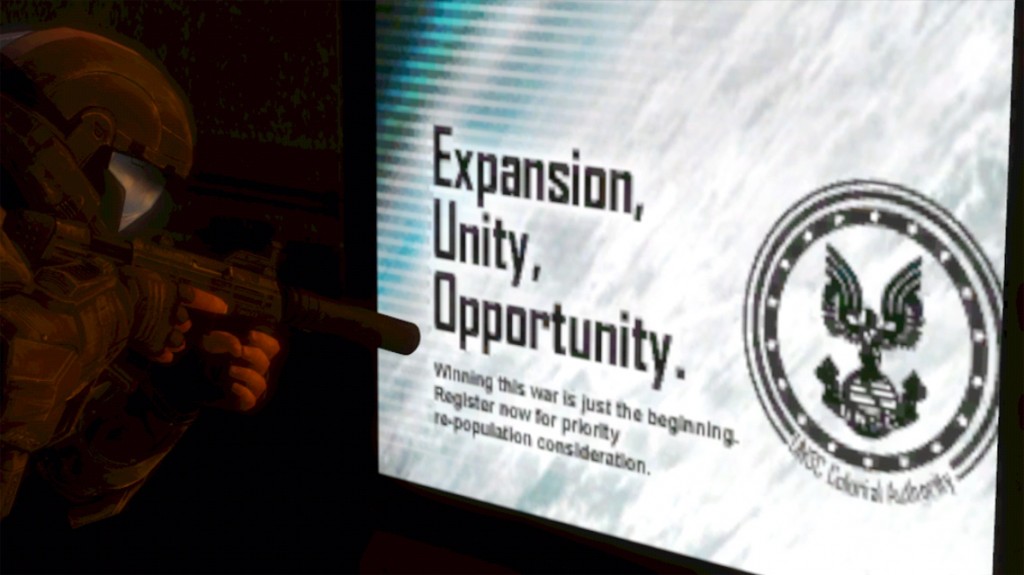
The trip to the flashback item for “Kikowani Station” is one of the shortest you’ll make through the city. On your way you’ll notice the rain has stopped for the moment, and there are new signs along the way to keep your journey interesting. One reads “connection lost”–a reminder of the city’s collapsing infrastructure, and hinting at the status of the Super. There are advertisements attempting to persuade citizens to re-colonize space–ONI’s propaganda machine at work.
The Halo Graphic Novel story “Second Sunrise Over New Mombasa” relates that for the sheltered people of Earth, there was a palpable disconnect between the precarious state of humanity and what the ordinary citizens believed was happening. Perhaps before the invasion they truly thought it was only a matter of time before the Covenant were defeated and they could spread out among the stars again.
If you’re lucky, you will face only minor opposition such as Jackal patrols during your trek. Along the way you’ll pass a very similar (if not the same) courtyard to the one that you’ll escape from the city after the level “Data Hive.”
Before long you’ll be in front of a series of shuttered entrance gates. There’s a very big logo for the New Mombasa Transit Authority flanking the entrances.
The player will have to get closer to one of the gated entrances to find the final flashback item.
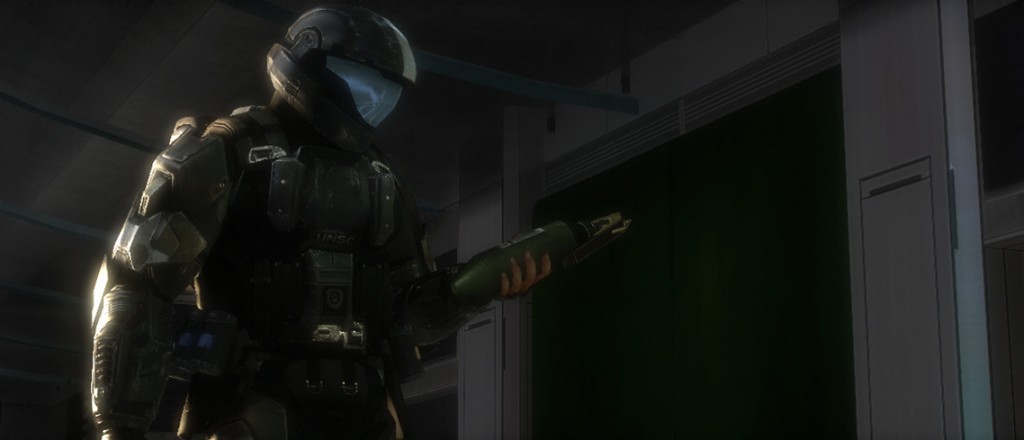
The Rookie picks up a canister of bio-foam: a type of first-aid used by UNSC soldiers that’s able
to prevent damage organs from worsening and stops bleeding. This marks the product’s first overt appearance in the video games, although it has been a part of Halo‘s universe for far longer.
Kelly went back to John and peeled back his black suit. Her gloves were slick with his
blood. “The bullet is still inside,” she said, and bit her lower lip. “There’s a lot of internal bleeding. Hang on.” She dug a tiny bottle from her belt and inserted the nozzle into the bullet hole. “This might sting a little.”The self-sealing biofoam filled John’s abdominal cavity. It also stung like a hundred ants
crawling through his innards. She pulled the bottle out and taped up the hole.John felt shaky, but he’d make it. The foam would keep him from bleeding to death and stave off
the shock…for a while, at least.
–The Fall of Reach, Chapter 10
Biofoam is used as an anticoagulant to ward off blood loss, infection, and promote tissue regeneration. It can serve as a stopgap measure until the injured fighter can reach proper medical attention; it also serves as part of the rationale behind Halo‘s health packs and regeneration, as bottles of biofoam are inside medkits and injectors are integrated into Spartans’ MJOLNIR Mark VI armor.
The Rookie sprays the canister to see if any of the substance remains. Little comes out, and so his attention turns to the partially open gate. The Rookie seems to conclude that his team managed to make their way to the train station.
Buck
Kikowani Station
5 hours after drop
The landscape of broken street signs and trashed roads is instantly recognizable. It’s the same
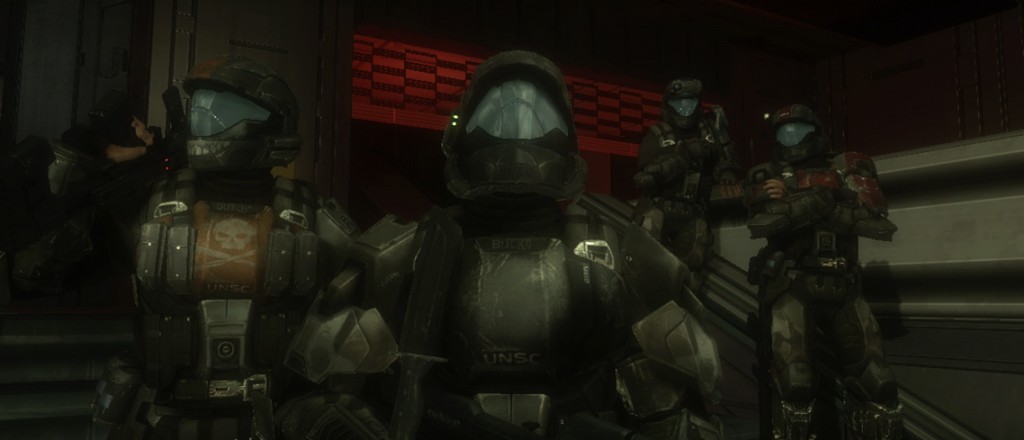
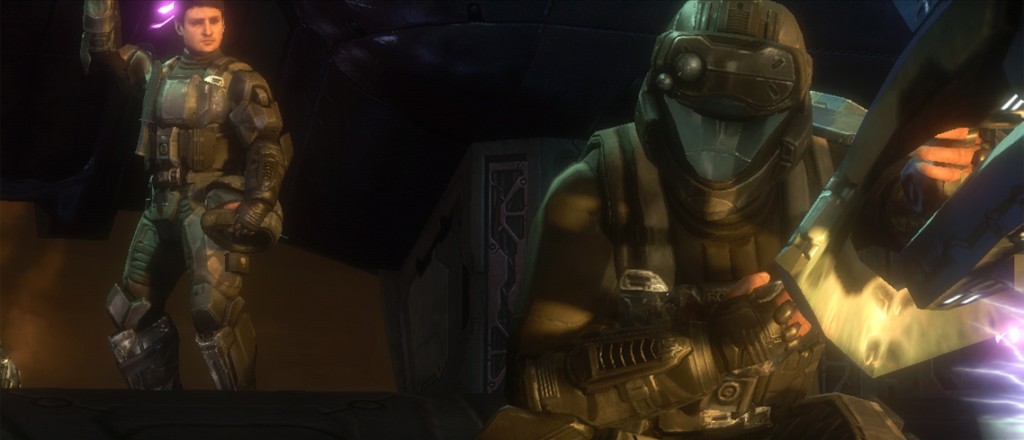
train station entrance where you left the Rookie, and not long ago–night has fallen. The ODSTs are in a rough formation: Mickey in front, Buck and Romeo in the center, and Dutch in back.
Buck: “We’re almost there.”
But Romeo can’t go any farther.
Romeo: “Put me down…put me down for a sec.”
Buck: “Dutch, medkit.”
Dutch: “What’s wrong with him?”
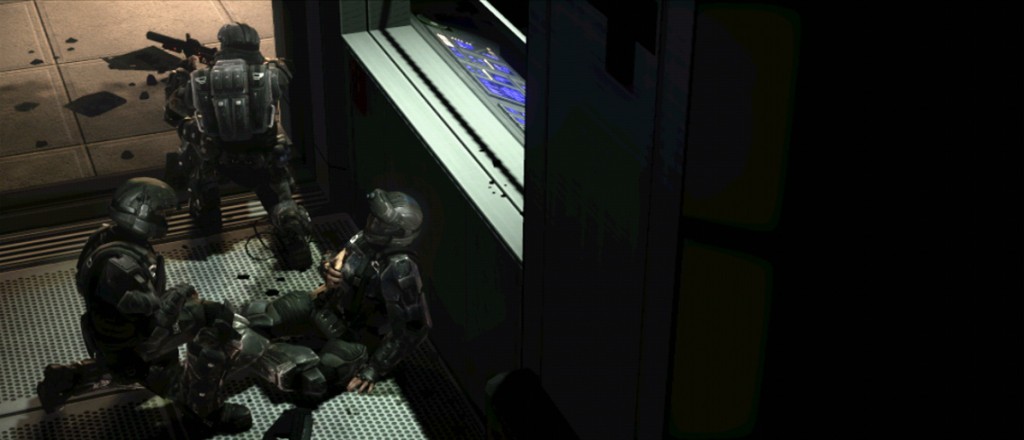
Buck: “He’s got a punctured lung. Can’t breathe.”
Buck pulls out the canister of bio-foam from Dutch’s backpack and injects the bio-foam into Romeo’s wound. The sniper takes in a welcome breath of air.
Buck: “Better?”
Romeo: “N…now what?”
Buck: “Trains ran underground up to the old city. We’re gonna find one of the tunnels – walk out
of here.”
Romeo: “Ugh…you gonna carry me all the way, sweetheart?”
Buck: “Was planning on it, but, now that you’re feeling better…”
A Phantom flies overhead, carrying Engineer pods.
Buck: “Get the door!”
(You can see text through the Superintendent’s cameras that reads “disabling security shutters”).
Dutch hits the button for the gates and they slowly descend. Buck offers Romeo a supporting hand, but Romeo opts to stand up himself, handing Buck the canister instead. Buck throws the biofoam to the side, and it lands on the other side of the gate.
Mickey: “Gunny…you’re gonna wanna see this.”
Buck, Dutch, and Romeo walk down the stairs onto the huge train platform. Unfortunately, any tunnel exit seems to be submerged or flooded.
Mickey: “This means we’re screwed, right?”
A Phantom flies into the platform from above. Buck looks up, and the rest of the team follows his gaze.
Buck: “Not yet.”
Buck tells Dutch to stay behind. The screen flashes to white, and the player is thrown into Buck’s POV.
Buck: “We’re gonna steal that ride. It’s landing. Now’s our chance! Mickey, you’re with me!”
The last flashback has you filling Buck’s shoes again, and from the scenery the level promises to be a completely different experience from “Tayari Plaza.”
The train platform proves to be as huge as the cutscene made it out to be. Even with your VISR on it’s hard to determine the makeup of the area. Above it, the city’s tallest skyscrapers dominate a familiar black and fire-red sky–it’s getting close to the time when the Rookie wakes up.
The level is dizzying in size, but luckily for the player, Mickey is there to help keep you focused.
Mickey: “Gunny, I can fly a Pelican, but a Phantom? It’s been years since I even ran a
simulation!”
Buck: “Well, let’s see what you remember, trooper! Move!”
Follow the man down the stairs to your left where you will charge through a pack of Grunts.
There’s a dead police officer to your left with a loaded shotgun–one of the few human bodies you’ll see in the mission. Considering that the train station would be a clear rallying point for desperate evacuees, the fact that there are so few dead suggests that the bulk of those that arrived here escaped.
If you feel like exploring, you’ll find the water limits your movement on foot; on one side the train tracks are closed off, on the other they’ve been partially blocked off by a train. The inoperable trains on these tracks can be used for some cover, and you’ll have to look past them to see what you’re up against.
Two Phantoms hover at the back of an unloading platform. There’s a respectable number of Covenant below and in front of the two Covenant drop ships: Brutes of varying ranks, Jackals, Grunts, and one Engineer.
Mickey: “Gunny, more of those floating squids. Should we smoke ‘im?”
Buck: “They’re between us and that Phantom. What do you think?”
A reasonable call on Buck’s part, considering he doesn’t have the benefit of the Rookie’s experience with the creatures.
On the train tracks are a number of Covenant weapon racks with Beam Rifles, Carbines, and Brute Shots–more than enough tools to deal with the immediate forces. Killing several of the Covenant ground forces will cause the Phantom on the left to unload more troops of Jackals, Brutes, and a Grunt with a fuel rod gun. After that it’ll fly off–peppering you with one of its side turrets as it leaves.
When you’re confident you’ve eliminated enough enemies to proceed, walk down to the blocked-off side of the train tracks where Mickey is.
Buck: “Go, Mickey, up the lift! Kill the pilots!”
Mickey: “Here comes nothing!”
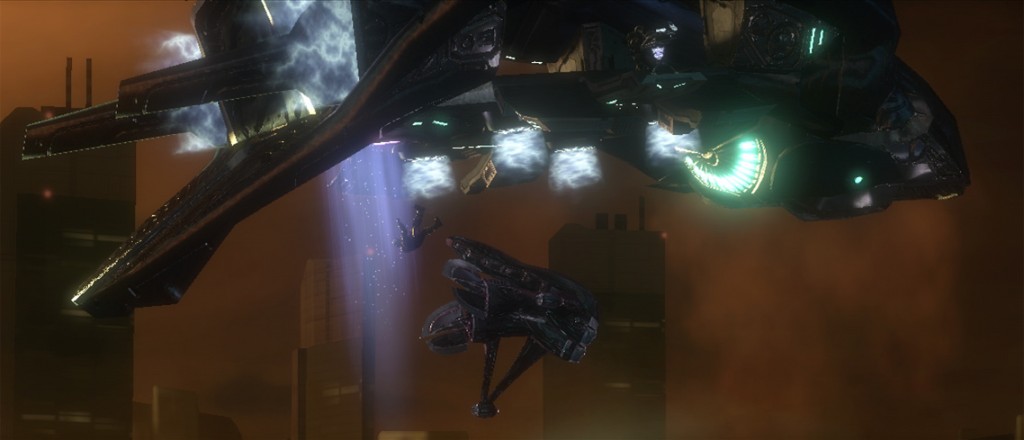
Mickey runs below the Phantom and uses its gravity lift to get inside. If you have your VISR on at the time, you’ll know Mickey has done his job when the outline of the Phantom shifts from red to green.
Mickey: “Uh, cabin secure. Flight controls read green across the board…well, purple, but she’s
good to go…I think.”
Buck: “OK, I’ll grab a Banshee. You go get Dutch and Romeo.”
Mickey: “On my way.”
There are five Banshees behind where the Phantom was hovering, ripe for the taking. When you’re inside one and up in the air, getting the layout of the train station is a bit easier; two towers in the middle of the space are useful orienting landmarks. Each has a logo of a corporation. The middle is also home to two center platforms–with the larger one leading to an entrance in the back. Two main sets of tracks go out opposite ends of the station.
Dutch and Romeo board Mickey’s Phantom.
Mickey: “All set back there?”
Dutch: “Affirmative. Romeo, let’s man these turrets.”
The Covenant, meanwhile, have been taking up positions on the two center platforms. Grunts man the large, stationary turrets on the smaller platform, while a larger group made up of Grunts and Brutes fire from the larger one. The Covenant use the towers to their advantage, too; Jackals with Carbines on one and Grunts with FRGs and Brutes on the other. If you know the ins and outs of the Banshee’s maneuverability, you’ll be able to plow through the Covenant’s defenses, especially with support provided by Mickey’s Phantom. The majority of the challenge in this level will come from the infantry levels that are interspersed with the Banshee portions.
Romeo: “Ah! Banshees comin’ through the tunnel.”
Buck: “That’s the way we’re headed. Take ’em out!”
A large door–the size of a small building–in the north will open up when all the Covenant ground forces have been eliminated. Two Banshees, in formation, fly out of the newly created entrance, but they’re no match for you and the Phantom.
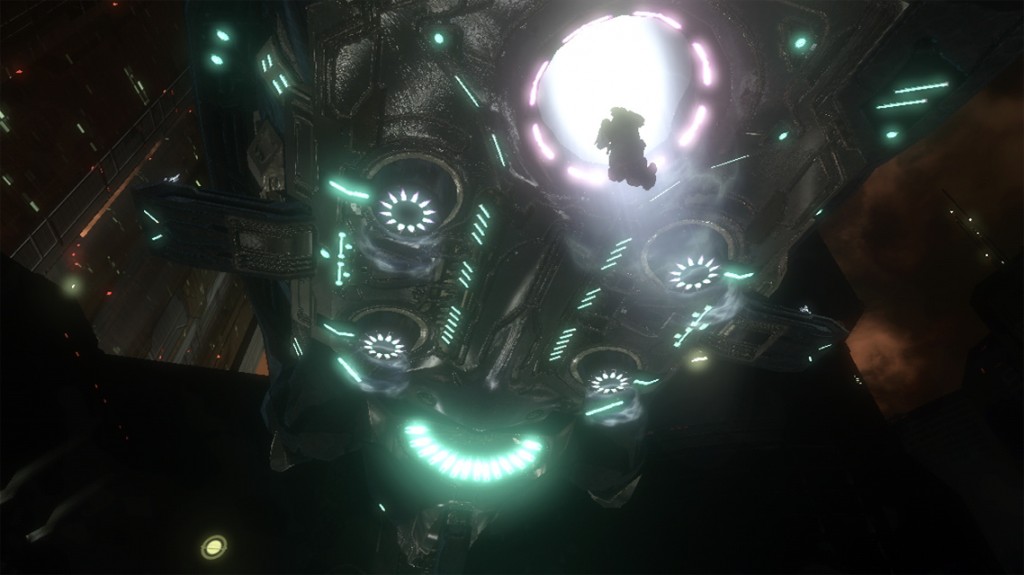
There’s not much left to get out of the area when all enemy forces have been dealt with, but curious players, noting the open sky, will undoubtedly try to fly out of the area. They’ll hit an invisible barrier, but they’ll be high enough to see three CCS-class Covenant battlecruisers in the distance.
Mickey: “What do you see, Gunny?”
Buck: “A whole lot of Covenant scattering around the Slipspace crater. I wonder what they’re
looking for.”
Mickey: “I bet the Captain would have known.”
Buck: “Yeah…I bet you’re right.”
Move into the tunnel and destroy the Covenant gravity platform that’s manned by three Grunts. There will be more Grunts farther on trying to regroup with an Engineer and a Wraith at the opposite end of the tunnel.
Mickey: “Everyone watch their elbows. It’s gonna be a tight squeeze.”
Your squad’s Phantom moves into the tunnel with you. The numerous plasma canisters stationed in front of the Wraith make it easy to get rid of the Engineer, then you and Mickey’s Phantom can pummel the Wraith to destruction. After that, another door will open up.
Dutch: “Well, look at that. I think we found us a squid house.”
Romeo: “Give me an angle. I’m gonna burn it to the ground.”
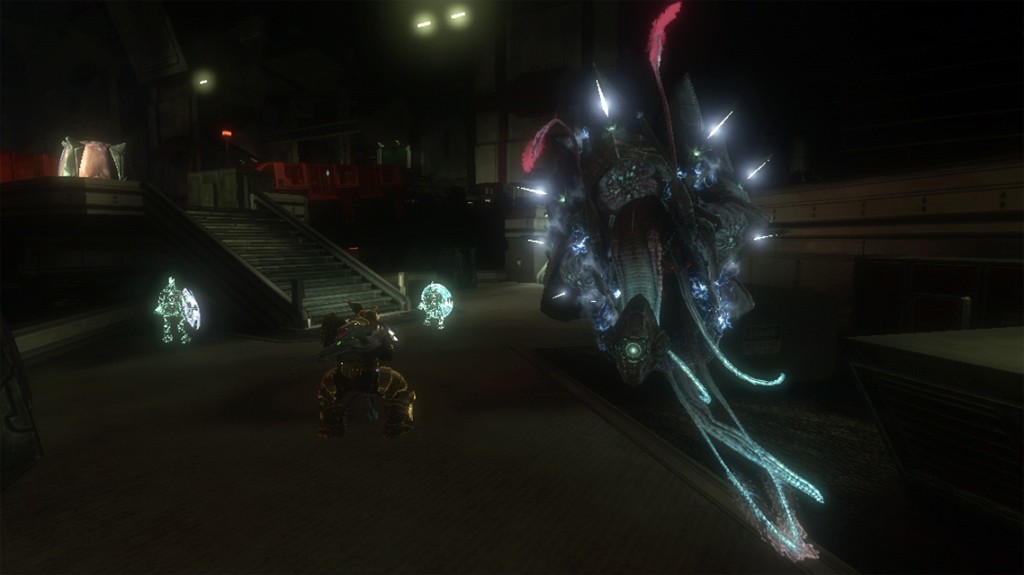
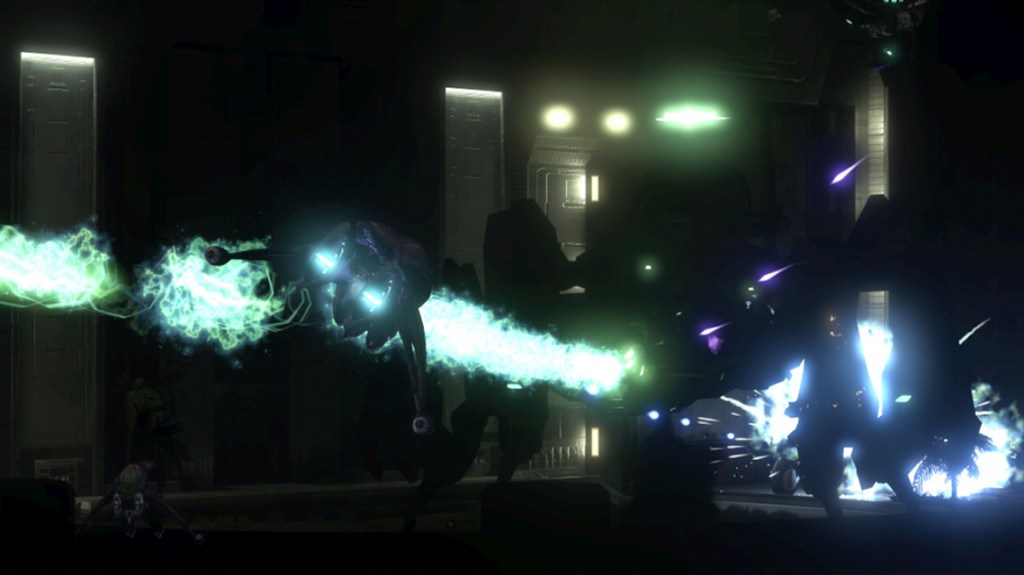
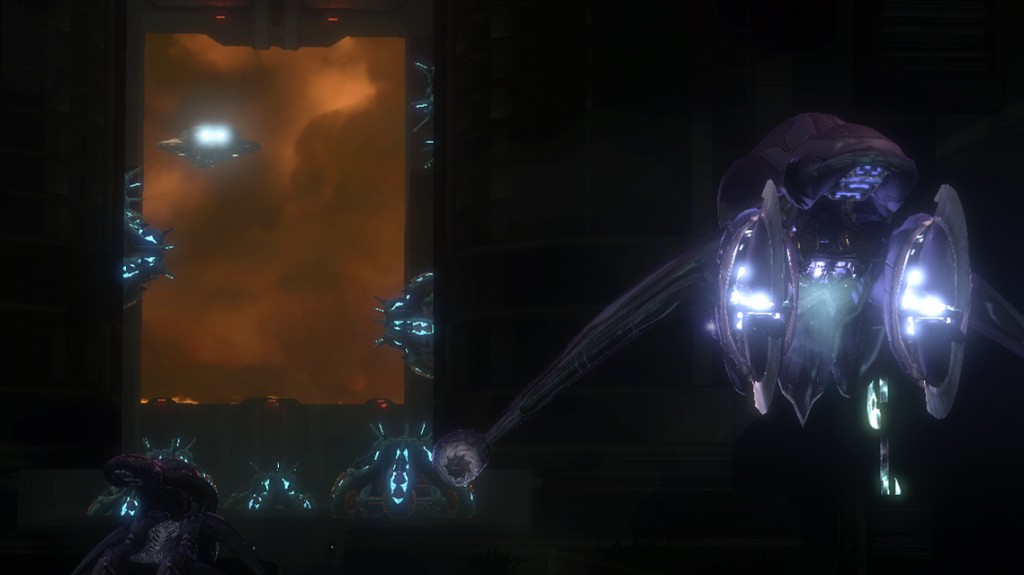
The next large space is overall similar to the one you just escaped from. There’s a peculiar structure on a building in the center, near a couple of Banshees and underneath a Phantom that flies off as you arrive. This is what Dutch is talking about, though his terminology is not entirely accurate. The proper name for it is a Huragok Recharge Station (HRS). Here, Engineers repair themselves and each other from damages received during battle. The structures themselves are highly explosive, which players can make good use of in this level.
Fend off the Banshees while Mickey’s Phantom takes up a firing position close to the “squid house.” If you don’t destroy, they will.
Romeo: “That’s right, you damn aliens. Doesn’t feel so good, does it?”
Dutch: “Well, like the good book says, ‘Payback’s a bitch.'”
Mickey: “I don’t think it actually says that, Dutch.”
Dutch: “I’m paraphrasin’, ya heathen!”
Moments later a Phantom and a few Banshees will arrive over the southwest edge. Looking up, you’ll notice the view of the city in this area is more spectacular than the last one. The skyscrapers of the central district are closer and more imposing.
The Banshees will dive into the fight first and remain while the Phantom will dip into the area and fire off a few shots before moving on.
Mickey: “Damn! Covenant must’ve locked the door to the next area. I see an override switch,
Gunny. Hang on. I’ll set a beacon.”
Follow the marker Mickey laid out for you and land your Banshee. Get out and hit the door’s controls.
Buck: “Door’s open. I’ll go first.”
Mickey: “Roger that.”
Fly into the next narrow tunnel and kill the lone Brute and his small army of Grunts near the door. On the other side is a Phantom carrying Engineer pods parked above another “squid house”, with a Brute in a Ghost driving around close by. Blowing up the Engineer facility will severely weaken the Phantom to the point where a single FRG shot can cause the Covenant dropship to explode.
If you hadn’t destroyed a Huragok Recharge Station before, this is Bungie’s way of showing players it can be done–you have to make room for Mickey’s Phantom, and the only way to do that is to destroy the Phantom and the station. If you blow up the Phantom first, the resulting explosion will cause the HRS to meet a similar fate.
Soar over some stairs, past a huge “connection lost” screen, to the end of the tunnel. As you plow into the Brute in the Ghost with your twin plasma cannons, the next door will open up.
This third section is more similar to the first one than the second, but there are some noticeable differences. The platform between the two buildings is multitiered, and on top sits a single HRC with a Phantom hovering over it (there’s another Phantom farther back).
There’s a third, shorter building in the center with a HRC on top it too.
The area gets busy very quickly. One Phantom will vacate the battle as you arrive, and the second one over the squid house will do the same if you don’t destroy it first. Two AA Wraiths–their first appearance in this game–crowd the air with FRG shots. There’s one on the platform at the back, near the next door, and one to your right as you enter. Once you’ve made enough room, Mickey’s Phantom will fly ahead. They’ll do something different each time you play the level. Sometimes they’ll take cover behind a building where neither AA Wraiths can get a shot at them, and on others they’ll charge forward and fire on the nearest one.
They decided to charge in my playthrough, so I supported them in their endeavor. Your combined power will permanently suppress one AA Wraith easily, then Mickey maneuvers the Phantom out of the line of fire of the second AA Wraith. The destruction of that one will clear the path ahead; Mickey’s Phantom will take a position in front of a door.
This third section seems similar spartan to the previous areas, but holds a long-time tradition of Halo games. The composer of the main Halo games from Combat Evolved to Reach, Martin O’Donnell, has the longstanding tradition of hiding the old Myth song “Siege of Madrigal” in hidden locations throughout the campaigns. In Halo 3, for example, you had to climb the Citadel in “The Covenant” after your fight the two Scarabs to get a listen.
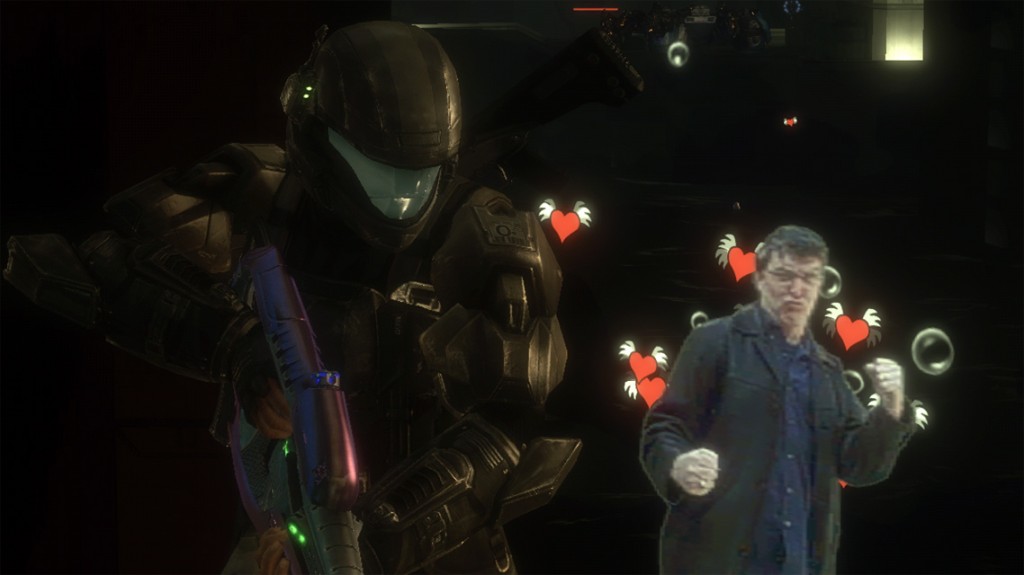
ODST’s “Madrigal” piece is in this section. Fly off to the east and land below a “connection lost” sign. Walk up the pipes on your left and drop down on the walk way. Press your back against the wall and you’ll hear the familiar tune. If you’re playing on Legendary, you’ll be treated to a surprise not even Marty knew about.
“It all began on a fateful afternoon in our old studio in Kirkland. I was out back, shooting some
animation reference for a cinematic in Halo 3: ODST when Mr. Marty O’Donnell, eager to
make his way to the break area, made the fatal mistake of not going around the space where I
was shooting. Instead, he decided on walking straight into my camera’s view to interrupt my
work and do a little jig in an effort to be “funny” …oh how correct you didn’t realize you would
eventually be, Marty.What happened next was beyond delightful. After being momentarily irked that my shot was
ruined, my brain shifted gears. I quickly realized that I was sitting on a gold mine. […] It took all the discipline in the world for us to hold this close to our chests. When
showing this gem behind closed doors to those select few who needed to know, the audio
and design teams rallied to forge a secret Easter egg that Marty himself was not aware of – a
legendary prank that would essentially “ice” Marty’s own Halo Easter egg tradition, the Siege of
Madrigal.As the launch date for ODST neared, Marty was so excited to keep his tradition of implanting a
special spot to play his sweet secret music, he decided to hold a competition and reward the first
dedicated player who found it with a special prize. I remind you, Marty had no idea what we had
been up to under the hood. We managed to slip in some stuff in the 11th hour before ship that
would make this special Marty Dance .gif pop up and play when a player activated his coveted
Siege of Madrigal on the Legendary difficulty setting. Fate was on our side.The person who first discovered this spot in ODST, and WON the contest Marty was so excited
about, just happened to be playing on Legendary difficulty. Still ignorant to the fact, Marty
gathered some of us in private to view for the first time the saved film of his grand contest
being won. Let’s just say the surprised “WTF?” expression on Marty’s face as he learned first-
hand what we had been scheming in secret will forever be burned into my memory. This whole
experience solidified the fact that I work at the best game development studio on earth. Even
though he may not have learned his lesson of interrupting people’s film shoots; the ol’ gipper sure
can take a joke with the grace of kings.”— Pat Jandro, Senior Cinematic Designer at Bungie, Bungie Mail Sack.
The plot waits for no man, easter eggs or no easter eggs.
Mickey: “Gunny, another locked door. Hit the override.”
You know what to do by this point. When you hit the button, though, the only things that open
are two doorways about the size of a person. Uh oh.
Mickey: “Damn, door’s jammed. Must’ve lost power.”
Buck: “I’ll head through on foot. See if I can find a work around inside the tunnel.”
Dutch: “Go on in, Gunny, we’ll cover the door. Make sure no one gets in behind you.”
It seems you have no choice. You’re about to get very familiar with the ground layout of the tunnel.
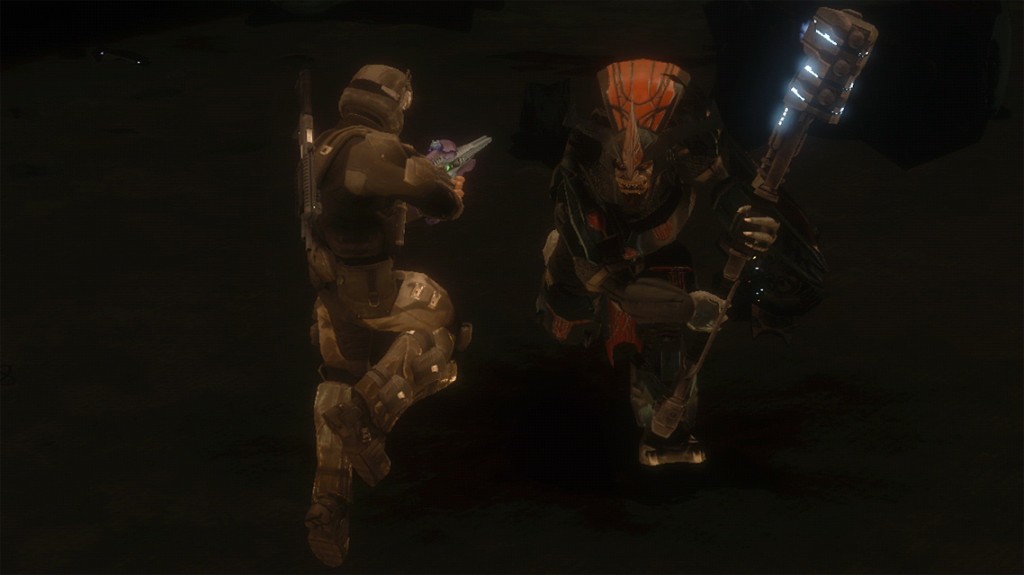
On the other side of the door you’ll experience that earlier dizzying sense of scale. You’re in front of what seems to be a loading zone decorated with plants to your left and right. One of the sights that should jump out at you are the HRCs hanging on the wall opposite of you. Up some stairs to your right you’ll find an entrance to a control station. From there, you should see the defenses the Covenant has set up. Along with your standard group of Covenant, there’s a small stationary plasma turret operated by a Grunt. They’re all standing around some plasma canisters. As you push forward, you’ll find out that there’s a entire Brute pack waiting behind it. Brute Minors, Stalkers (the invisible Brutes with Maulers), and Captains–all eager to crush your skull.
Killing enough Brutes will cause their Chieftain – who had been patiently waiting on the other
side of the tunnel–to charge at you. The floor of the tunnel provides one of the more interesting
Chieftain fights in the game. If you’re not in a position to avoid it, he’ll force you back to the
loading zone just beyond the first door. That’s not a loss on your part, however, because the
fight there is particularly enjoyable. I always try to confuse the Chieftain by running up the
stairs, getting the high ground, then jumping down and attacking him from below. Sometimes
he’ll swing his hammer at you while you’re jumping down and you’ll land on the other side of
the landing zone. In that case, recover quickly, and resume the confusion strategy. You’ll get
past him.
After that, proceed down the tunnel and deal with the stragglers. You might want to pack some serious firepower for what’s coming next, and there’s an FRG to your left.
Mickey: “Gunny, check the far end of the tunnel. Might be a back up generator.”
Specifically, it’s the green button in the control room on the other side of the tunnel.
Mickey: “That did it! Door’s open.”
Walk down the stairs and round the corner of the building-sized door. You’ll be treated to the
sight of what clearly is the level’s climax.
Buck: “Troopers, I got bad news.”
Romeo: “What? You really are gonna make us walk outta this city?”
Buck: “We got a Scarab; right by our exit.”
Romeo: “Ah! This is the best mission ever!”
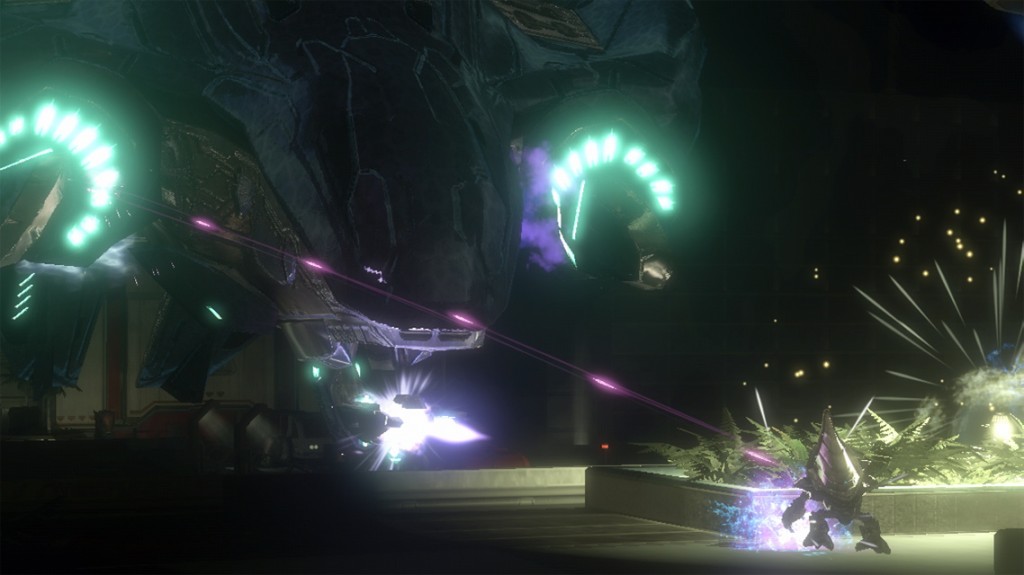
The Scarab wastes no time trying to kill you as evidenced by the narrow of escape of a Phantom
from the Scarab’s line of fire. It’s standing on a platform next to the door in the back. Flooded
areas are between you and the war machine.
There are Banshees nearby, but you’ll have to work for them. There’s one to your left and one
to your right, and they’re both guarded by a small group of Covenant. Kill one group, grab its
Banshee, and get to work in the air.
A couple of Banshees are flying around, and there’s a Covenant gravity platform in the middle of
the area next to an HRC. It’ll be easier to focus on the Scarab if you eliminate all the stragglers
first. But with Halo’s sandbox, you can do it in any order.
The music picks up as you approach the Scarab. Mickey and his Phantom will fly around the
Scarab to draw some of its fire away from you.
If you’re quick enough, you can land next to the Scarab and open the door behind it for a quick
escape, but where’s the fun in that? As is always the case with Scarab encounters, there are
many ways to tackle it. This one has a unique method to take out its legs: the four HRCs near
the Scarabs legs. If one of them gets too close, you can use one of squid houses to severally
weaken a limb, and then use your Banshee’s weapons to do the rest of the work. Then you can
board it from the air or the ground. Once you’re on, do as Dutch so eloquently puts it: “Shoot it
in the ass!”
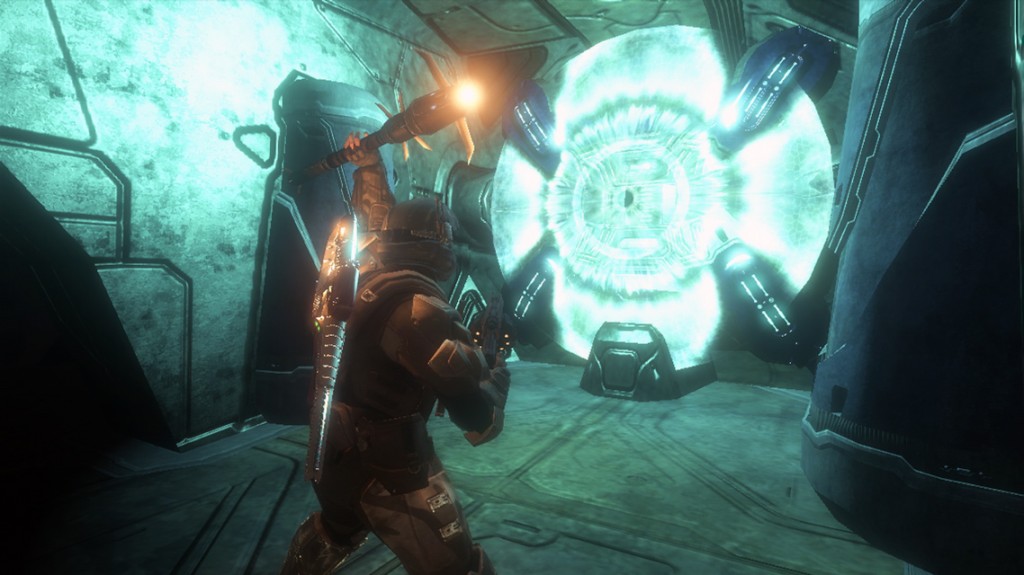
The Scarab is enveloped in a bright and deadly light.
Dutch: “Oorah, Gunny! Let it burn!”
Mickey: “Head into the tunnel before another one shows up.”
If your Banshee was destroyed as a result of your efforts, don’t worry. When you unlock the
door for Mickey and the rest, there’s another not too far from the entrance. Take the Banshee
and fly up beside Mickey’s Phantom. From in the air you’ll notice this tunnel is unique among
all the others. Structurally it’s more narrow in an intruding way–parts of the building jut out
from the sides. Here is the only part of the flashback mission where you’ll see the mysterious Engineer glyphs that litter the Rookie’s excursion through Mombasa. What do they mean? The game doesn’t make
much of an effort to give players the ability to decipher their meaning, but they do have one, as
Bungie designer Dan Miller said on Twitter:
StalkerUKCG: Those Symbols all around Mombasa in ODST, Did they have a purpose of just
something fun to look at.Dmiller360: to Joe Staten, all has a purpose.
Many theories as to their meaning have been put forth, but so far no clear schema has been found. Additionally, HRCs hang from every wall of the tunnel; totaling a dozen or more.
Romeo: “Ah, damn! We hit the squid jackpot!”
Dutch: “Take ’em out, Gunny, so we can get through.”
Buck: “Stay clear: this is gonna be one hell of a chain reaction!”
Pick any one of the squid houses and open fire.
The ensuing explosion transitions from gameplay to cutscene as Mickey and Buck fly out of the
tunnel, the light from their handiwork following from behind. Buck flies under the Phantom,
ejects from the Banshee, and rides the Phantom’s gravity lift inside.
Buck: “Keep her steady, Mickey. You doin’ okay?”
Romeo: “Just glad we didn’t go with your first plan.”
The night is coming to an end–the skybox looks fantastic.
Romeo: “Look at those tunnels. Ones that aren’t flooded are probably packed with Buggers.
Hell, I wouldn’t go down there even if you ordered me to.”
Romeo’s comments about the Drone-infested tunnels touches on the next mission, which has to
deal with…
Buck: “Come on, Veronica. What can be more important than that carrier?”
Dare: “My orders. And, Buck? Call me captain.”
Buck: “Mickey, turn around. Find a safe place to put us down.”
Mickey: “What? Why?”
Buck: “I lost something…now I know where to find her.”
The Phantom making a sharp u-turn back to the city. Buck is betting that Veronica is below the
city somewhere.
“Kikowani Station” marks a major turn in the game. It’s the last flashback, which means your
time exploring the city, and the events therein, have almost come to a close. From here on you’ll
no longer be catching up, but living the events of the story as it happens–beginning with the
underground tunnels of “Data Hive.”

Woot! I luv ODST so I’ve been waiting for this next installment.
Nice call w/ the story about the easter egg; I knew it existed but I’d never heard the story. Hillarious! The only problem is that there ARE a few typos.
I love these write-ups. Ah, such fond memories.
[…] Hindsight: ODST, by guest writer Michael Carollo, has just been updated with the next ODST flashback mission. Read about the ODST squad’s air passage through flooded Mombasa in Kikowani Station. […]