Sword Base
Sword Control: “Be advised, kilo-three-three and kilo-three-four, your current LZ is too hot!”
Carter-A259: “Roger that. Dot, standby to receive and respond.”
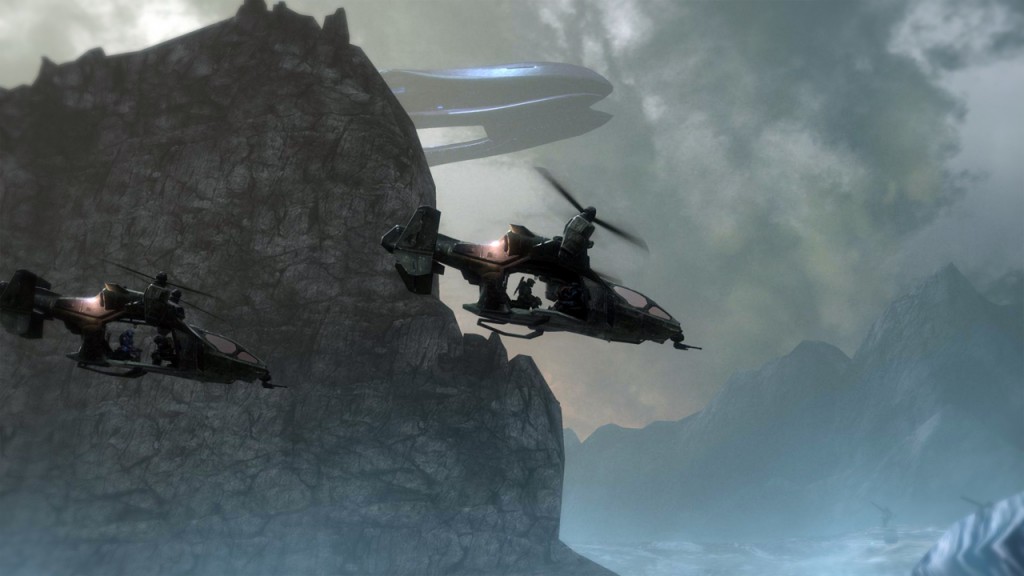
Noble Team flies across a rugged and icy vista, with the moons of Reach dominating the background. The cutscene introduces us to Auntie Dot, a UNSC AI that will serve as a primary conduit of information to Noble Team. Dot’s monotone delivery and seeming lack of emotion or conviction indicate she is a “dumb” AI rather than one as sophisticated as Cortana. Surprisingly, Halo fans have seldom encountered dumb AIs compared to their smart counterparts; their only appearance in the games previously was the Superintendent in ODST. One account of a limited AI performing a similar task as Dot was Wellsley, on the Pillar of Autumn, who assisted ODSTs and Marines on Alpha Halo:
This particular intelligence had been programmed with a male persona, the name Wellsley—after the famous Duke of Wellington—and a personality to match. Though he was a good deal less capable than a top-level AI like Cortana, all of Wellsley’s capabilities were focused on things military, which made him extremely useful if somewhat narrow-minded.
—The Flood [S02C02]
As Noble Team approaches the titular besieged Office of Naval Intelligence installation, a large ship hovering above the base comes into view–a Covenant Corvette.
The camera performs another axial cut, violating the 30 degree rule and bringing us to Carter’s frame of view as he turns to see the ship looming. The choice of camerawork might be there to emphasize the Covenant ship, which will be a constant backdrop throughout most of the mission. Your ultimate goal is to disable that Corvette–but once again you’re going to have to do your best on the ground.
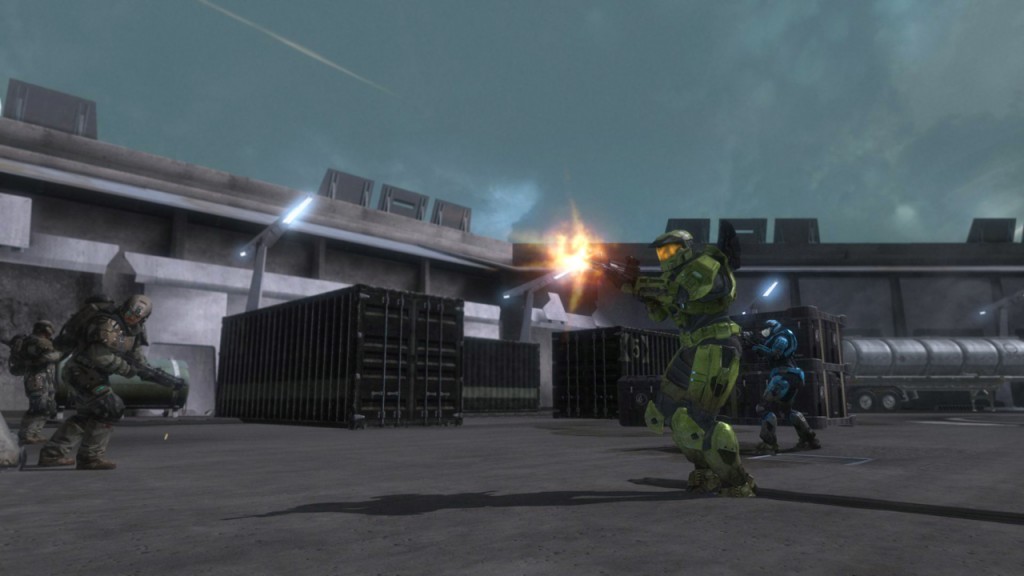
Reach’s mission goals are in many ways similar to previous Halo games, but their comparatively small scope remind players that they are a important yet small part in a much larger engagement. Kat and Six drop down from a Falcon to deal with Covenant in the Sword Base courtyard. Kat remains perfunctory in her chatter with Six: “let’s move, Lieutenant.”
“The Best Defense…”
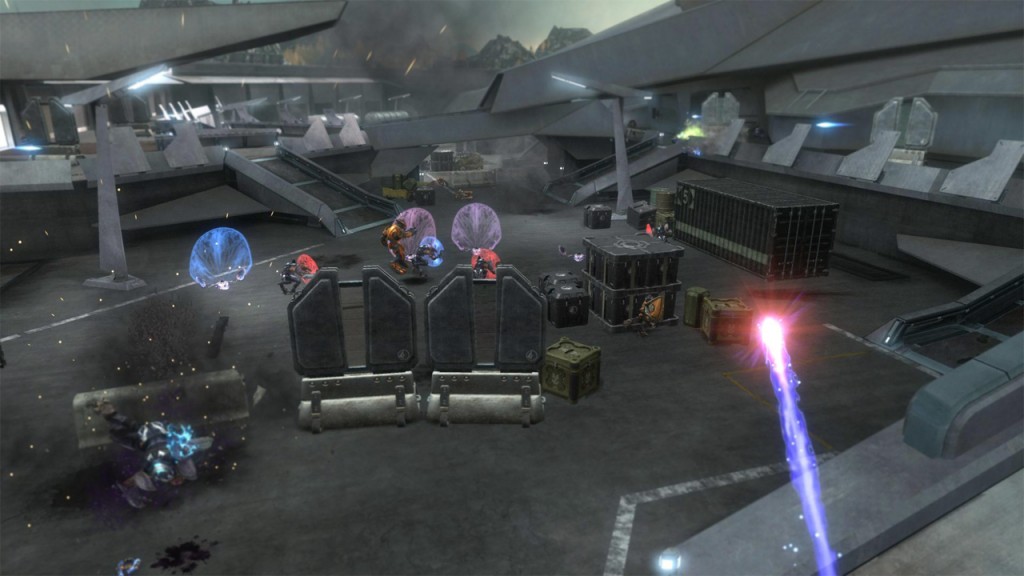
As the gameplay sequence begins, there’s a delay before the chapter title screen disappears and your HUD fades in. If you’re a straight shooter and fancy yourself a speedrunner, you can save a few seconds and immediately aim for the Grunts scrambling over barricades underneath the overhang. If you kill most of them rapidly enough, the others will turn back and scramble. Either way, you’re going to want to move quickly and find some cover. Sword Base’s initial encounter can be difficult, and it’s a classic Halo encounter in that enemies are pressing in from multiple approaches–the aforementioned Grunts in the center, Jackals to the left ramp, and an Elite to the right (although he will sometimes press left with the Jackals as well.) To top it off, a Phantom comes in to drop off troops–if you aren’t paying attention the dropship’s cannon can decimate you on harder difficulties.
Once the enemies on the raised platforms are taken care of, players have several options about how to deal with the mess of troops milling below them in the courtyard.
One option is to hang back and attempt to catch multiple troops advancing up the narrow ramps with grenades, or pop from upper to lower floors via small passageways to get the best vantage points for headshots. A sniper rifle at the far end of the courtyard above the installation entrance will make dealing with the tougher enemies more bearable.
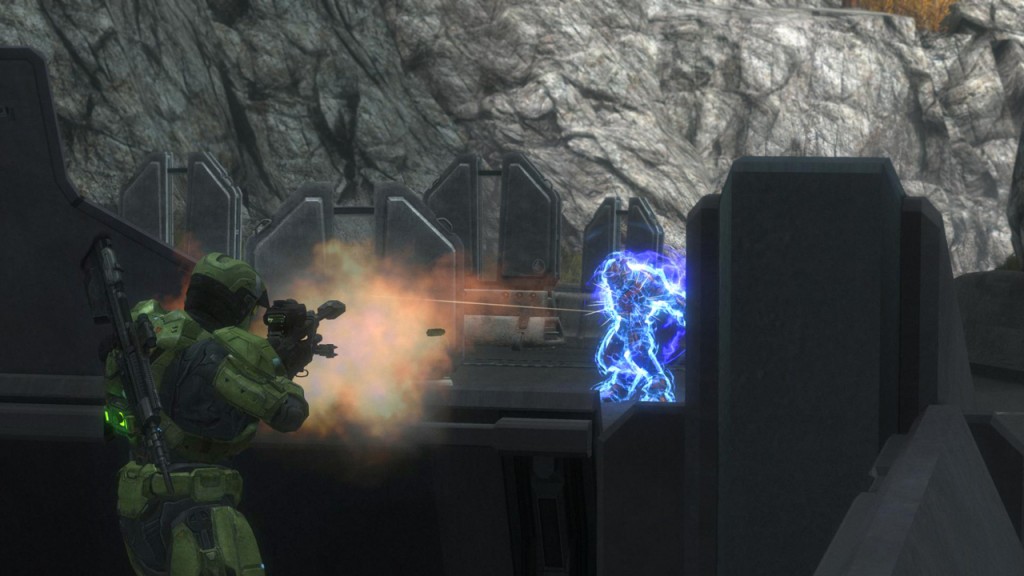
As you finish off more opponents, the rest will break off their offensive moves and fall back towards new cover, reinforced by a Skirmisher squad. In many ways the encounter is Reach‘s spiritual successor to the esteemed beach assault opening of “The Silent Cartographer”–an entrenched enemy that falls back and continually regroups. The courtyard encounters really give a chance for Reach‘s improved AI to shine–they convincingly mimic concerted advances and strategic withdrawals rather than just milling around waiting to be shot.
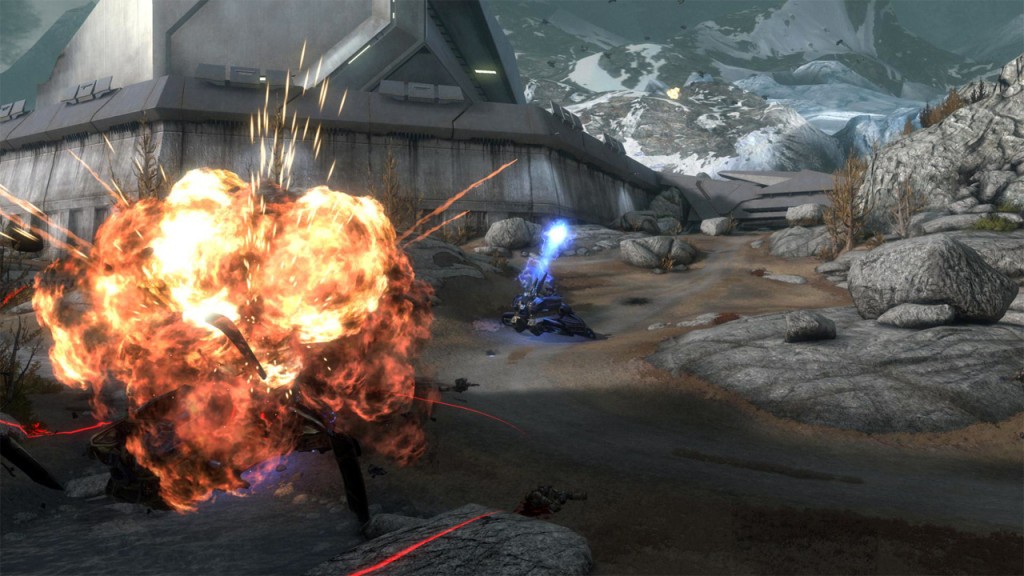
By the gate there is an Armor Lock AA—most players’ first encounter with the ability unless they were diligent in exploring the relay station of the previous level. Also scattered about are health packs, DMR ammo and a target locator, the first and only instance of the weapon in the campaign. The location must be picked up in order to open the doors to the exterior area, hence why Bungie dubbed the weapon in this particular scenario the “garage opener”. Players who rushed the previous encounter can grab the locator, turn around and mete orbital justice on the Covenant who followed, or you can save the shots for what lies beyond the gate after you’ve dispatched the courtyard foes—two Wraiths and an infantry squad. It’s difficult to save the marines in the Warthog from the Wraith’s mortars, but you can certainly avenge them.
A shot from the locator is good enough to take out one or even both of the tanks, and perhaps some of the infantry if they were too close.
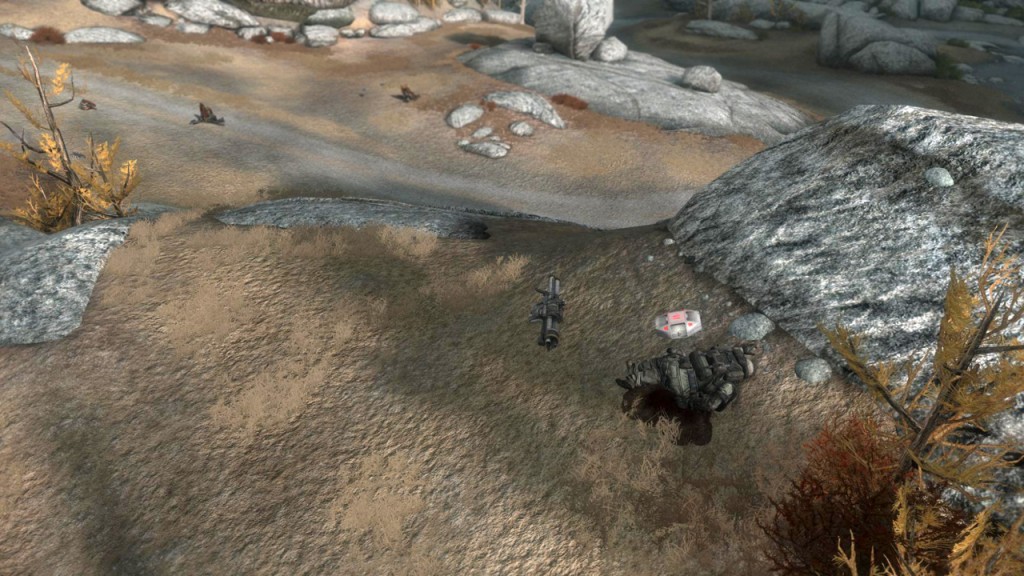
There’s also a Rocket Launcher by a dead Marine on one of the large rocks which you can use here or save for later.
Once the area is clear, Sword Control will drop a Warthog. Kat doesn’t seem to favor the gunner, preferring to stay in the passenger seat. On the plus side, the marine gunners you receive are surprisingly tough and, though a bit conservative on opening up on enemies outside optimal range, are still crack shots. On the downside, leaving the ‘Hog alone for any length of time might result in Kat taking it for a spin herself, and she is definitely not the UNSC’s best and brightest when it comes to operating heavy machinery, in spite of what ONI Section II wants you to think.
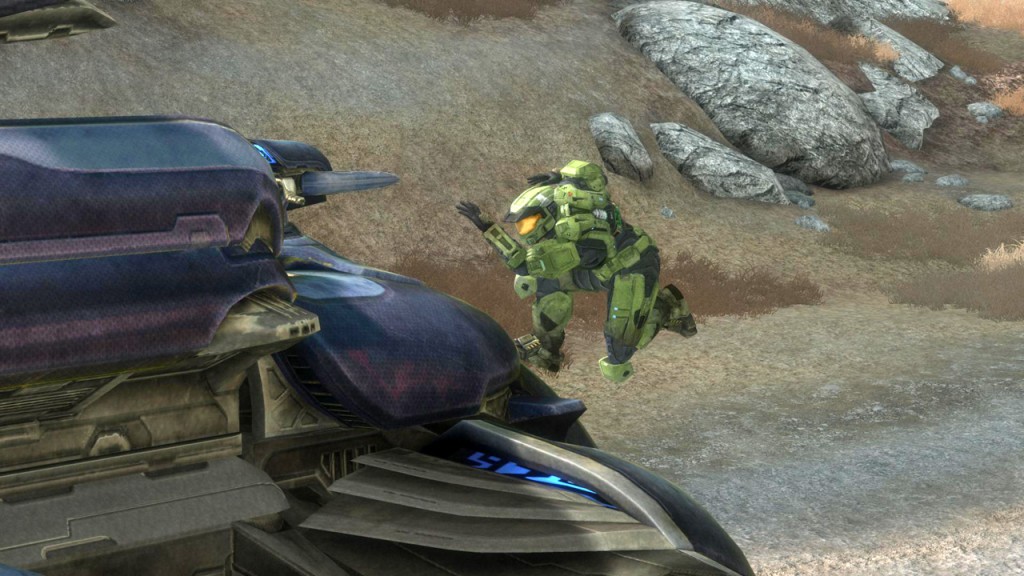
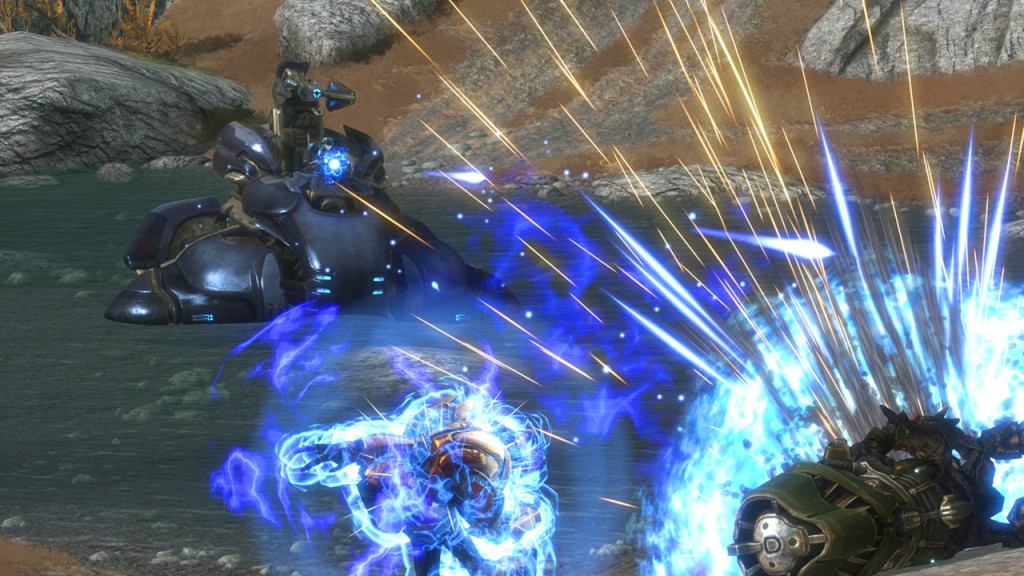
The Warthog isn’t your only option on advancing through the level; you can also grab a Wraith for yourself. The gunners of these Wraiths are Grunts–easy to dispatch with a headshot. Stunning the tank with a plasma pistol or using armor lock to absorb mortar fire allows you to close the distance and board the craft.
If you destroy the hatch, hop off and jump back on the tank, you can melee the driver to death while protecting the Wraith from further damage. Kat will hop in the gunner seat and perform her job admirably at stripping shields and pegging stray infantry. In co-op sessions, you can take the Wraith and Warthogs (a Troop Transport ‘Hog is also deployed), and assemble your own fleet of vehicles as you progress through the level.
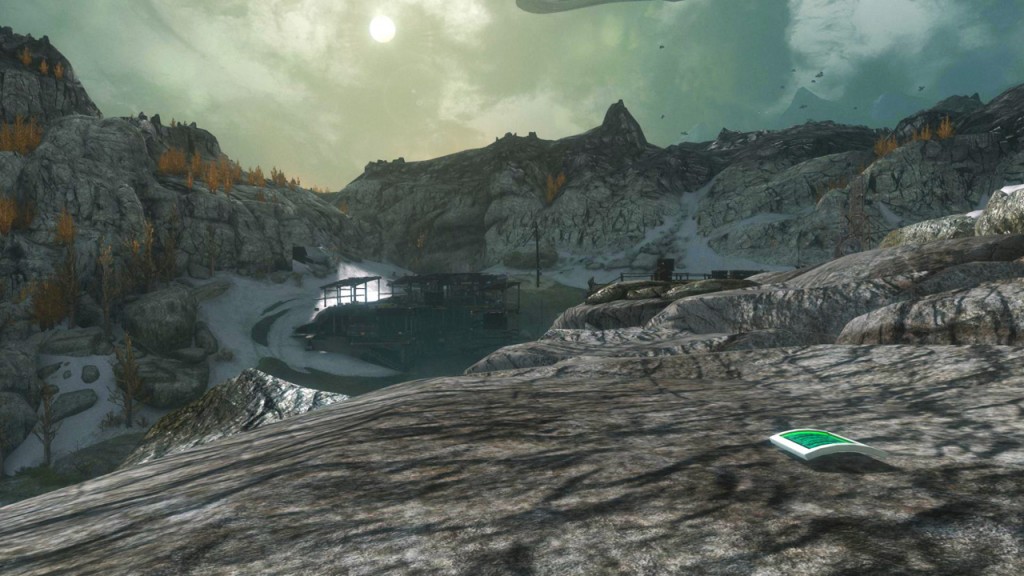
If you haven’t stopped to appreciate the beauty of Sword Base yet, the respite from combat at this point is as good as any. The terrain is most similar to the tundra of Earth, although there are a few species of tree on Reach evidently hardy enough to survive the climate and grow here. Parts of glaciers spill over the terrain and dominate the sea. The full extent of Sword Base, with its elongated runways under seige by the Corvette and Banshee fliers, spreads out under the cliffs the player fights on.
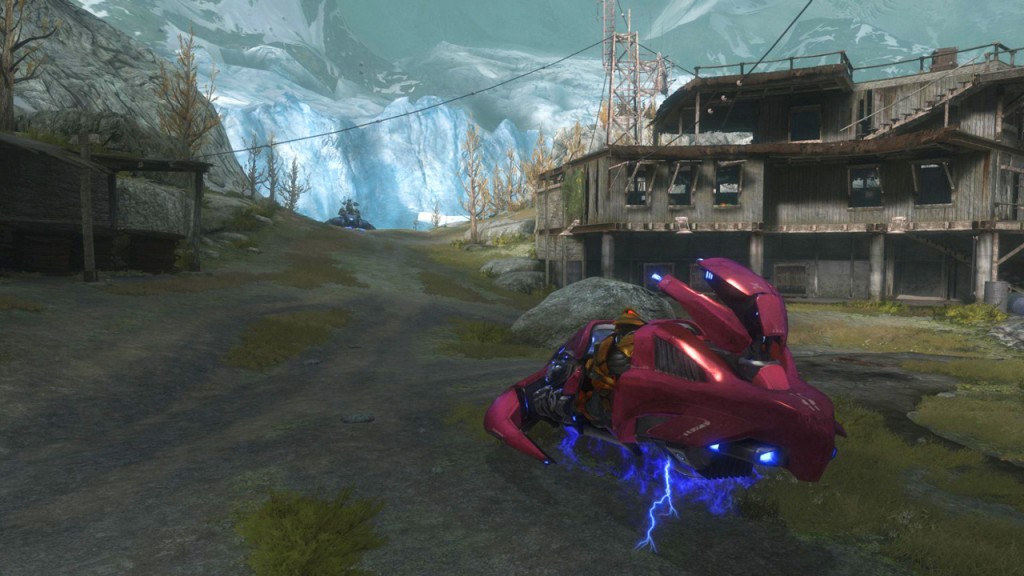
The exterior of Sword Base is a large loop, and Sword Control gives you the option of proceeding to either Farragut Station or Airview Base. You’re open to choose which objective you want to do first, which alters the mission structure and dialogue delivery slightly. Along either route you’ll come across infantry and light vehicles. Often your AI gunners will be such good shots they will kill the Grunt drivers while leaving the Ghosts intact, offering up even more vehicular options.
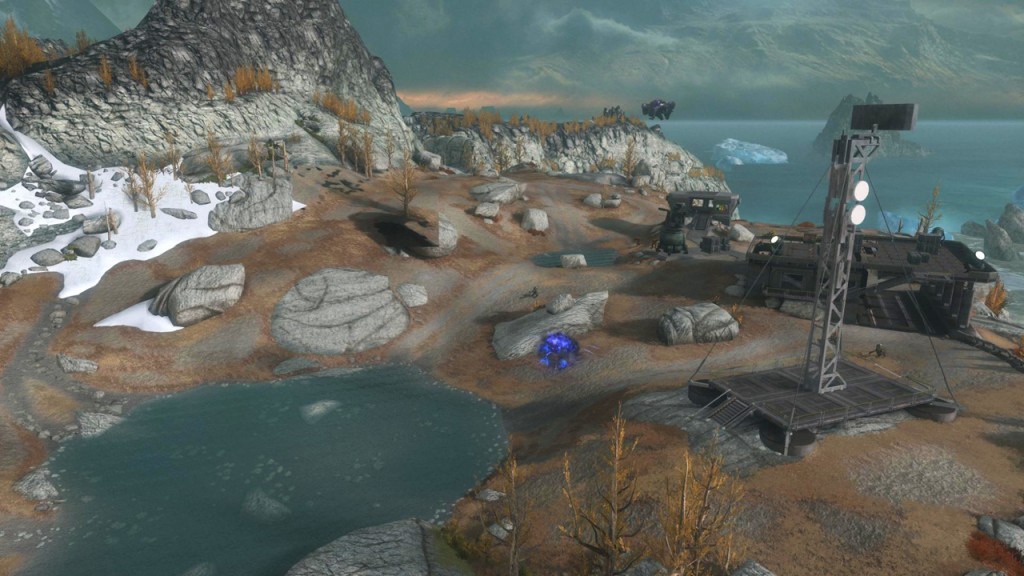
Airview Base is a sprawling playspace, situated on the edge of a steep dropoff. Snow spills down the cliffs into a cluster of rocks. The target, an anti-air battery, is surrounded by a trio of structures, with the central base the roost for an Elite wielding a Plasma Launcher, one of Reach‘s new weapons. Its homing sticky rounds can be very dangerous if a player isn’t paying attention; luckily the game provides an audio cue of when an enemy is locking on to you.
Airview offers plenty of rocks and elevation for cover if you’re on foot, but it’s best approached with the vehicular power you brought earlier. Shelling the Elites from afar while Kat pegs any infantry foolish enough to wander close is an effective strategy.
After taking out the majority of enemies, a Spirit will drop off a new batch, including Concussion-Rifle wielding Rangers.
Activating the turret will cause it to blow up a nearby Phantom dropship–but if you destroy it beforehand, an endless stream of Phantoms will come to replace it. While it’s not quite the glory days of Phantom destruction from Halo 3, you can still rack up plenty of points. Also in the area is a Rocket launcher that forward-thinking players can save for later.
The comms tower is guarded by a host of infantry and a Revenant, a new vehicular addition to Halo that appears to be a fusion of the Halo 2 Spectre in form factor and the Wraith in firing design.
After clearing out the Elites and Jackal snipers in the area and activating the generator more troops will be dropped in, including more Skirmishers. There is another Rocket Launcher here as well. If you sprint across the broken bridge by the comms array, you will find a datapad on the rocks.
At each of the bases is a secret invisible switch; you have to be in close proximity to see the prompt to press ‘X’. Hitting both at the same time (meaning, you need a partner) triggers an easter egg—a race around Sword base! You can take Gauss Hogs or Wraiths around a course; the winner gets nothing, the loser gets blown up. It’s a blast to play and offers a welcome distraction from the usual Covenant-killing.
Once you’ve completed the second objective, Sword Control will drop a Gauss ‘Hog to tear through the forces that have assembled back outside the gates–while the Covenant corvette comes ever closer and shells the base. Using Wraith, ‘Hog, Ghost, Rockets, or fists, you can fight through these enemies and reenter Sword Base. While the barricades are designed to prevent you from taking any vehicles through towards the courtyard, you can beat the system by damaging the jersey barriers and propelling the vehicles over with grenades or by making a sort of ramp for a Ghost to coast over.
The next group of enemies is formidable—including two Hunters in the Sword Base entrance—but you have your choice of weaponry to take them on: your vehicle, if you got it over the barriers, rockets, a sniper rifle if you didn’t use it in the first engagement, or a shotgun if you prefer to dance with your enemy up close. If you return to where you were dropped off at the start of the mission, you’ll find another B.O.B. who, curiously, spawns with a random set of armor.
After clearing the halls of Covenant, you’ll hop in an elevator to get to Sword Base proper and meet the rest of your team. You can take a Ghost along with you if you want, although a Warthog will meet with less positive results. In a nice touch, once you reach the bottom the computer still welcomes you to the installation. The service AI is the last thing to go in an emergency. Pass through the J-shaped corridor to meet the rest of your team. The location will be familiar–the Sword Base multiplayer map, one of the original four previewed in the Reach beta.
The interior of the base showcases the modern manmade aesthetic that is the counterpoint to the rustic structures seen earlier in the campaign. Neutral colors, whites and greys make up the sterile, flowing architecture with glass and metal ramps. Another datapad can be found on these balconies. Like the multiplayer level, there are a few options to get to the top, although the gravity lift isn’t there on the bottom floor for quick access. You have to fight through Jackals, Grunts, and Elites wielding a nasty array of weaponry instead. Another B.O.B. spawns in here, near the upper levels.
Once you get to the top, you get as many rockets as you could possibly fire to finish off the flying Banshees. The splash damage also comes in handy against cloaked Spec Ops Elites that drop in via Phantom. Once the Banshees are taken care of, the Corvette moves off, but an orbital round stops it cold. Watching from the ruins of the ONI building, Jorge congratulates Six on their work before the two go down to meet Halsey. Jorge is clearly anxious to see her—”been all hers half my life”, he tells Six.
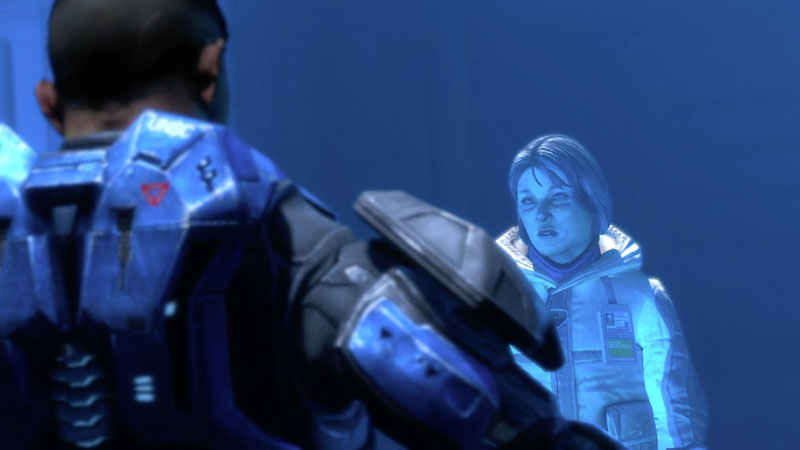
Unfortunately there isn’t much warmth in the science wing. Halsey’s note of recognition sours a bit on seeing Jorge—”what have you done with my armor?” It’s a testament to how involved Halsey was in the SPARTAN Project, and a bit of her ego as well; the Spartans are hers, as is the tech they wear.
Carter-A259: “I gave the order not to pursue. Our primary objective was to get the station’s relay back online.”Halsey: “Your primary objective? Commander, are you a puppet or a Spartan?”
Halsey’s conversation with Spartan-IIIs appears to open up a canonical conflict with the later events depicted in First Strike and Ghosts of Onyx, where Halsey did not appear to know that ONI agent Ackerson had in fact been developing his own cheaper Spartan-IIIs for years with the help of a disappeared Spartan-II, Kurt-051.
…The folders and files winked away, and only two folders remained floating over Dr. Halsey’s desk: S-III and KING UNDER THE MOUNTAIN. She tapped on the first one and it opened, revealing hundreds of separate files […]
“What the hell was he up to?” she muttered.
–First Strike, S01C13
Ackerson’s “S-III”. It was an obvious reference to SPARTAN-III. What else could it be with all the Spartan biometric data he had accumulated in that folder? […] Since Ackerson could not destroy her Spartan program, had he funded and recruited trainers for his own?
Dr. Halsey couldn’t save her Spartans, they were already indoctrinated and on the front lines… but she might be able to do something about these new, as yet theoretical, SPARTAN-IIIs.
–Ghosts of Onyx, S04C16
Halsey’s journal that comes with the Reach Legendary edition attempts to rationalize this discrepancy. As early as 2530, Halsey began to suspect that ONI was attempting to replicate her SPARTAN program in some respects. She had little solid info to go on, however, but noted clues—such as the quiet departure of the UNSC hospital ship Hopeful from Reach, which in actuality assisted in the augmentation of Gamma Company Spartan-IIIs. Halsey’s first hard evidence of other Spartans is when they arrive in Sword Base on July 26. While her reference to Spartan-IIIs being theoretical weeks later is difficult to reconcile, even after the events of Reach she did not realize just how many of these soldiers Ackerson had created.
…I finally confirmed my suspicions about NOBLE itself, as incomprehensible as this news is. They are Spartans — and with one exception, they’re clearly not mine.
The way [they] move… they’re obviously augmented. […] Are they all Spartan-IIs? Or, as I suspect from their inelegant personas, are they substandard versions of the Spartan-II? Perhaps from a parallel program or some next-gen venture piggybacking on [decades] of my work.
–Halsey’s Personal Journal, July 26 Entry.
Interestingly enough, Halsey mentions in her February 15 journal entry that the best option for finding genetic matches for her Spartan candidates is the CAA’s Outer Colony vaccination program. Years later in 2537, Ackerson suggests an Outer Colony vaccine program as cover for gathering genetic matches for Spartan-III candidates, intimating that Ackerson wasn’t aware of Halsey’s use of the data decades before, or possibly that previous vaccination efforts had been stopped after the decimation of most of the Outer Colonies and the CAA’s declining power [Ghosts of Onyx, S01C06].
The journal also explains some of the motivation behind Halsey’s demeanor—not only are they Spartans she did not authorize, but they are clearly not the perfect genetic and psychological specimens she would have selected. At this point, she plainly regards them as inferior. The Spartans return her frosty attitude.
The animation and voice acting really sell this cutscene—the lingering pause before Kat begrudgingly hands over the pilfered data module to Halsey, to the slightly hesitant, lumbering footsteps of Jorge really sell the characters as real. Halsey’s first appearance is a technological and emotional triumph, a great first for the series. While Halsey can busy herself with the Visegrad data, a Spartan’s job is never over…

Be First to Comment