Forging Ahead: Another Set of Eyes
Designing maps is a largely solitary process, but playing on them is a collaborative one. So I knew that whatever design decisions I made would get beaten up pretty good once I exposed the map to other players, and that it would be a good thing: I only trust my own instincts so far. What I hoped would work on paper wouldn’t necessarily work in action, which is something I’ve been reminded of throughout this process. The only question was when the right time was to pull in another set of eyes. And as it happened, they arrived none too soon.
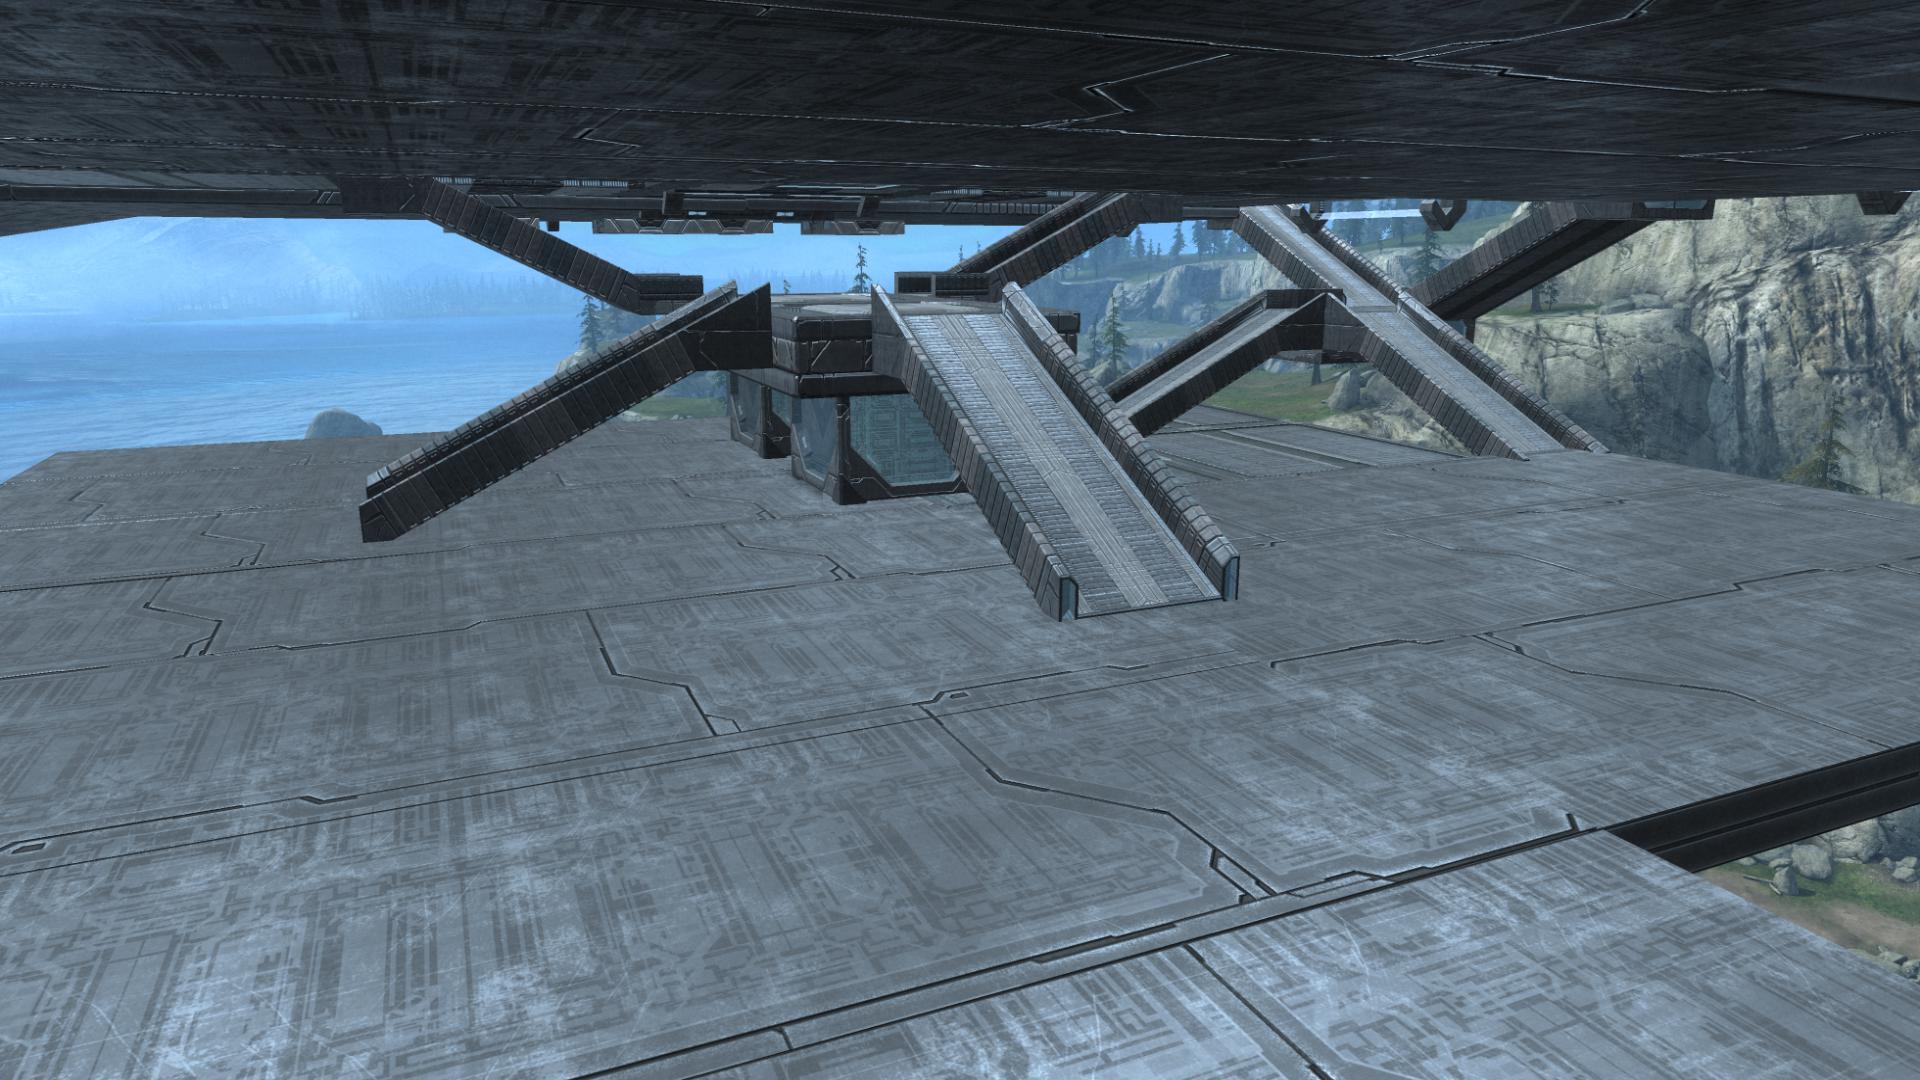
The base layout of the map was almost there. The problem with raising the top level and lowering the bottom was it limited the linkages between the two to the problematic bridges by each base. It was hard enough to make a drivable ramp with the levels a short distance apart, but on the tilted sections it was impossible because they were just too far apart. I tried a half-dozen experiments ranging from a central spiral ramp to using only the two ramps. But none helped the map fit together better. And then I had one final epiphany on the layout: rather than two levels connected by ramps, the levels themselves should fold into one another.
So rather than tip the bottom level down and the top level up, I reversed them to see how close they would get. Tipping each level 10 degrees brought them almost perfectly parallel.
With the two levels parallel, that meant they were easy to join: The “ramps” would be the same size and shape as the main map, and the pieces were long enough that a mild 10 degree angle was enough to join them. It took all of a half hour to shift the sides around and shuffle the bottom level again to fuse them together.
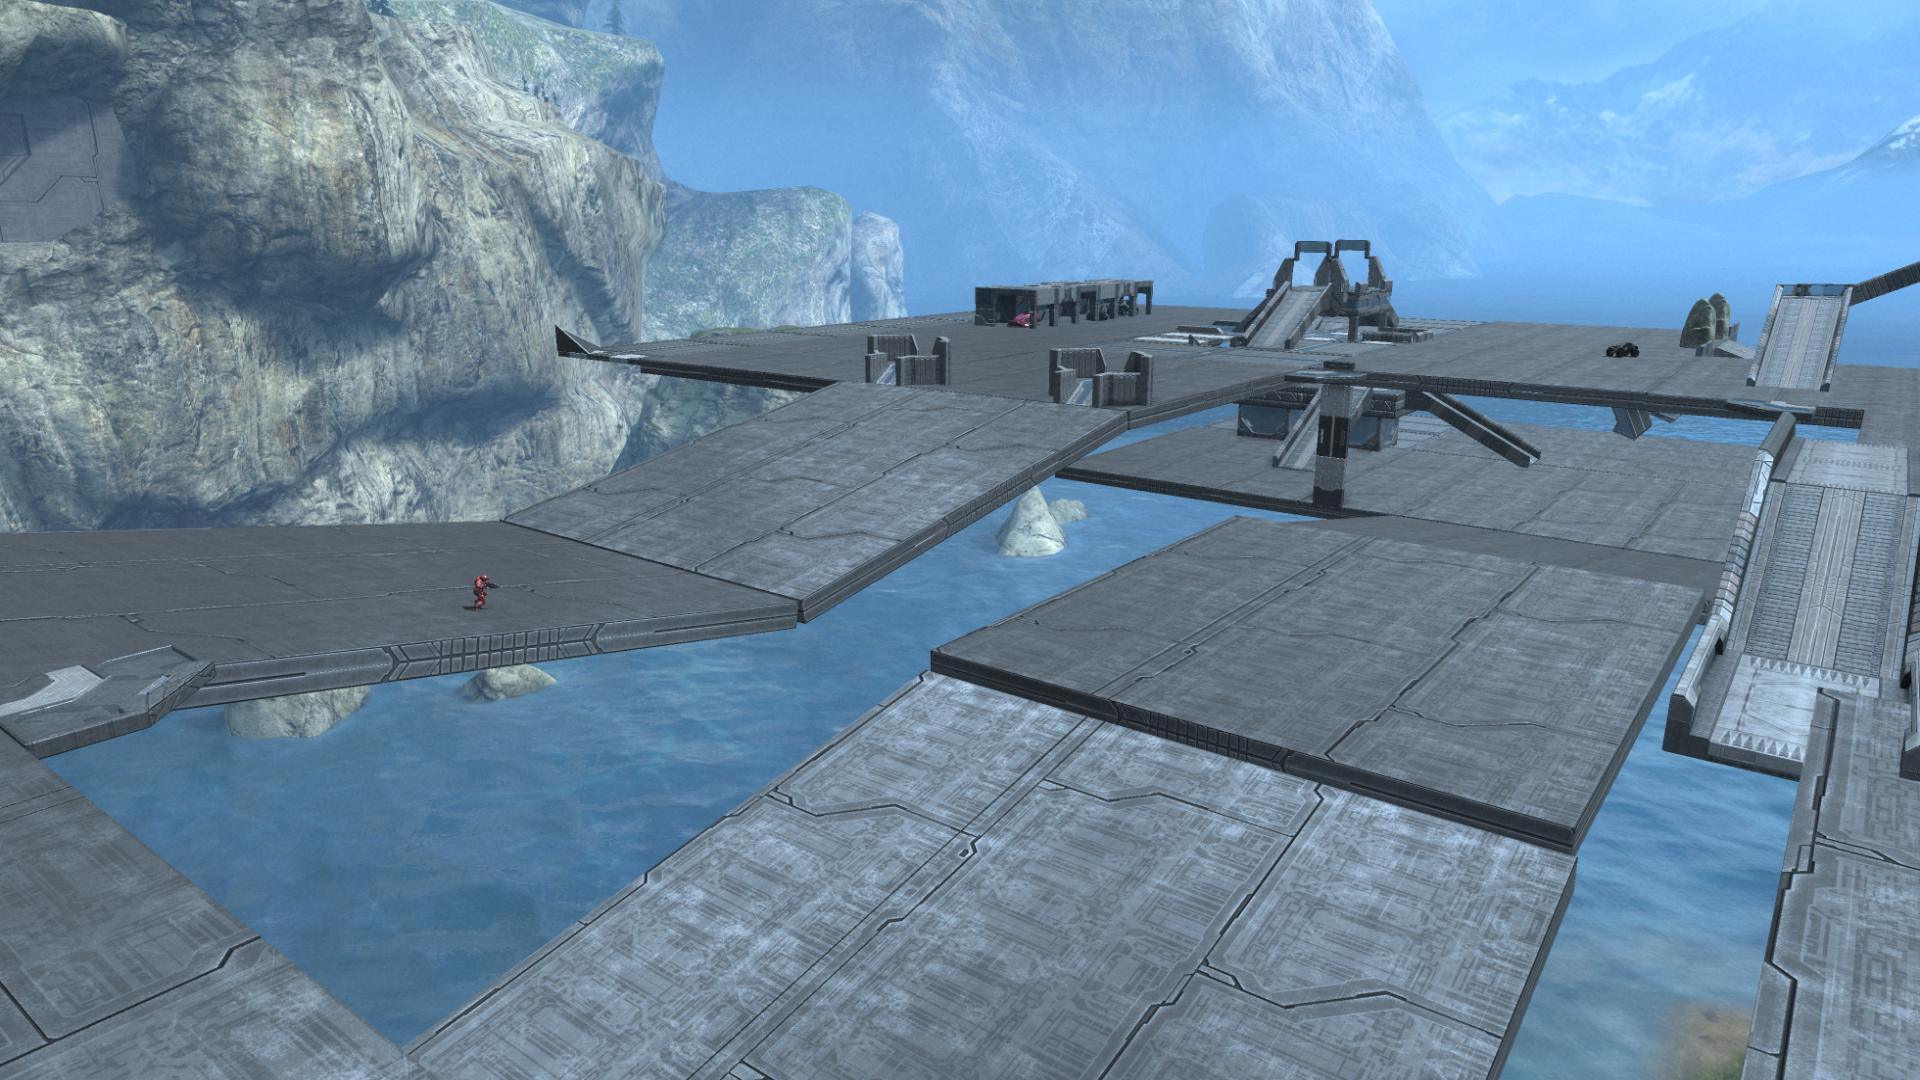
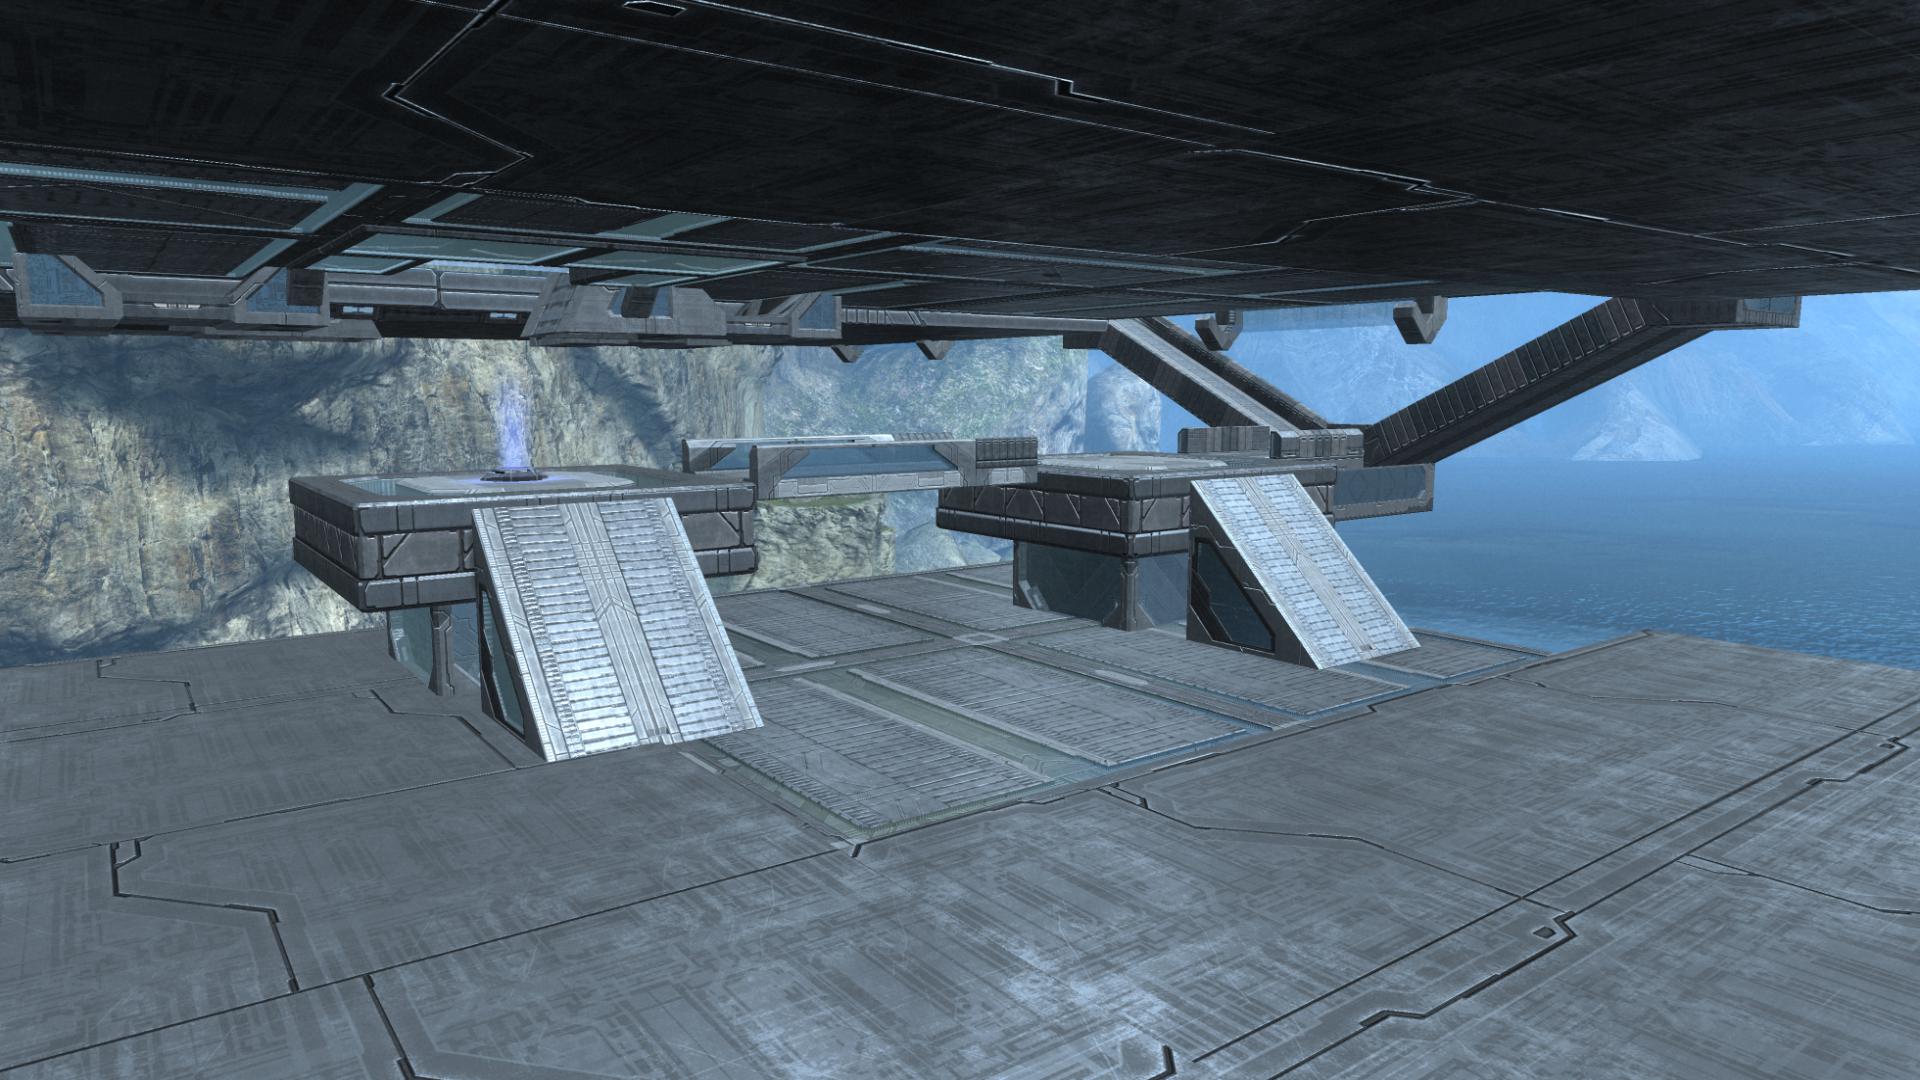
This layout was – at last – both functional and hit my original design goals of providing multiple ways around the map for vehicles. From the base locations, vehicles could take the high road around either side toward the opposing base, or take the low road from the bridge below the towers. And then on the way around, branch off onto the lower level on either side of the map. If I set the sight lines up correctly, players would be able to spot glimpses of vehicles taking the various routes, and if they wanted to avoid conflict reroute themselves to avoid the clash. And best of all, while still rough around the edges, it was kind of fun to drive around on. The angle of the pieces left a small gap between them, so I added a few objects to weld the joints together for now, and began thinking about the strategy for blocking off the edges.
There are some natural limitations to where cover can be placed on a vehicle heavy map. Here, the roadways had to be left uncluttered so that vehicles were not pushed to the sides of the roads, which was a big no no considering the map was floating out in space. So for the most part, cover for infantry was going to have to be along the edges. I knew this would lead to long sight lines down the roads, but I thought that could work similar to how they worked in Rat’s Nest: players on foot had a number of objects to duck behind and tunnels to step into. Anything that I placed was going to have to serve a whole host of masters: infantry cover, edge blockage for vehicles, sight line occlusion. So object selection and placement was going to be critical.
My first priority was determining where the edges need to be blocked off. I knew already that I wasn’t going to be able to seal everything off, due to the budget and object limitations, so it would be a matter of identifying the areas where vehicles needed safety railings, such as corners, ramps and intersections. The pieces need to be large enough to clearly signal to players in vehicles what the boundaries of the map were. Right away I ruled out heavy use of low railings or blocks, because they weren’t tall enough to call out the edge to drivers, who would be looking at the road ahead, not down. And just as importantly, the map needed to have some high-profile landmarks to distinguish the areas. This would help both with navigation and to make the map more visually appealing.
I started working on the base approach along the down ramp, as that would be a critical area of the map to get right. After shuffling through some of the larger objects on hand, I settled on the Pyramid building structure, flipped onto its side. This sealed off the entire length of the block, provided a tunnel along the inside, and cut a nice tall profile along the sides. Augmenting the side with a ramp meant infantry could step up and down the ramp in back to slip in and out of sight from the base, and the combination didn’t push too far into the center of the road. And to the extent that it did, the ramp was low enough and the tunnel wide enough for a Warthog to navigate over or through both comfortably. The inside of the tunnel curved outward, so players inside it were sheltered from view from most of the base. Across from the pyramid, I extended the road for infantry with a side bridge and a tunnel in the center to duck into.
The edging along the bridge was low, but it was also along a straightaway where vehicles wouldn’t be driving toward it, so the corners and outside borders were sufficient to call out the presence of the drop off.
It was at about this level of progress when some friends hopped into the map to say hi. I generally close my party when I’m doing major rearranges, but most of the time I leave it open so friends can hop in if they want. It’s nice to chat while messing around, and I find the extra set of eyes on whatever I’m doing often makes the map better (see: the addition of man cannons to the central towers). On this day, my friend started driving around the map, getting a feel for the layout and just messing around. And then a friend of his joined, and then another, and within a few minutes I had a half dozen other players zipping around the map. My Forging session had turned into an impromptu playtest. Which was a good thing, because the map needed one.
Testing out an unfinished map had its pros and cons. The good news was I got a ton of useful feedback and encouragement. The core layout seemed to work well, and everyone was cruising around the map both impressed with the scale and the flow. In particular, the upper man cannons were a hit (in more ways than one, given their semi-functional state) and the gradually undulating surface was fun to zip around. The bad was that without borders, the feedback typically went something like, “Hey, this map is pretty fun to drive oGYAAAAAARRHHHHGGGG!!!” *crash*
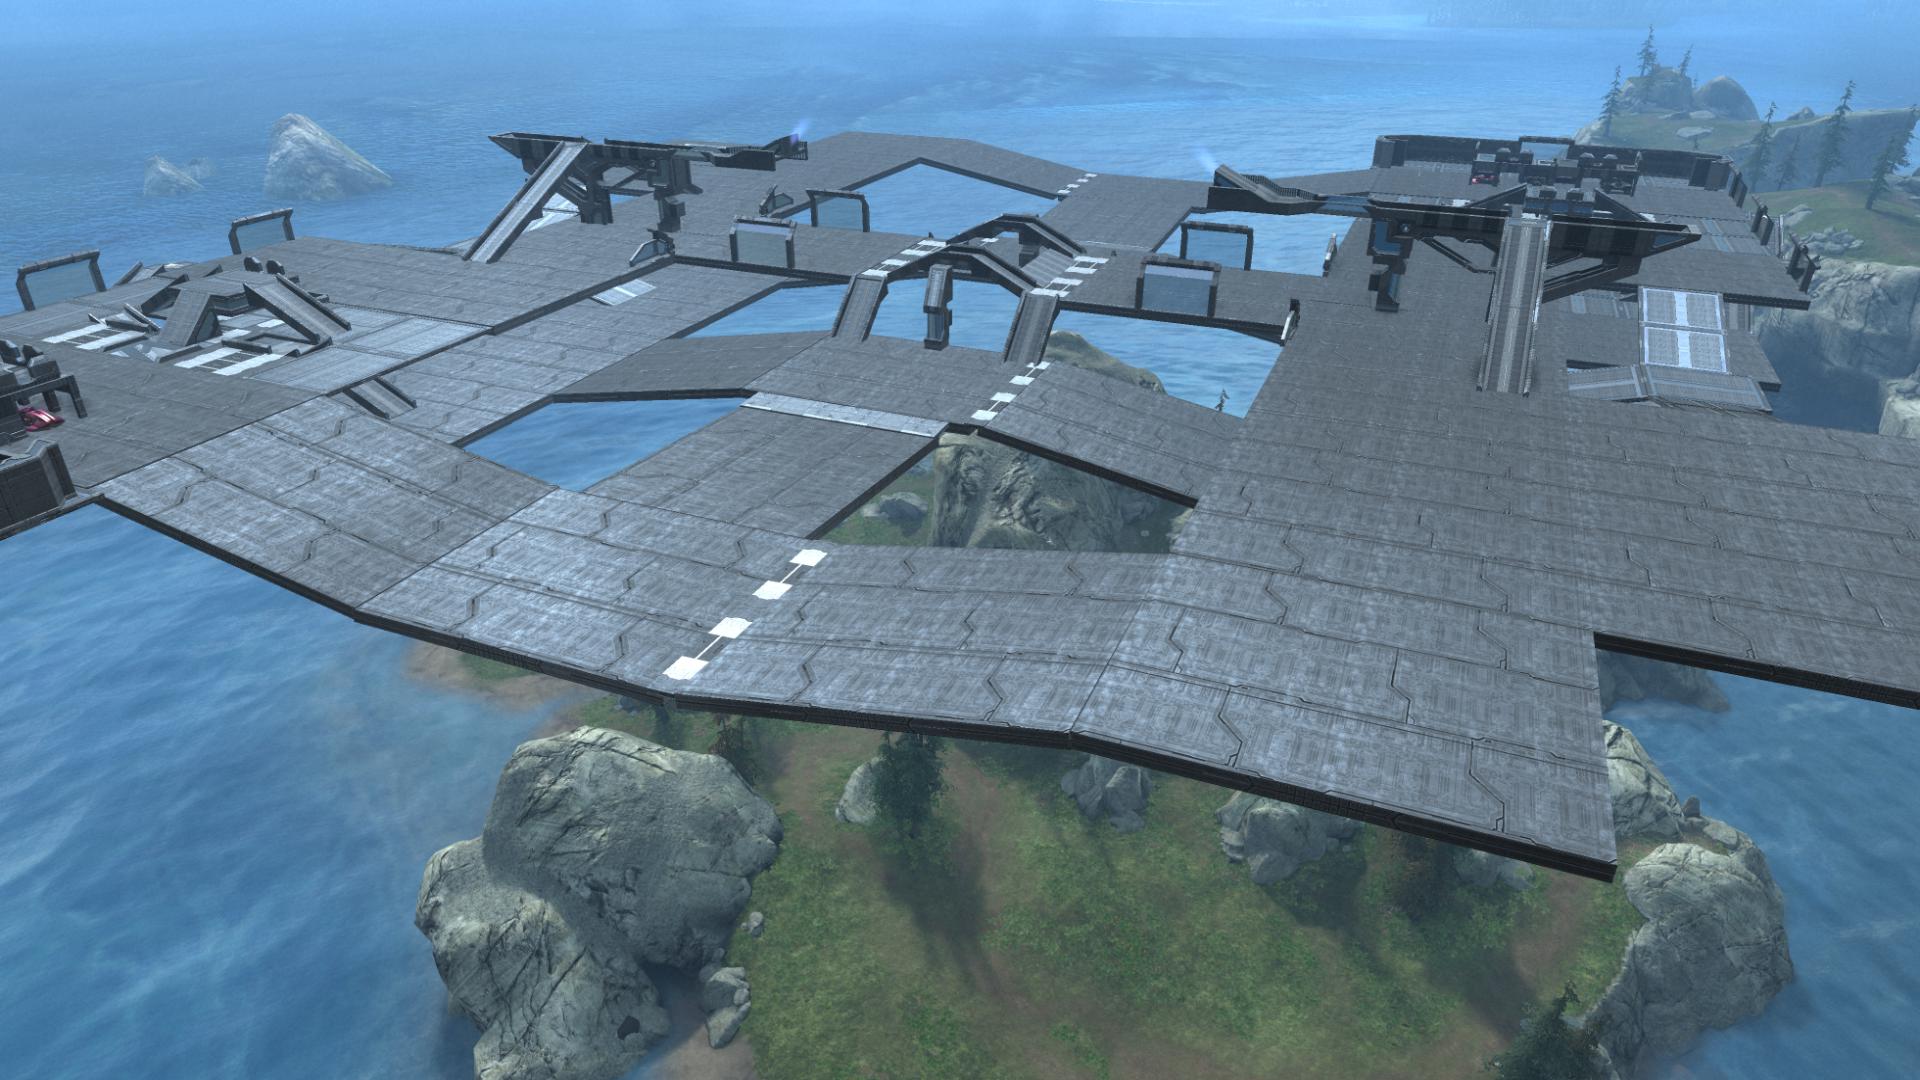
After a few minutes of caveating to everyone that it was a work in progress, I stopped Forging and just started watching them drive around, making note of all the bumps that flipped them, corners that tipped them and edges they drove off. The layout was about in this state during the testing session.
Observing a group of players new to the map playing around on it proved invaluable, as it got more stress testing than I could give it in hours of driving around. And their fresh set of eyes and lack of familiarity with the layout was a boon since it helped me flag areas I hadn’t focused on as yet. It was a reminder to me of how important play testing was going to be, and how handy it was that Forge was both an editor and a multiplayer gameplay mode.
Aside from the edging that I knew I needed to add, one big problem emerged that I didn’t anticipate. I had added a way into the base from below in the form of an up ramp leading to either side of the flag platform. But that up ramp was also a down ramp for vehicles, and just about everyone on the map plunged straight down it a time or two. And everybody slammed into the ridges caused by the window in the floor, repeatedly.
Because the down ramp was located on the corner, players couldn’t see it as they came around the bend. And the little nub at the top of the ramp simply wasn’t enough to help them spot it, or stop them when they ran into it. The ramp needed to either go away or get relocated.
And while I was examining the lower entrance, I realized I’d made another mistake that I was trying to avoid. With two levels to connect, I had an early concern about creating Ramp World: a map consisting of two flat planes and a ton of ramps connecting them. So any time I found myself working in too many ramps, I tried to step back and rethink the design of that area. Under the base I had to get infantry from the ground level up to the base, and then around to the side entrance up. And I’d placed no fewer than eight ramps to do it:
It was cluttered, inelegant and just plain ugly. Between the excessive ramps and the vehicles tumbling down them from above, I decided to eliminate the foot paths up to the sides of the base and replace it with a single grav lift up the chute in front of the flag. The ramps along the side would remain as an alternate route to the side of the base. The result still wasn’t as elegant as it should be, but it was a lot closer, and cut the ramp count down by half.
A day or two after I pared Ramp World back, another friend of mine, Chad, hopped into the map. Chad has a knack for making astute observations, and here he asked a question that cut to the core of my base design: “Where were you going to put the respawns?” I explained that they would be around the base, and then at a few locations tucked a ways away in each direction. “So they’ll respawn right where the flag carrier would be going,” he replied.
Yikes. What he was looking at was the split design of the base. The flag was located far enough forward that a player with the flag on the top level would have to walk toward the back of the base in order to make their getaway. And that was where one of my key respawn locations was going to be. If I used that layout, no one would ever get a cap moving the flag in that direction. The split design of the base undercut the resapawn locations. It occurred to me that respawns wasn’t something I could start thinking about when I had the rest of the cover placed; it was something I’d have to start thinking about now, as I was working it in.

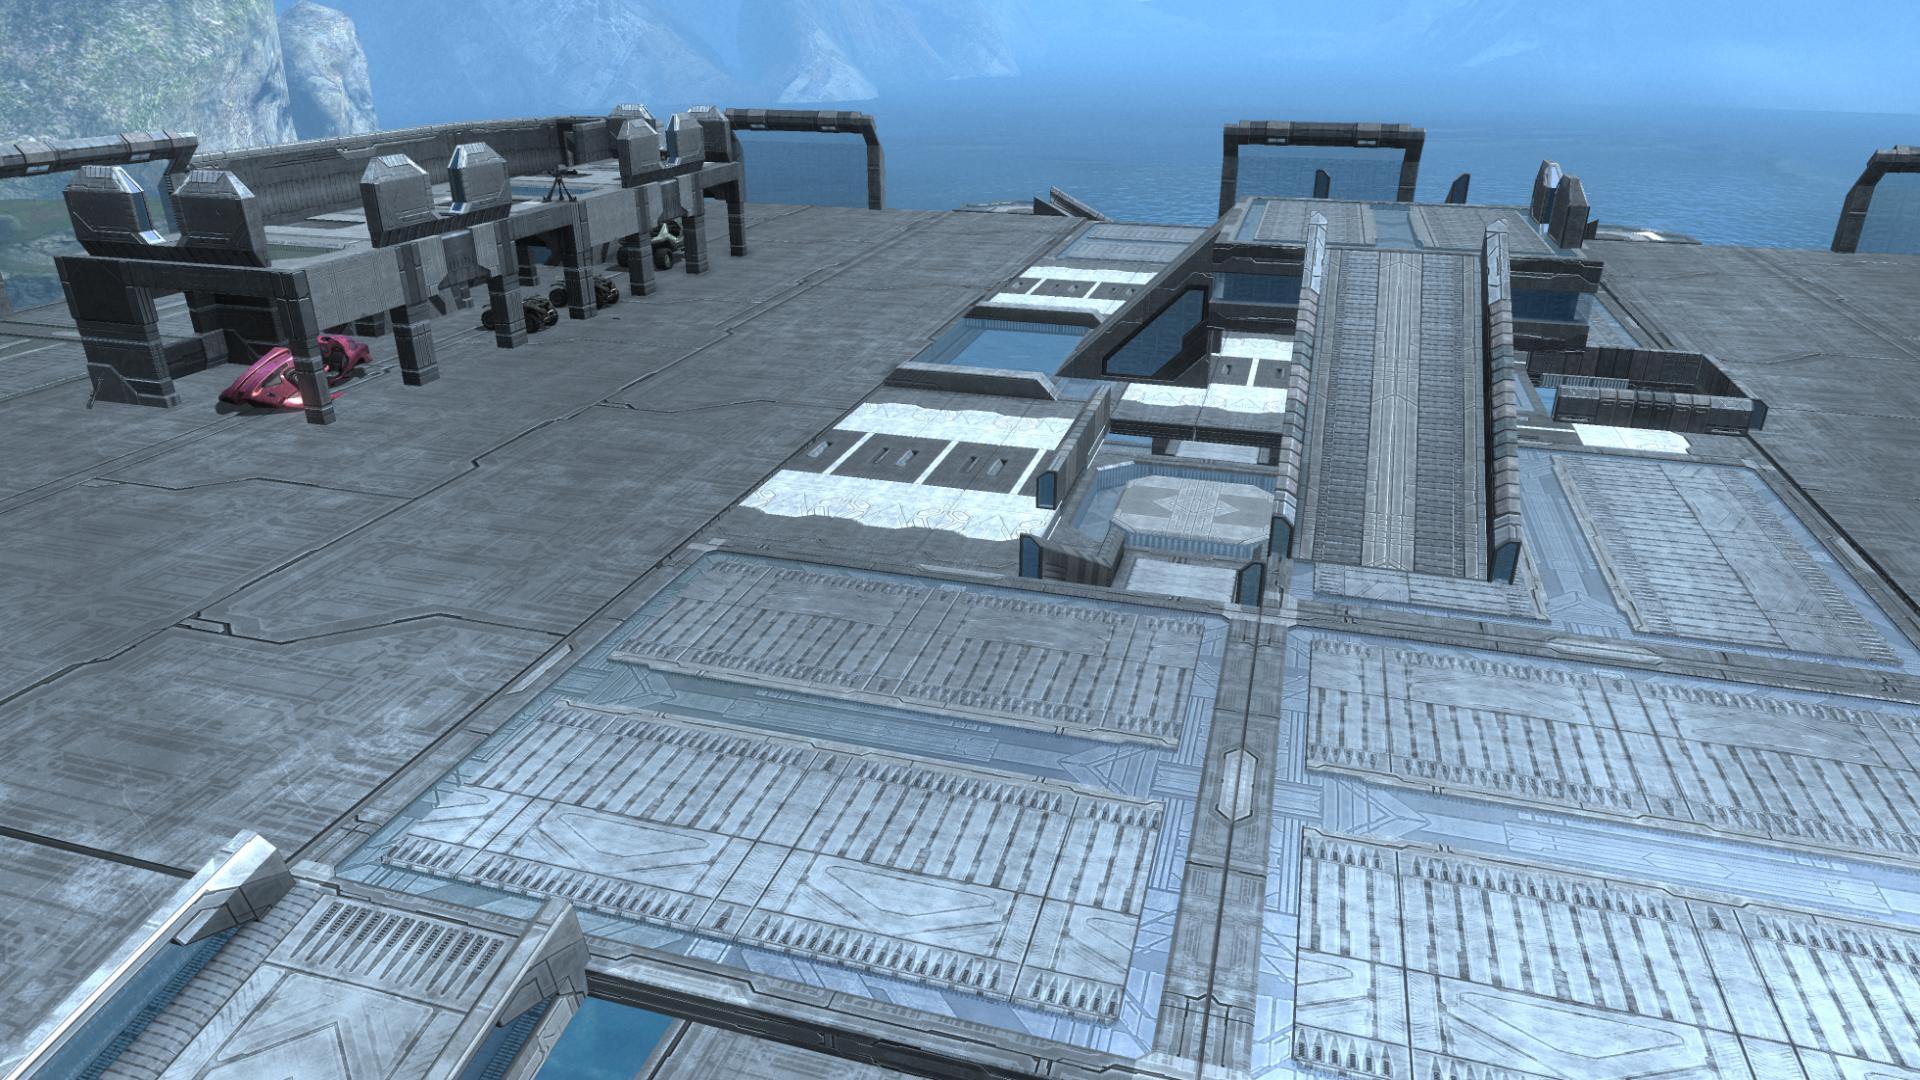
The next day, I took apart the bases and worked on a few iterations of the same concepts: a base with access from below (via the grav lift) that utilized the garages and provided a semi-open flag zone on top. It also needed to cover up the ridges from the glass window, and pull the base further back so players with the flag could make a quicker escape. And that’s where I ended up with base design 2.0:

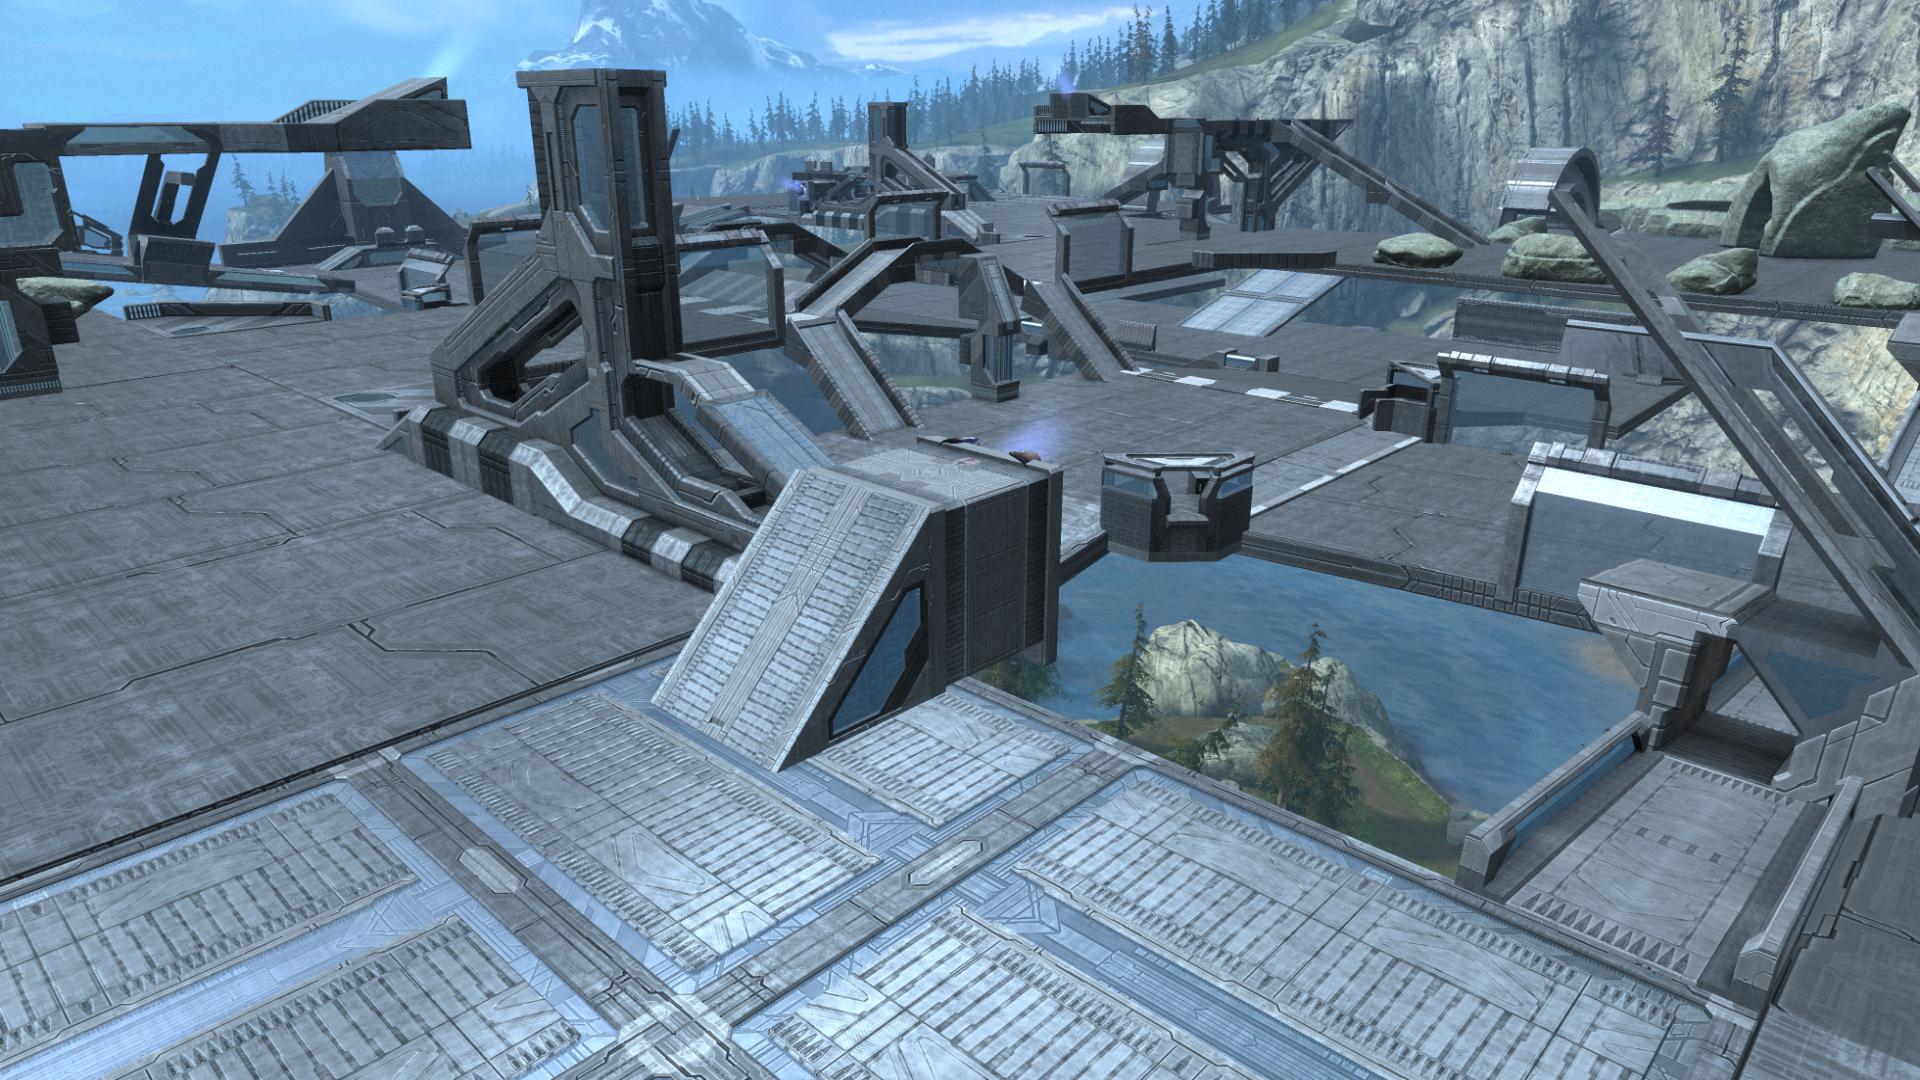
The new base was about half way between the location of the original flag platform and the garages, and was far enough forward that I could delete the extension I had built along the back (which had the added benefit of saving a fair amount of budget, which was getting tight). In form it was not dissimilar to a perforated Blood Gulch/Hemorrhage base, with an open top floor with a hole in it and access routes to the top and bottom along the sides. The garages were placed apart creating an open center, and sat on top of the ridges from the glass floor, eliminating the ridges that tripped up vehicles. So it fixed all of the issues I had identified so far. It still struck me as a bit too chunky, but it got the job done for now.
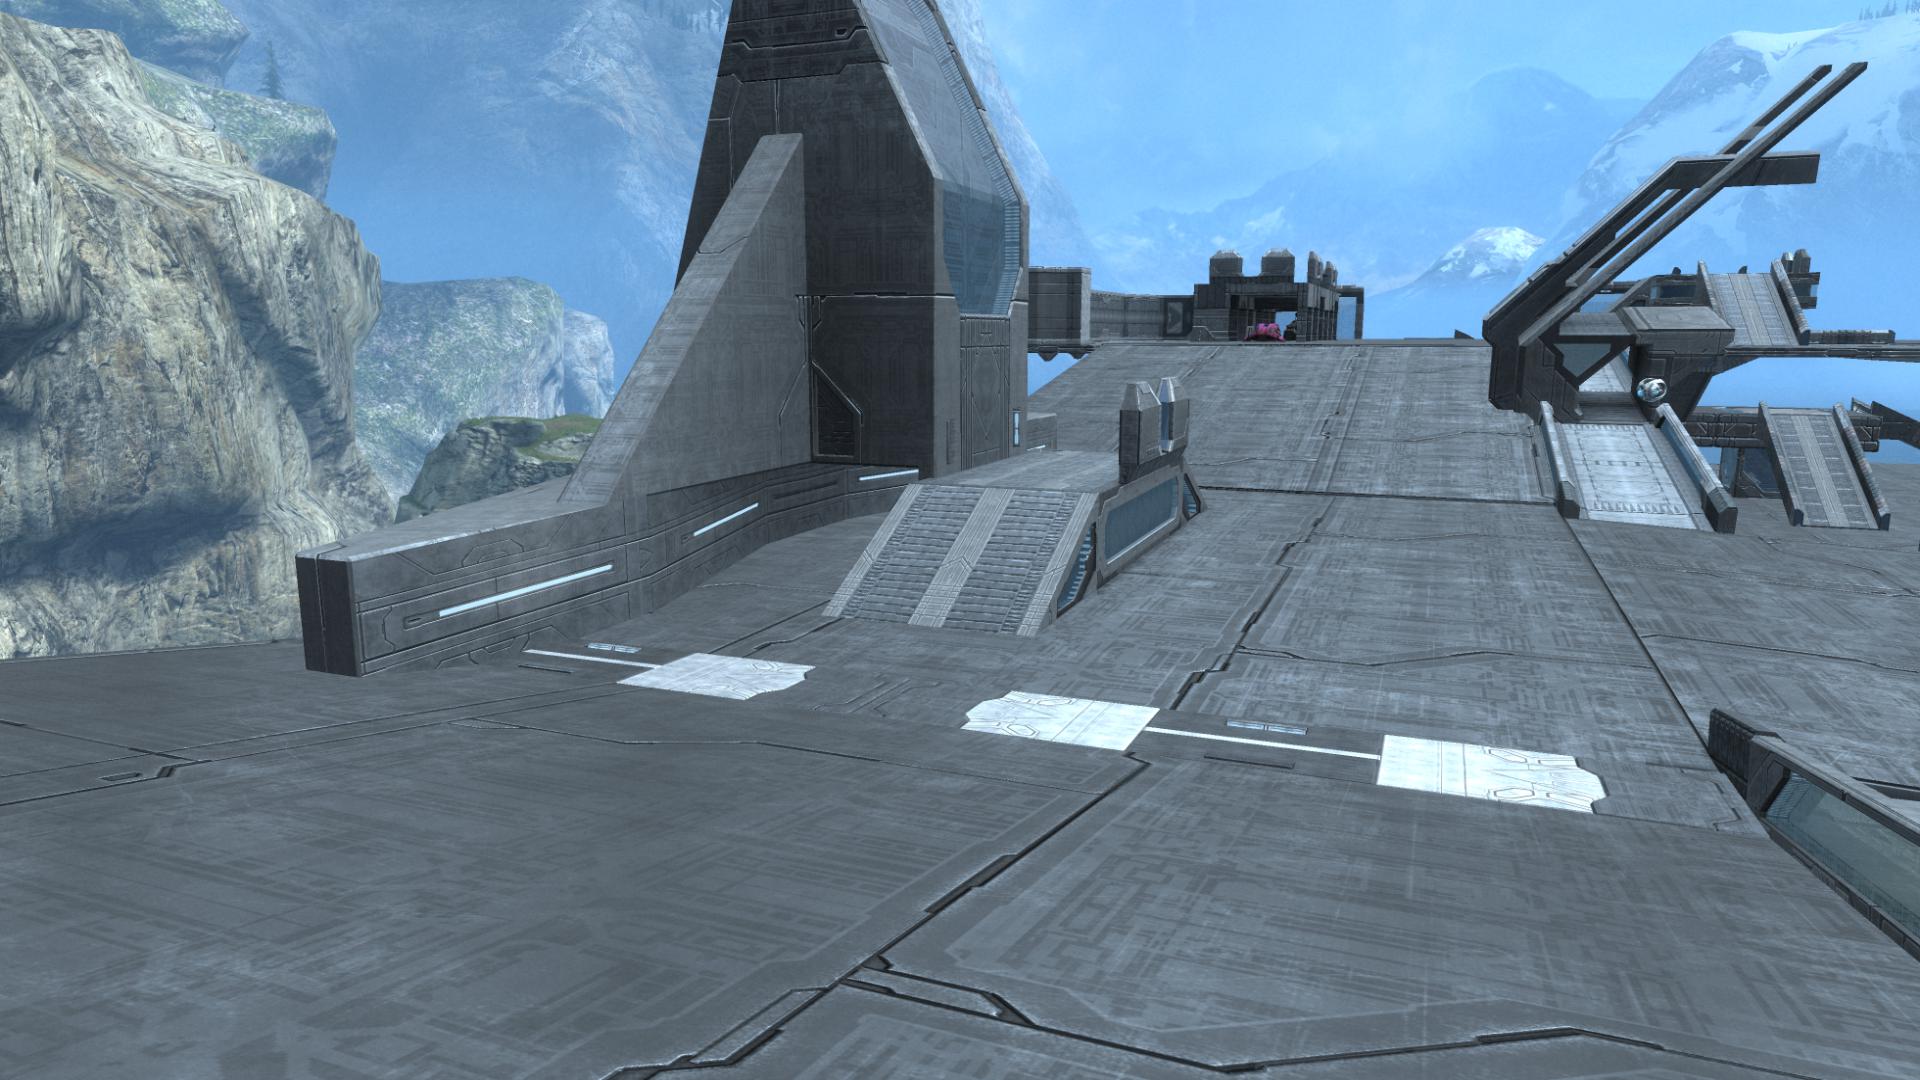
Next up was blocking off the ledge in front of the base. The budget had me looking to larger, cheaper objects, and I settled on the large elevated walkway, flipped upside down. It had the right combination length, height and a unique profile. (It had one notch on the surface that could trip up infantry trying to walk on it, which I filled in with a 2×1 flat block.) To further help players move around the map – especially those trying to escape with flags – I affixed a man cannon to the square end that would send infantry over the chasm and onto the bridge. That way, players could snag a flag and use the man cannon to get away from the base quickly, without having to walk a long distance out in the open. Plus, it let me further justify leaving the road wide open: it was a landing zone for the man canon. As with the cannons on Valhalla, the cost of taking a quick route away from the base was exposure to fire from afar. With some cover placed in the corners, safety would be 5-7 seconds away.
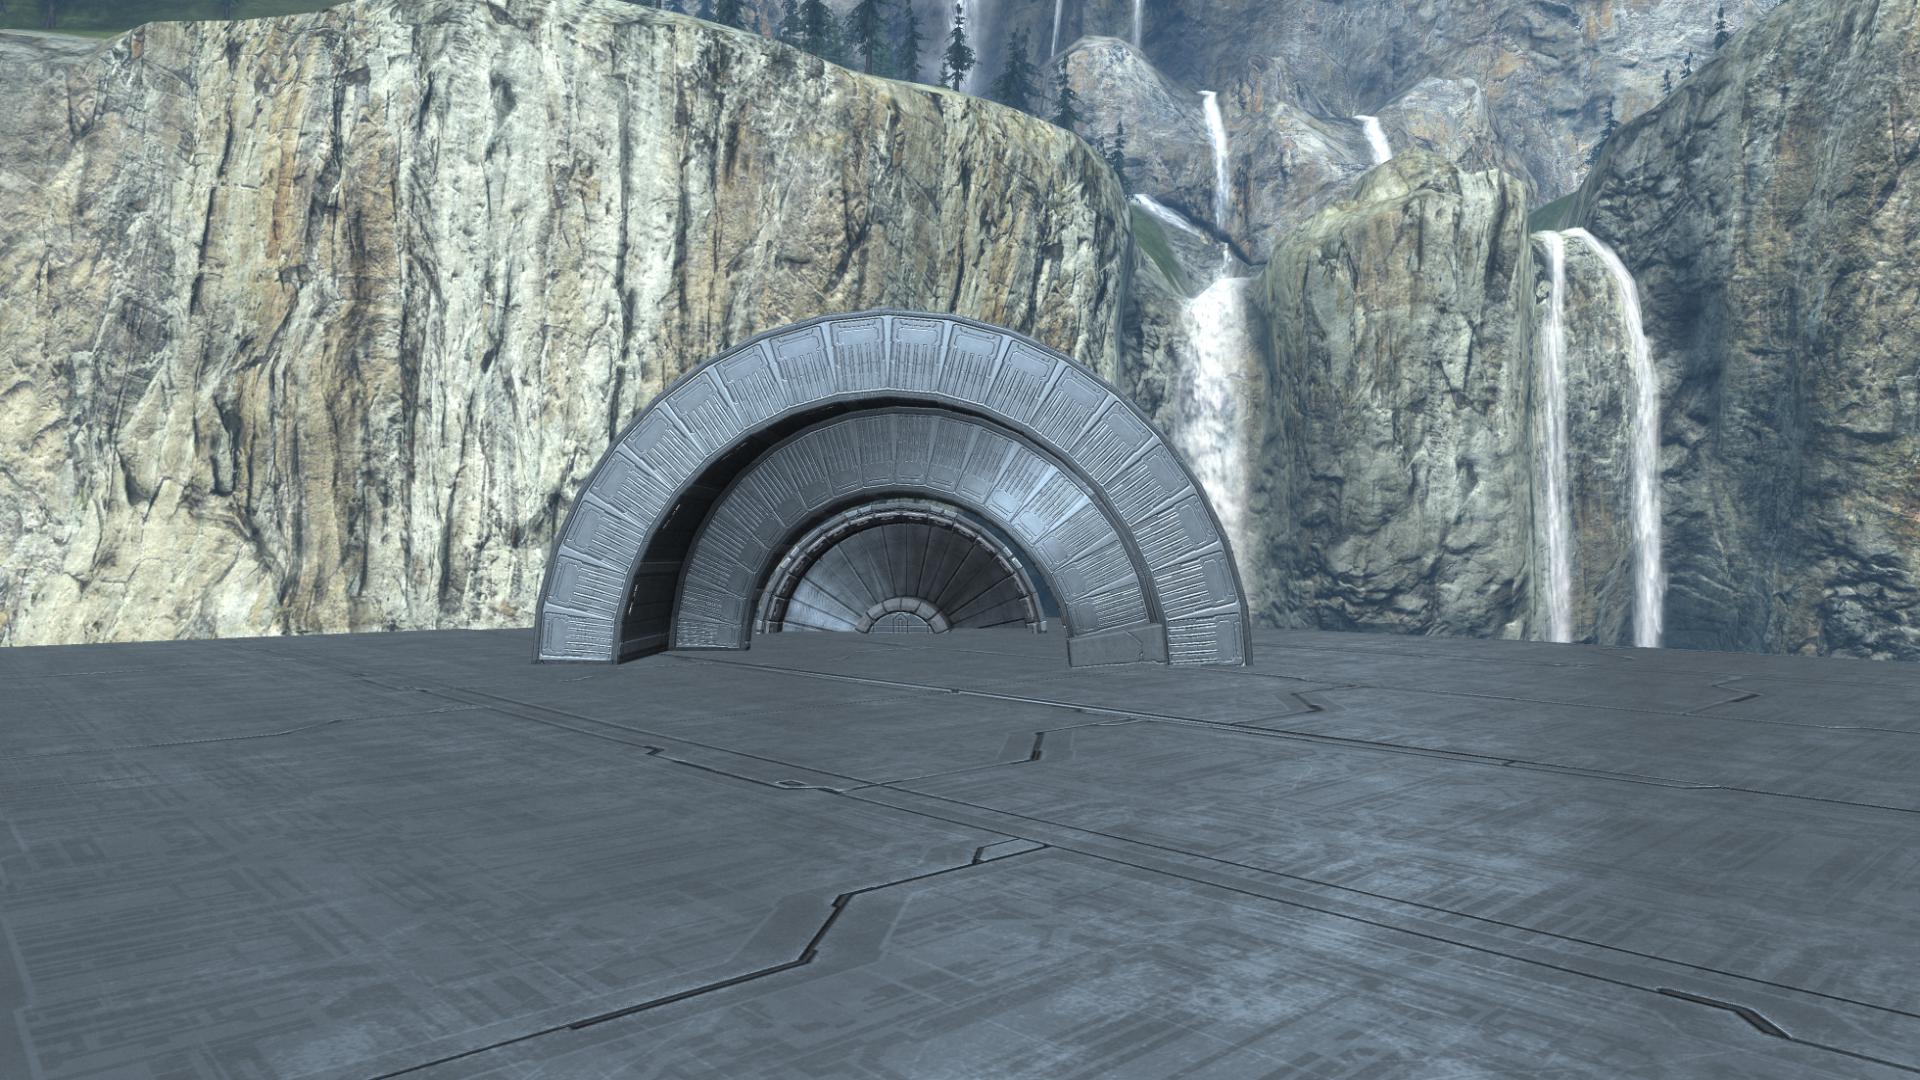
With the base corners defined, I moved on to the opposite which were still blank. I wanted to use them as a set of “bail out” spawn locations, where players would respawn if their base and the surrounding area were getting hammered. Earlier I had put down a couple of placeholder objects to get a feel for how much of the corner I could fill in while still making it open enough for vehicles to navigate easily. I had used the two spiral stair cases, the small blocking off the corner and the larger as an archway in front of it to shelter players. Looking head on, they looked like a jet turbine sunk into the ground.
But at this point, I was starting to really worry about the budget. I had about $1500 left over, and I knew I’d need about a third of that to place the weapons on the map. I had been using the items from the Decorative category to block off much of the siding, and at $50 a pop, that left me 20 objects for about half the map. So I was going to have to find ways to use a larger percentage of $10 pieces to block off the edges and provide cover. For this area, I turned to a category I hadn’t used much as yet: the Natural group of objects – rocks.
I had tried using a few boulders on the map at various times, and they all looked ugly due to clashing with the surroundings. But that was largely because I had tried to put one or two down in isolation. I figured, if I could theme a section of the map with the rocks, they wouldn’t be so out of place. So I swapped the steel stairs out for a Sea Stack border and a stone archway, and dotted the inside edge with various boulders. I liked the large steel staircase on it side enough that I wanted to use it somewhere, so I tried it out as the entryway to the side ramps, which worked surprisingly well. One big piece of the puzzle to that ramp fell into place. Plus, the staircase it was notched on one side providing some space for players to take cover behind it on either side of the bridges. With the stones so grouped into a single area – which I dubbed the quarry – they didn’t look as out of place.
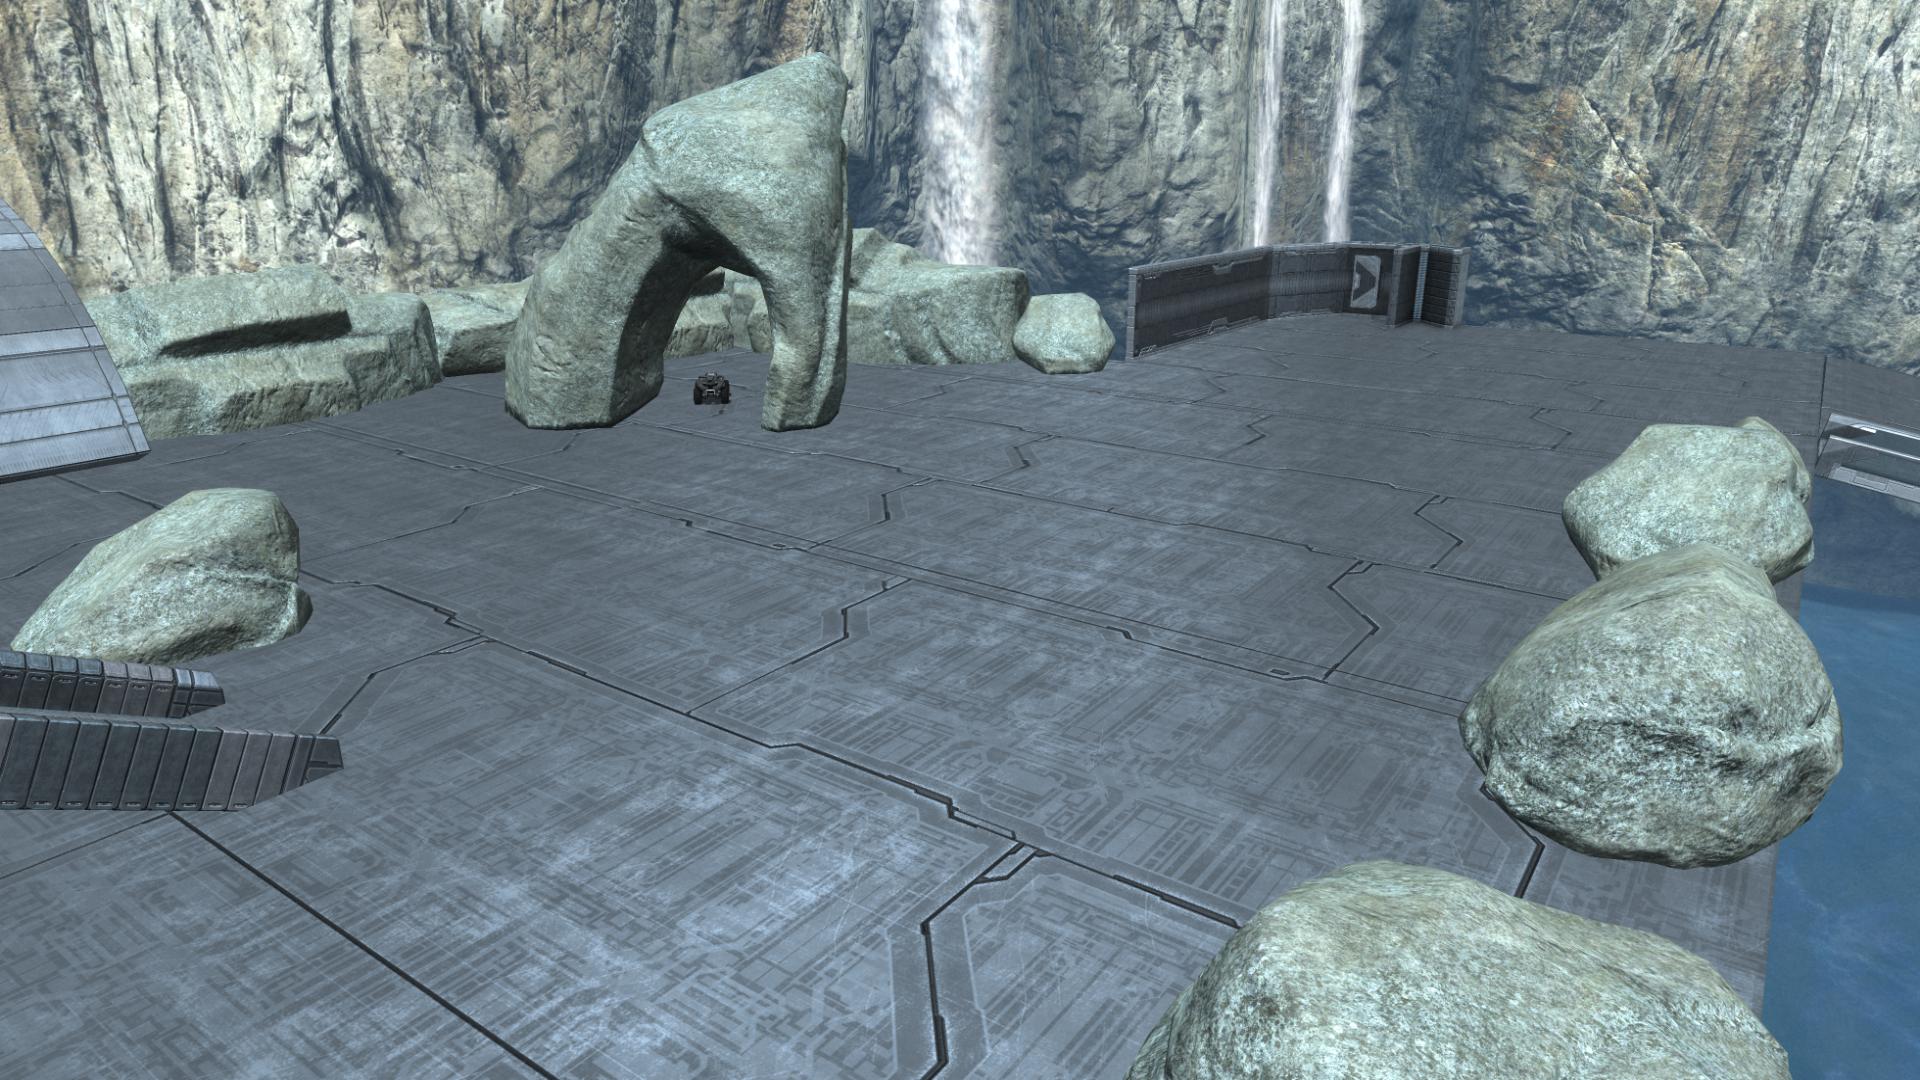
To help player who respawn out there – a good 20 seconds or so from the base – I placed a spare Mongoose and some weaponry. With the areas of the map now defined visually – the bases, the pyramid bridges, the towers, the quarries, the central bridges – there was a decent amount of visual variety, and each had a function. The edging and paths needed a lot of TLC, but the profile the map now cut was much more interesting than before:
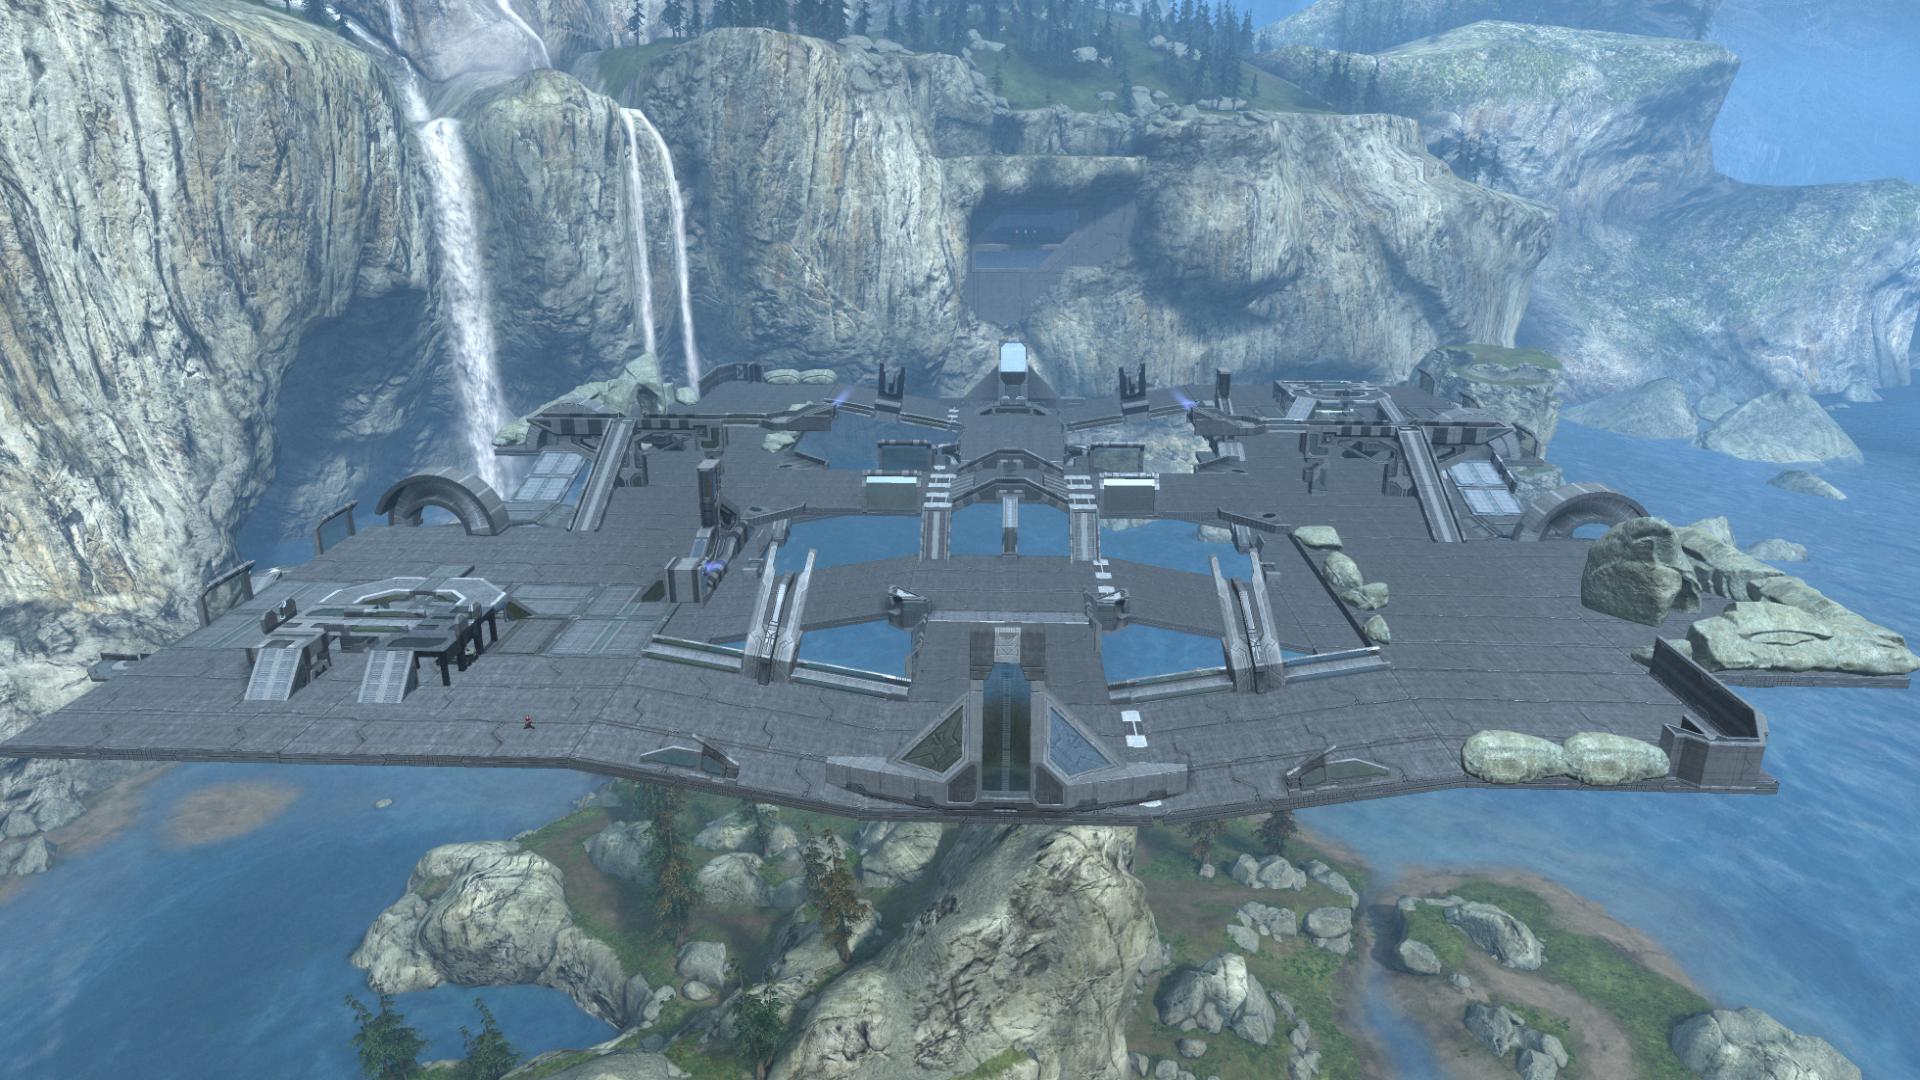
My list of areas to clean up and issues brewing on the horizon was long: the roads were too bumpy, the sides not covered enough, the upper man cannons didn’t work consistently, the bases were too chunky and I hadn’t tested out the cross-map sight lines yet. Oh, and I was rapidly running out of budget. But for the first time the shape of the map felt solid, the layout was logical and it was actually fun to drive around on. Now I needed to tidy up, refine the play spaces and get the weapons, spawns and objectives down for the first proper play test – and find out whether the map was actually fun to play on.
Also, I finally came up with a fitting name for it: Crossroads.
Good to see your using my rock idea, and your map progressing!
Also, I am going to download it, it looks really fun now.