Kizingo Boulevard
Mombasa Streets: ‘Uplift Reserve’ – ‘Kizingo Boulevard’ Interim
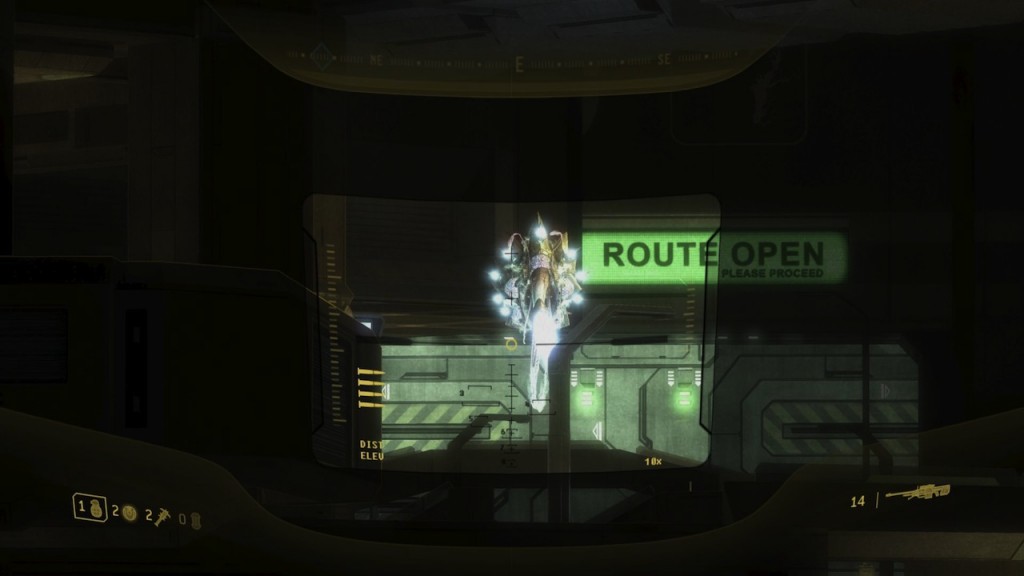
The Rookie finishes his inspection of the optical drone and prepares to move on.
Soothing music, mostly piano, greets the player upon his or her return to the hub world. Light rain falls to the ground, continuing its dissipation since the game’s beginning. The fires of the space elevator rage on–unquenched by the meager precipitation.
The Rookie’s next clue is about eight hundred meters away.
Taking one of the many routes to the next clue, a player can chance upon a roundabout where a Phantom will swoop in to drop off Brutes and Jackals. The biggest threat should be the Brute Captain, but if you grabbed a sniper rifle from the cache earlier, the group shouldn’t be too much trouble.
Beyond the roundabout a squad of Brutes and an Engineer block the way forward. Remember from the last Mombasa Streets interim, you were able to catch a glimpse of the Covenant’s mistreatment of the Forerunner-engineered lifeforms. Here, if you’re able to approach quietly, you’ll be able to see an Engineer at work examining its environment. What’s it looking for?
Bungie had been trying to work the Engineers into the Halo games since Halo: Combat Evolved; rough models remained buried in the game’s code. Over and over again they had to be cut. Given ODST‘s existence as a mini-campaign and side story, Bungie finally had a great opportunity to make Engineers a major part of a Halo game.
Fans were introduced to Engineers in Eric Nylund’s novel The Fall of Reach during the Battle of Sigma Octanus IV. During the conflict the Master Chief and a small team of Spartan IIs were sent to investigate the Covenant-occupied city of Cote d’Azur. While doing some recon of the area, the Master Chief recorded footage of a faction of the Covenant he’d never seen before.
Something else caught [John’s] attention, though. There were other aliens on the sidewalk–or rather, above the sidewalk. They were roughly man-size creatures–unlike any he had ever encountered. The creatures were vaguely slug-like, with pale, purple-pink skin. Unlike other Covenant forces, they were not bipeds. Instead they had several tentacular appendages sprouting from their thick trunks.
They floated a half meter above the ground, as if the odd, pink bladders on their backs kept them aloft. One alien used a slender tentacle to open the hood of a car. It began to disassemble the car’s electric engine, moving with startling speed.
Within twenty seconds all the parts had been neatly arranged in rows on the pavement. The creature paused, then reassembled the parts with blinding quickness, disassembled and rebuilt it several times in different arrangements. Finally the creature simple reassembled the car and floated on his way.
—The Fall of Reach, Chapter 19
Unfortunately this rapid deconstruction/construction of man-made objects is not a behavior players ever witness during the game, although the Engineer’s benevolent affinity for technology (such as witnessed in Contact Harvest) factors heavily into this game.
There are two ways into the next area the Brutes are occupying, so you can pull a bait and switch and alternate your path of attack between the two entrances. Regardless if you attack the Engineer directly, engaging the Brutes and killing them all will activate the Engineer’s explosives pack, killing it in the process.
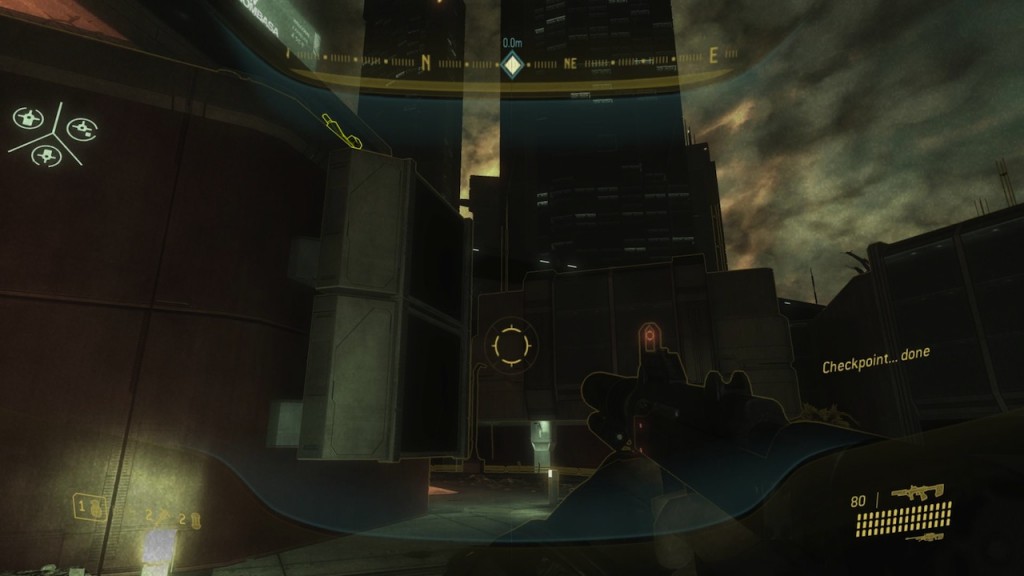
After a couple of small skirmishes along the way, you’ll notice that your HUD is directing you towards a nearby building, smaller than the one that housed Dare’s helmet. The squad system employed by the Covenant makes the hub world interesting, because different runs of the campaign will yield entirely different experiences traveling between flashbacks items. Sometimes you’ll have to fend off a squad of Brutes in the roundabout in front of the building, and in others the place will be completely deserted.
There’s a weapon cache with rocket launchers at the back of the building if you’re interested.
There are many wreckages-–more than usual in an area this size–almost like preludes to the climatic battle during the day.
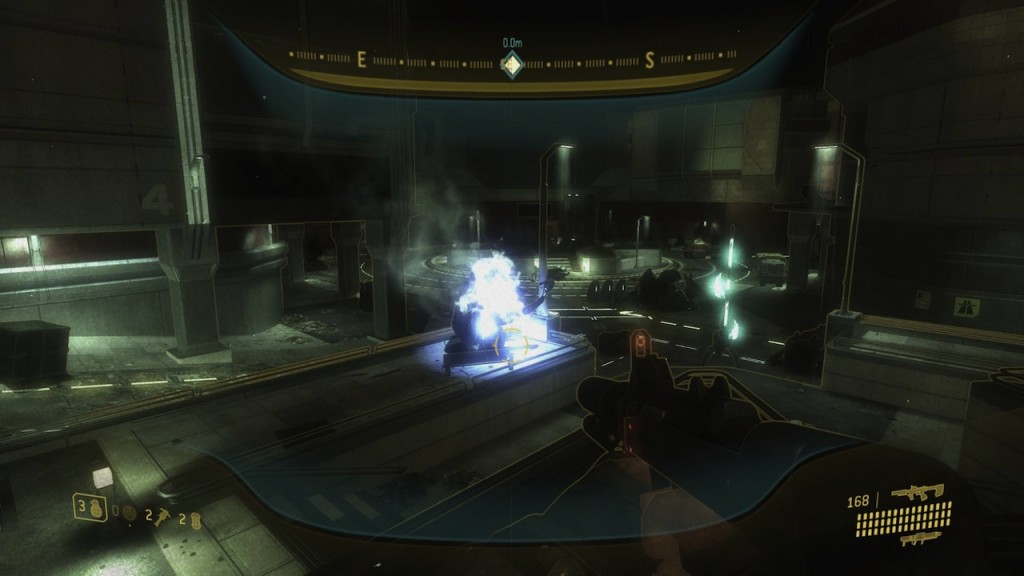
It’s a short walk through the building to the second floor, but quite the gruesome one. Bodies of dead Covenant and human police officers crowd the floor. Blood is splattered on the walls, and dozens of Spiker rounds are embedded in many of the same walls.
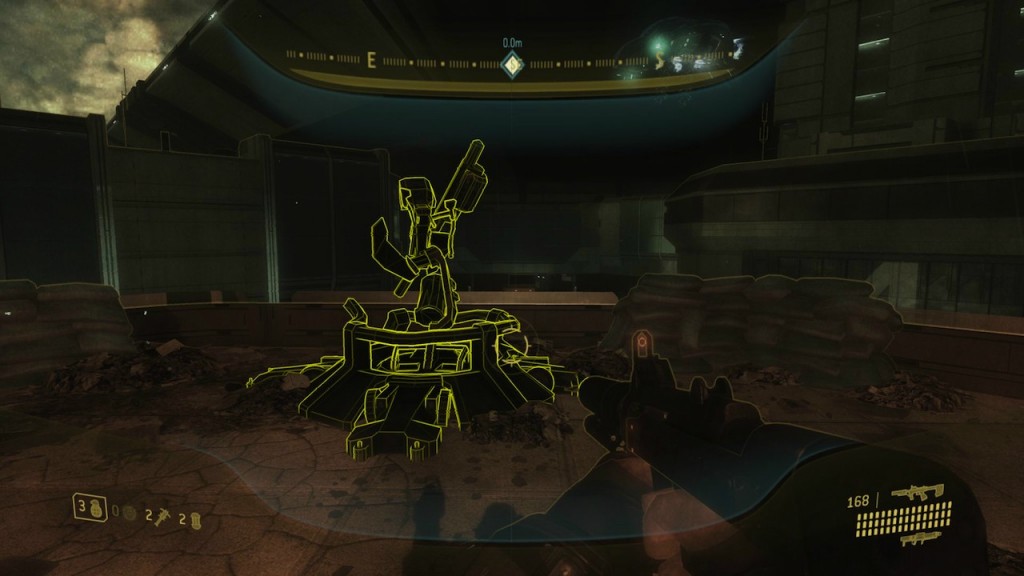
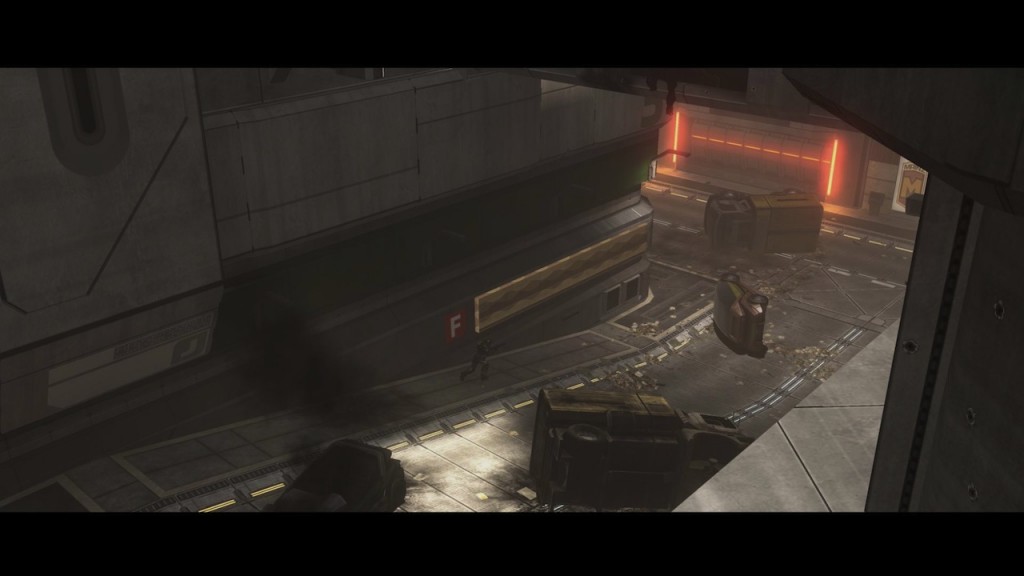
The second floor overlooks a large area (be warned, there’s a Jackal with a sniper to your right as you reach the top). Your clue is conspicuous–a damaged, stationary Gauss turret. If you wait a little longer, a Phantom carrying barricades will fly overhead.
Laid out before the Rookie is Kizingo Boulevard, one of many streets being fought tooth and nail for in the previous hours.
Kizingo Boulevard
90 minutes after drop
The camera tilts down and we see one soldier running down a sidewalk. This man is Private First Class Michael “Mickey” Crespo, pilot and explosives expert, voiced by Alan Tudyk. A Scorpion takes him by surprise–it’s retreating with several soldiers. Given fans’ experiences with the tank in previous games, if one is retreating, it means the battle isn’t going well.
Mickey: “Hey! Where’s the fight at?”
Marine 1: “Take a guess, genius.”
Mickey pokes his head around the corner to see a Wraith round the corner. It launches a mortar, prompting Mickey to scramble across the street to cover.
Mickey: “Son of a gun!”
The cutscene changes to the first person perspective. The tank provides covering fire for Mickey.
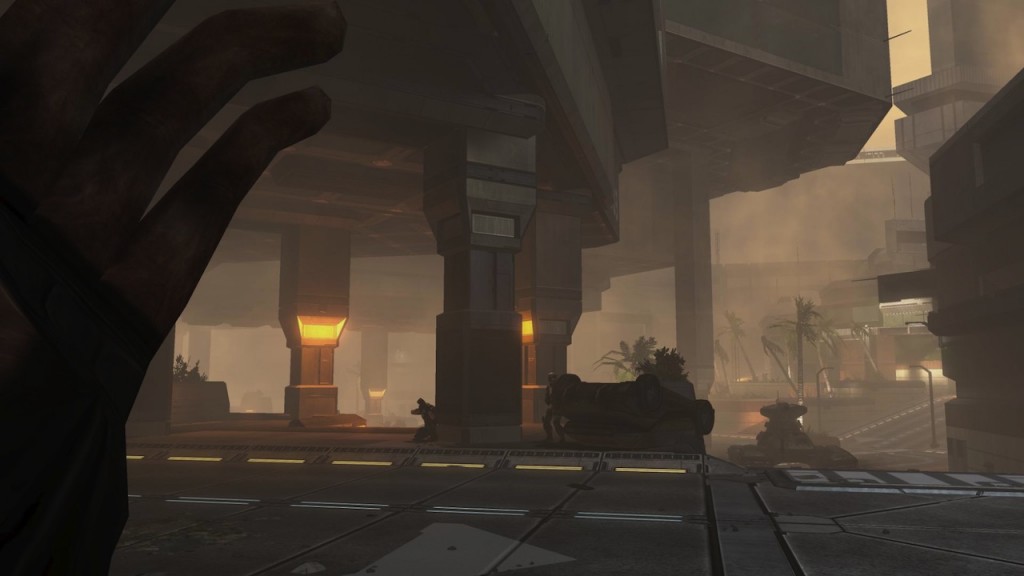
Marine 2: “Want to live? Get your ass out of the street.”
The Scorpion tank fires off a shell, the sound rattles the player’s teeth. ODST is the first Halo game that uses first-person cutscenes, a change later seen in Reach. It’s especially noticeable here because of the weapons fire all around the player, putting him or her in the action before it even starts.
Mickey: “Wait for me!”
First-person cutscenes are a great transition from cinematic cutscenes to gameplay, giving you a moment before you assume control (and are vulnerable) to take stock of your surroundings. Behind you, your biggest problem is the Wraith and its two Jackal infantry escorts. The quick and dirty way to dispense with the threat is to use the two rockets you have for the Wraith, then prime one of your grenades for the Jackals. Boarding the Wraith is tricky because of its gunner, and the mission doesn’t start you off with a headshot-capable weapon, but it’s doable.
Or you could ignore it entirely. Two Marines with rocket launchers on top of the building to your right will take care of the tank if need be.
The Wraith behind you lies opposite a larger battle in the immediate area. The building overhang pushes up against the surrounding structures, making the battlefield feel more claustrophobic than it is. A small squad of one Brute and two or three Grunts are fighting the Marines guarding the tank you saw earlier. Easy enough, but beyond them, there’s far more Covenant infantry lying in wait.
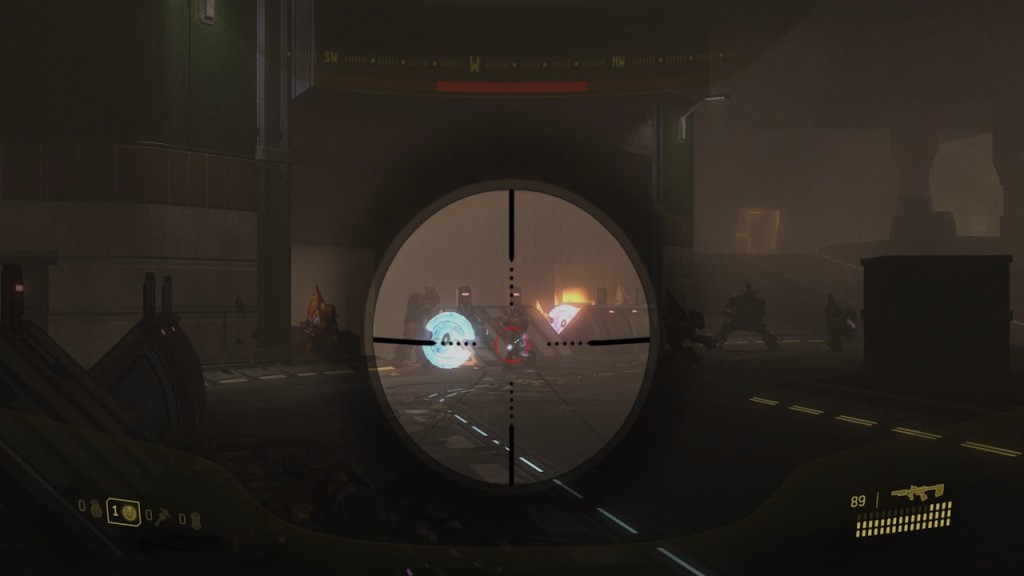
When the player advances to a certain point, the Covenant’s presence makes itself known. A large group of Grunts, Jackals, and Brutes pour out of the parking garage of the building you’re fighting under, and it only escalates from there. At this point, a Marine will chime in with some advice.
Marine: “Get in the tank, trooper! Before the Wraith takes it out!”
Indeed, in the distance, a Phantom has dropped off another Wraith and it wastes no time shelling the area with plasma mortars. All of this adds a sense of urgency–encouraging the player to heed the Marine’s advice.
Co-op or no, there are two Scorpion tanks in the immediate vicinity. One is occupied, the other isn’t. It’s faster to take control of the unoccupied one as you don’t have to wait for a Marine to exit. The Marine AI in the other tank will eventually take out the Wraith if you choose not to do it yourself.
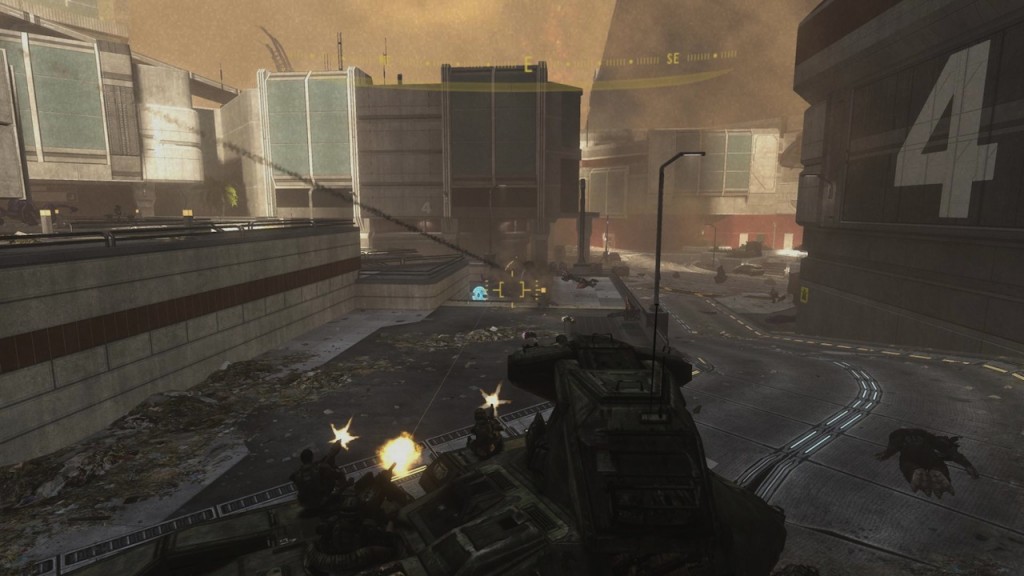
The tank is the best way to clear out the infantry on the ground and the Wraith in the distance.
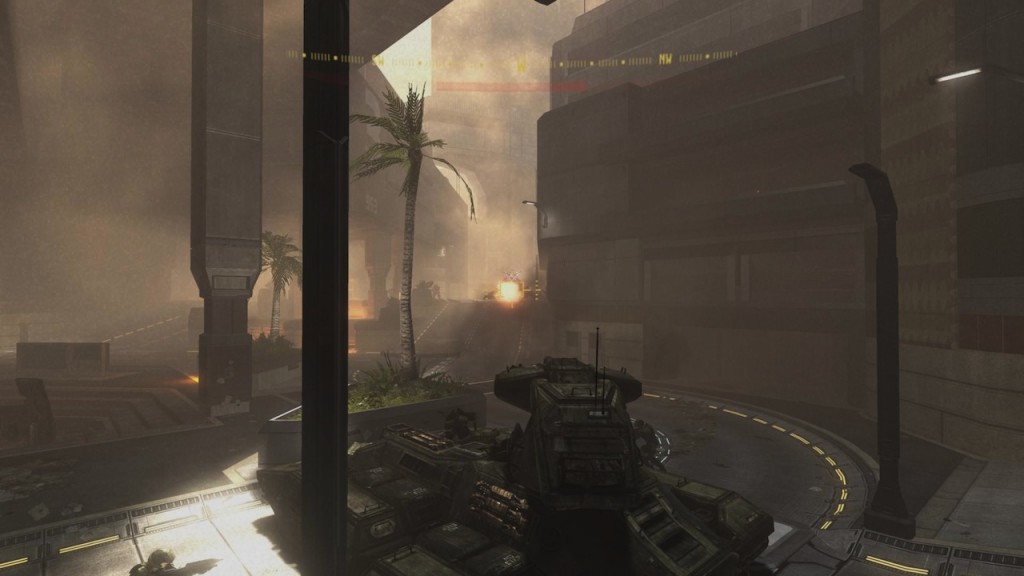
A Brute in a Ghost will attempt to close ranks, but it’s no match for you.
Before you know it every Covenant in the area is replaced with a lifeless body. A couple more shots and the Wraith crumbles to the ground, destroyed.
Marine: “Ah. Good work, trooper! Covenant’s been rollin’ us back block by block. Every Marine in the city is headed for a rally point near the Naval Intelligence building. You oughta come with us.”
Mickey: “Sure! As long as I get to drive the tank.”
Mickey’s focus on the tank tells players that they aren’t finished with it yet. It isn’t only advisable for the rest of the level, it’s encouraged. From here, the music starts and slowly builds.
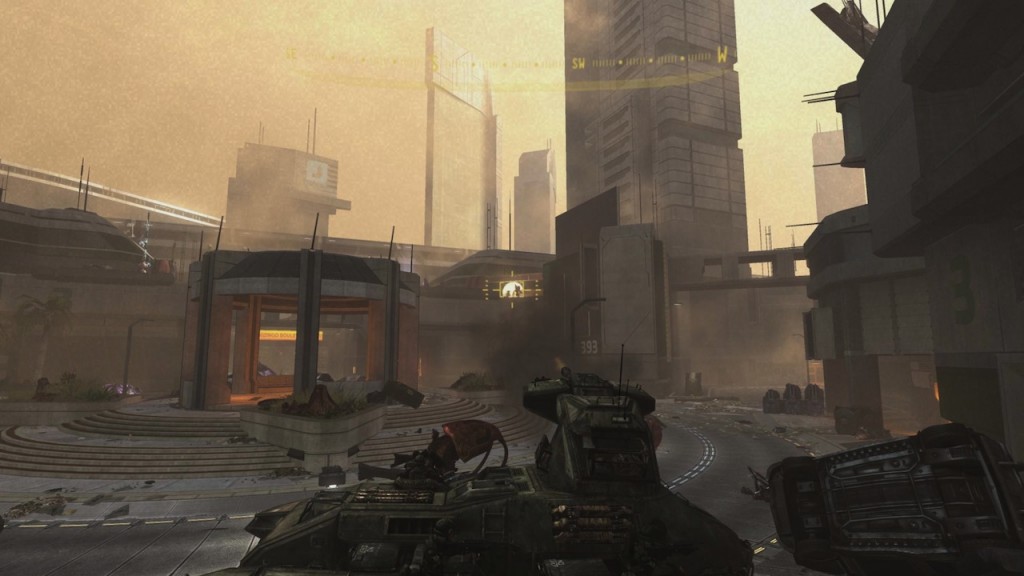
Don’t be so quick to leave the area, though–with the Covenant dead, it’s a good time to take in the sights. Given the action the player just witnessed, this level is “Tayari Plaza” but on a far bigger scale–you’re packing a lot more firepower.
The player has returned to the daytime fights of the city streets. The city is a mess: more trash, roadblocks up everywhere, destroyed cars and vehicles, and dozens of bodies. Among the litter you’ll notice shreds of the “Daily Dire News” paper: your one-stop news source for all the misery in your life! Here and there are lost ID cards, presumably sporting the pictures of Bungie employees. Broken lights reserved for night are active during the daytime. Advertisements are still running for the most part–ads for Traxus Heavy Industries, Mainz Trager, and the New Mombasa Transit Authority and others dot the landscape. Trashcans, with the image of the Superintendent and a plunger stamped on them, lie overturned on the sidewalks.
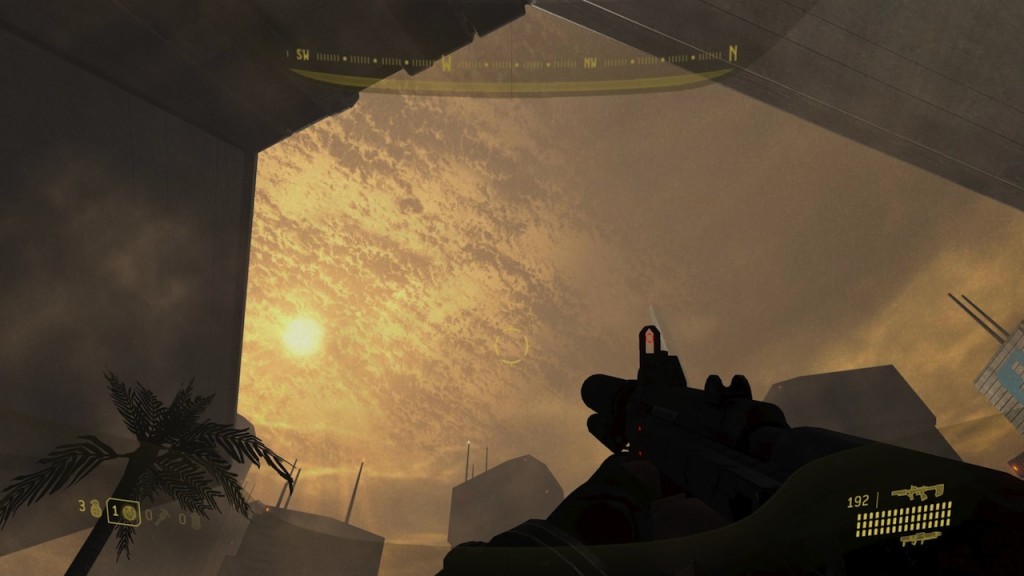
Above, the player will notice that the sky has not quite calmed. It still has a gold-brown hue to it, though not as vibrant as it was in “Uplift Reserve.” A haze of dust chokes the atmosphere, no doubt from the gunfire and explosions around the city, with a hearty contribution from the collapse of the space elevator. Given ODST‘s nonlinear mission path, the skyboxes are a subtle way to help orient the players within the game’s timeframe and make everything feel a part of a larger whole.
Players who like to explore will note extra rocket ammunition and a health pack behind the second tank.
Moving on in the direction of the destroyed Wraith, two small groups of Covenant will try to stop your push through the streets. After I destroyed one of the Ghosts the Covenant throws at you, one of the Marines riding on my tank said, “That thing’s gonna blow.” I had been approaching the destroyed remains of the Ghost absentmindedly until then. When Covenant vehicles are damaged beyond repair, they self-destruct. This is done on purpose to make it harder for humanity to reverse engineer Covenant technology and gain a level hand in the war. Due to the Marine’s caution, I successfully avoided the explosion. Thanks, buddy!
Within the narrow s-curved part of the street, players will notice a sign with a “J” next to graphics similar in appearance to braille. This is the logo for JOTUN Heavy Industries–a corporation that designs and manufactures farming equipment. Their products were featured, and used, heavily in Contact Harvest. The Brute Chopper featured prominently in “Uplift Reserve” and Halo 3 was reengineered from a JOTUN farming machine by the Engineer Lighter Than Some.
Beyond the street, resistance is weak until the next encounter, though the level makes it harder by placing Covenant on top of buildings and in walkways, forcing you to angle your turret. Along the way the player passes a Covenant energy barrier–the first of many–blocking a side street. They’re in the hub world too, but they’re more noticeable here because the flashback is more linear and they prevent you from exploring too much. Installing barriers throughout the city makes it harder for the human forces to regroup and unite together, and makes it easier for the Covenant to deal with any resistance.
Marine: “We got a squad of Marines pinned down, far corner in the next plaza. It’s packed with Covenant, trooper, so once you commit, don’t stop movin’.”
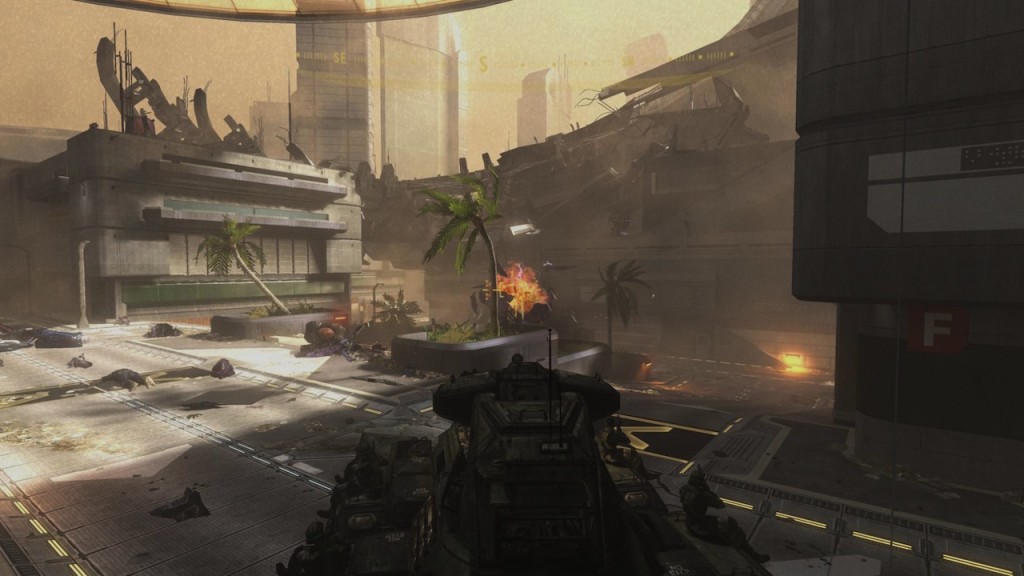
The music rumbles along as you traverse a slight incline. At the top the level opens up again. In the plaza, two plasma turrets are perched in high corners, while a Covenant gravity platform and roaming infantry fill the streets.
A Phantom swoops into to drop off a Ghost, but if you’re quick with the tank’s turret it’ll be bits and pieces before it hits the ground.
The Covenant forces in this area aren’t large enough to give you too much trouble. Once you’ve cleared the area, combat chatter fills the gap between this battle and the next.
Marine 1: “Everyone, pile on, we’re pushing to the rally point!”
Marine 2: “I spotted a whole column of Covenant armor headed in that direction.”
Marine 1: “Don’t worry. This ODST we got, he’s an artist with high explosives.”
From the dialogue it’s easy to deduce that this swift encounter wasn’t the biggest you’ll face in the city. Before moving on, you may notice one of the rings from the space elevator resting on the buildings at the backside of this encounter. This detail is another visual indicator of the level’s timeline. If debris from the space elevator is all over the area, you know you’re playing something after “Uplift Reserve.” When events of previous levels affect the art direction and level design of levels that comes after, it’s a great thing. It adds a sense of progression–not just through the level and the game, but in the world–and gives the players the feeling that they’re really accomplishing something, as well as suggesting the world isn’t stagnant.
There are two paths that lead to the next area, each offering different angles, advantages and disadvantages, for the next encounter. Each path offers protection from some of the enemies in the plaza while you deal with the others.
The huge roundabout has three turrets in the center and your standard group of Covenant at the outer edges of the map. A Covenant gravity platform is perched on top one of the buildings, and a Brute with a stationary turret occupies a walkway between the two of them. A blast from your turret will dislodge most of the assembled Covenant.
A Phantom soon comes in to drop off reinforcements. The Ghost it brings is nothing to worry about, but the two Grunts wielding fuel-rod cannons will have no trouble taking you out from their high vantage point. The Phantom drops them off on top of the buildings, making it hard to see them and blast ’em away.
This encounter is one of the best demonstrations of how entrenched the Covenant’s presence is in the city. They had the area locked down as best they could, taking advantage of the best lines of sight and positions offered by the city landscape. You can see why the Covenant has been rolling the UNSC back “block by block,” and why it’s been so hard to push back.
Marine 2: “Trooper, go through the doors to Kizingo Boulevard, it’s the fastest way to the rally point. Somebody get a beacon on the door!”
There’s no need to get out and unlock the door manually.
Marine 2: “Trooper, door’s unlocked. Roll on through.”
If you’re not quick to move on you’ll notice that there’s a third way out of the roundabout. This street–shortened by a Covenant barrier–has another drivable tank for you to take advantage of should your current one be heavily damaged. There’s also a small group of Covenant here. Take care of them and you’ll be rewarded with a fully loaded fuel-rod gun.
Driving through the city streets in a tank is an oddity even five hundred years into the future. The act of driving any kind of vehicle through the city, however, makes you more aware things you may not otherwise notice. For example: Where are the traffic lights? In a city as densely populated as New Mombasa, it needs to rely on some sort of traffic-control system. We know from Contact Harvest that cars of the twenty-sixth century can drive themselves if need be–or by default.
“Open up!” Healy hollered, banging a fist on the taxi’s roof. The vehicle raised its gull-wing doors and popped its trunk. Bags stowed, Avery settled in the driver’s seat and Healy took shotgun. Fans hummed inside the dashboard, and a frigid blast attacked the humid air.
“Hello,” the sedan chirped as it pulled into the boulevard’s sparse traffic. “I have been instructed to take you to…” There was a pause as it prepared a concatenated response: “Colonial. Militia. Garrison. Gladsheim Highway. Exit twenty-nine. Is that correct?’
Healy licked the sweat from his upper lip. He’d managed to drink a decent amount of beer during the wagon’s descent and his words came out a little slurred.
“Yeah, but we need to make a stop. One thirteen Nobel Avenue.”
[…] “Belay that!” Avery barked. […] “Car, I’m driving.”“Do you assume all liability for–”
“Yes! And give me a map.”
A compact steering wheel unfolded from the compartment in the dash. Avery clamped it tight with both hands. “Manual control confirmed,” the sedan replied. “Please drive safely.”
—Contact Harvest, Chapter 5
We also know from the Rookie’s travels at night that the Superintendent can take control of individual cars (use their sirens, lights), so does that mean the cars hook up to the city’s computers and the Superintendent monitors and directs all traffic? All vehicles still have steering wheels, presumably for manual operation such as Johnson’s case. It’s never really explained in the game how the day-to-day life of Mombasa would unfold. With the narrow streets and sparse parking, it wouldn’t be my first choice for driving.
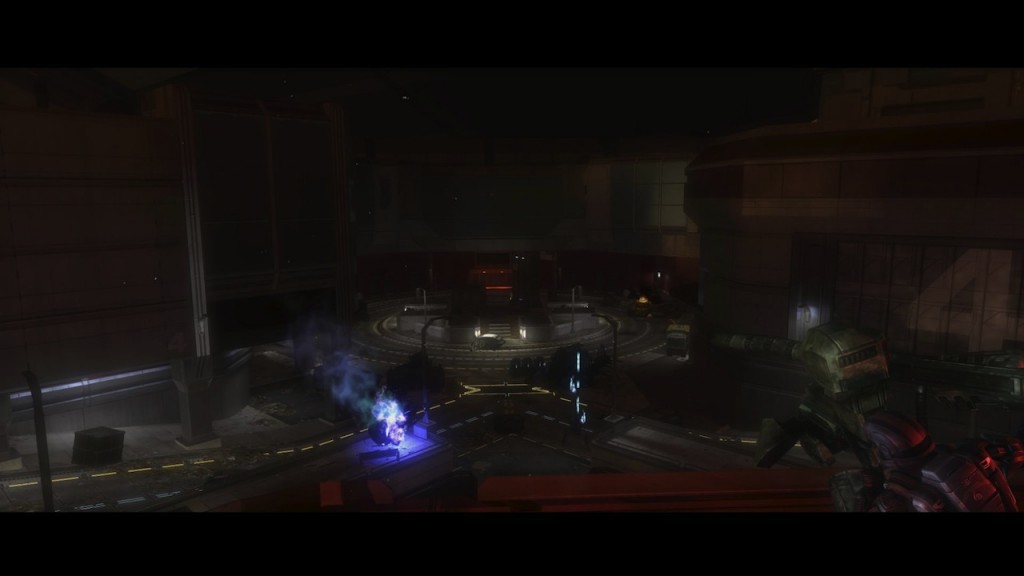
The next area is immediately recognizable: This is the place where the player left the Rookie. “Kizingo Boulevard” is the only the mission in which the area you find the flashback item is in the level (the rest you see through cutscenes). A two-story building faces a roundabout that’s filled with Covenant. The building rests on higher ground than the roundabout, giving you an advantage as you plow through. There is, however, a risk: The layout of this encounter gives the Covenant many positions to hide. You can roll past them and not notice them until you’re taking fire. Clearing the sidewalks and underhanging areas is a priority.
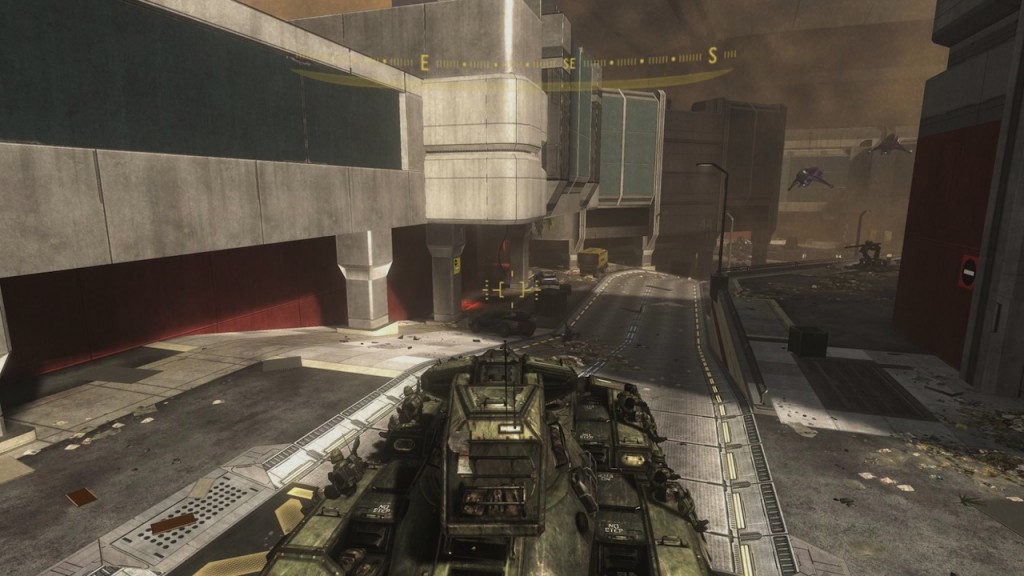
What’s great about ODST is the fun, constant clash of player expectations and how the game plays out. Normally something like this plays leading up to a game’s release: The developer tells fans what the game will involve, the players form expectations, and the game either lives up to or falls beneath those expectations. ODST, rather uniquely, makes that process a component of the game. What caused Dare’s helmet to be lodged into a display in the second floor of a building? How did that part from an F-99 drone come to rest in the middle of a street? It’s fun matching your expectations to what really happens, especially when the game exceeds them.
A distinctive voice cuts through the battlefield noise.
Marine 3: “Gauss turret is hot, ready to fire!”
Dutch: “Relax, Marine. Wait until they’re in the kill zone.”
Marine 3: “Ghosts! They’ll see me for sure. I-I gotta take the shot!”
Dutch: “I said hold your fire! Concentrate on the Wraiths at the end of the-“
Dutch is close by, but there’s too many Covenant between you and him at the moment. Some of them try to sneak up on you by taking a side path, but they’re blasted away by the Marine in the stationary Gauss turret.
Two Banshees swoop in and open fire at you; they’ll harass you until you eliminate them. Despite your best efforts, you can’t save the Marine in the Gauss turret. He’s killed by mortar fire from a Wraith.
Dutch: “Ah, hell. Back blast clear; let ’em have it!”
While you can use the Scorpion or whatever vehicles are around for the rest of this encounter, it’s also fun to tackle this encounter on foot because the game provides you appropriate tools. The building where you left the Rookie is accessible, with rockets and a sniper rifle ready to be used on the top floor. Make sure to explore the area the Covenant were using in their attempts to sidestep you. There’s a hallway that leads through the building on your left out to an alleyway on the other side of the roundabout. Right outside you’ll find a fully loaded Covenant sniper rifle and rockets. Perfect for catching the Covenant off guard.
As you roll down the street you’ll notice there’s not one, but two Wraiths in the roundabout. One will stay back and continue firing on Dutch’s position as the other turns its attention toward you. There are several Brutes on the ground, some with Brute Shots and one staffing a stationary turret. Phantoms will drop by and load off troops and Ghosts. If you play your cards right, you’ll come out of this battle with minimal damage.
After taking care of most of the Covenant in the area, you can make your way towards Dutch, and once you get to a certain point:
Mickey: “Dutch! What are you doing up there?!”
Dutch: “I’m outta rockets! Kill that Wraith!”
You heard the man. Blast the Wraith to pieces. Watch your back, too, as one last Phantom will stop by and drop off a Ghost. When you’ve taken care of the problem, Dutch will chime in.
Dutch: “Mickey! Over here!”
But don’t be so quick to go to Dutch’s position. Police the dozens of Covenant bodies to see if there are any goodies you might want. If you’re near the roundabout while doing so, as it is daytime, you may notice the cryptic street signs scattered around. There are just as many advertisements, yes, but the streets signs are more interesting because you can’t be too sure what they’re saying; few have labels and many don’t appear to correspond with one-way roads or features.

I can’t figure most of them them out. A common theme among them is circles, perhaps a reference to Dante’s Inferno.
In keeping with Bungie’s interest in Dante’s Inferno, the environment is littered with circles: everywhere you look, you will find street signs, patterns, plazas, corporate logos (the prime culprits being Optican, Vyrant, and Traxus), and incidental textures that either depict concentric rings or are circular themselves. Even Vergil’s icon is composed of circles, just as Dante’s hell is.
–-Shake Appeal, “Nine Levels Underground“
When you do head to Dutch’s position, there are barricades blocking your way ahead. It’s finally time to abandon the tank.
As you crest the hill, Dutch will run up to you.
Dutch: “Aw crap! Watch the door!”
A Brute and some Jackals and Grunts are behind the door. They’re easy enough if you’ve held on to one of the sniper rifles from the previous encounter. The snipers are also a great way to deal with the Covenant fighting the Marines already at the rally point farther down the corridor.
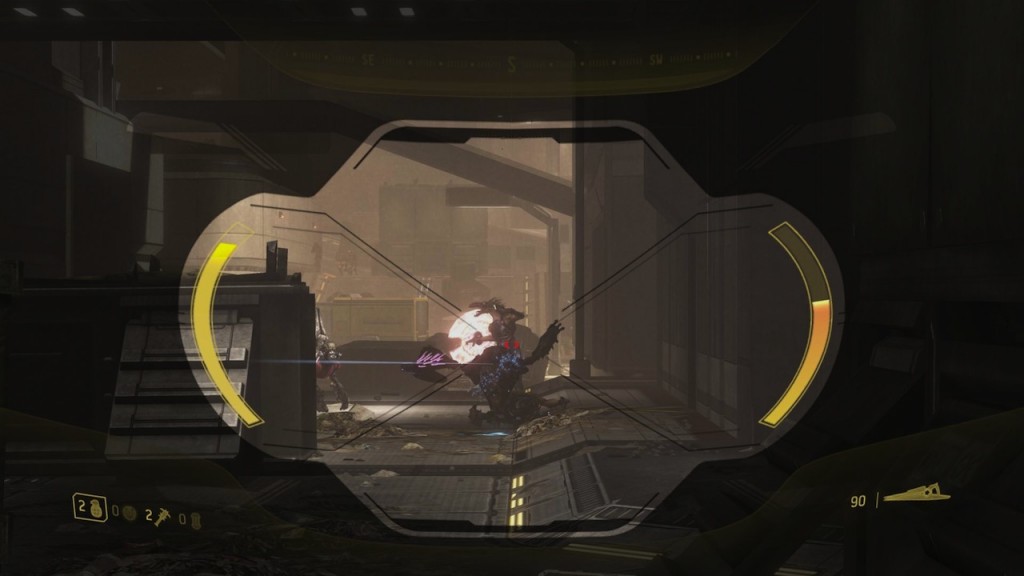
Dutch: “Those Covenant dropped in behind us. They must know this is our rally point.”
Mickey: “Terrific.”
Dutch: “Come on, we got weapons and ammo on the high ground. Move it! Movie it!”
The fight ahead is the first of prominent Firefight-like encounters in the campaign. The rally point is, er…Rally Point, the Firefight map. The battleground for the last fight of the level gives the impression of being in the middle of a huge bowl but with plenty of high ground near the center. There are many crosswalks connecting different areas of the map that have their own advantages and disadvantages, so the battle can play out in many different ways.
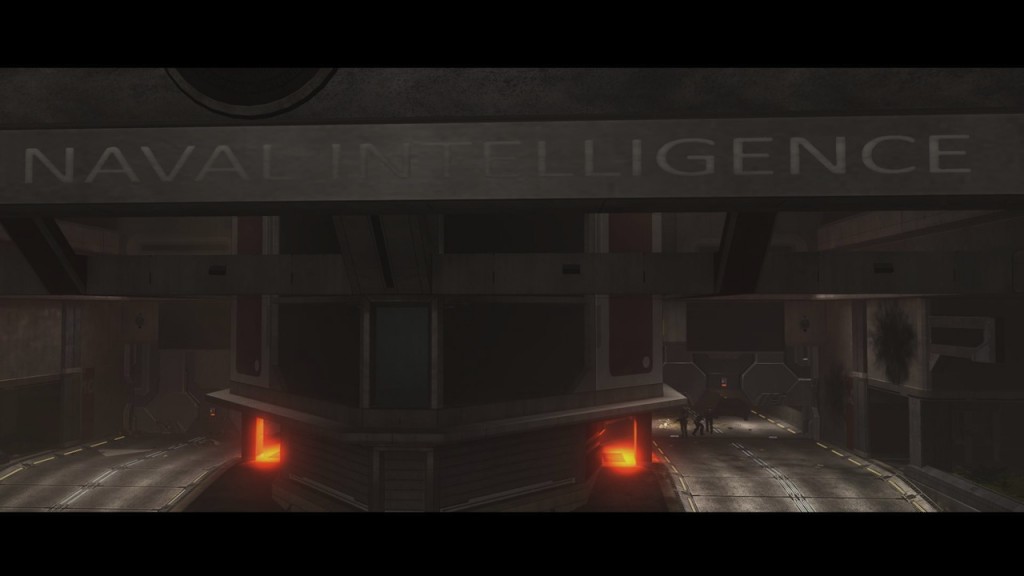
The player may not notice it immediately because the battle unfolds quickly, but returning players will note the ONI sign hanging overhead at the back of the encounter; as ominous looking as the connotations of the name.
You’re going to have to hold the rally point against a Covenant counterattack. A Phantom and a pair of Banshees will fly overhead before their ground forces arrive; some quick recon before the battle. The music starts again to get the blood rushing.
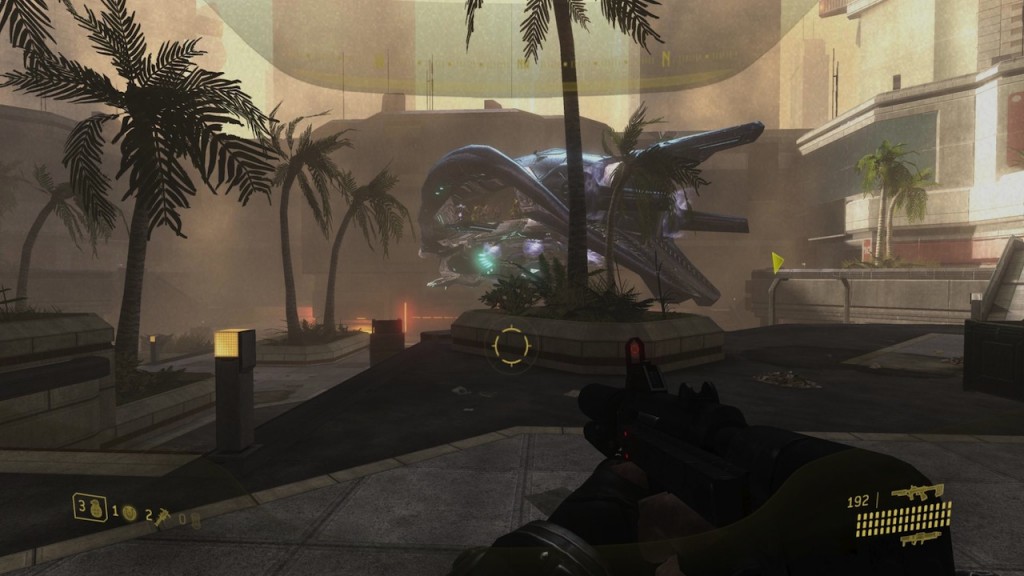
Not long after that, a Phantom drops in at the bottom of the courtyard and begins to unload groups of Brutes, Grunts, Jackals, and a Wraith.
Dutch: “Phantoms! Everyone, find some cover!”
Mickey: “We got any heavy weapons for that Wraith?”
Dutch: “Fire an overcharged plasma shot at it, then stick it with grenades!”
Handling the Wraith is a much simpler task if you’ve held on to a couple of rockets this entire time, or recovered some from the previous skirmish. If not, Dutch’s plan is a good one.
Dutch: “Kill those runners, Mickey! They’re tryin’ to flank us!”
As with most Covenant ground forces, the make-up of the enemy is mostly Jackals and Grunts with a few commanding Brutes, but these Brutes are all captains wielding Brute Shots. The Brutes are your biggest threat, but you should heed Dutch’s warning. Those crosswalks can be used effectively by the Jackals, so if you’re not careful you’ll be surrounded by weapons fire in front, and above and behind.
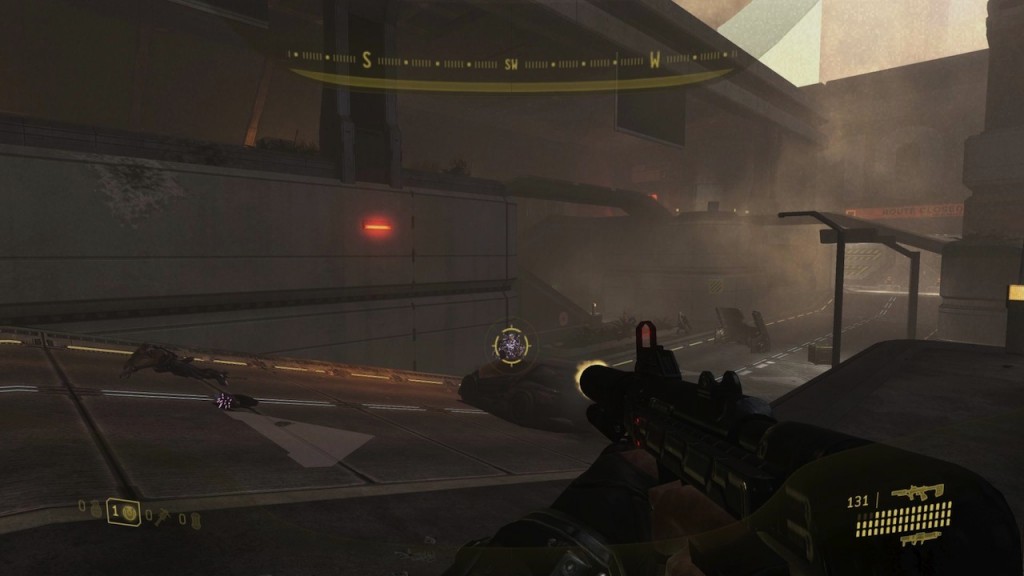
Once you’ve cleared the first set of Covenant ground forces, another Phantom will swing by to deposit more. More Jackals, more Brutes, and this time Grunts with fuel-rod guns. This wave is more manageable than the first if you’ve taken out the Wraith by this point. If you’re low on ammo you can get more where Dutch is.
The Covenant forces are eventually beaten back…for the moment. The music calms, and Dutch falls back to a peculiar looking door near the back of the map. There’s nothing left to do but approach Dutch.
Dutch: “You heard from Gunny?”
Mickey: “No. Romeo neither.”
Dutch: “Huh. Guess it’s just you and me.”
Mickey: “My vote? Hold up, wait for back up.”
The door behind Mickey and Dutch unlocks and opens up. They raise their guns then lower them at the sight of a police officer.
NMPD Officer: “Thank God! Does one of you know how to use explosives?”
Dutch: “Your vote? Just got overruled.”
Mickey: “Oh…”
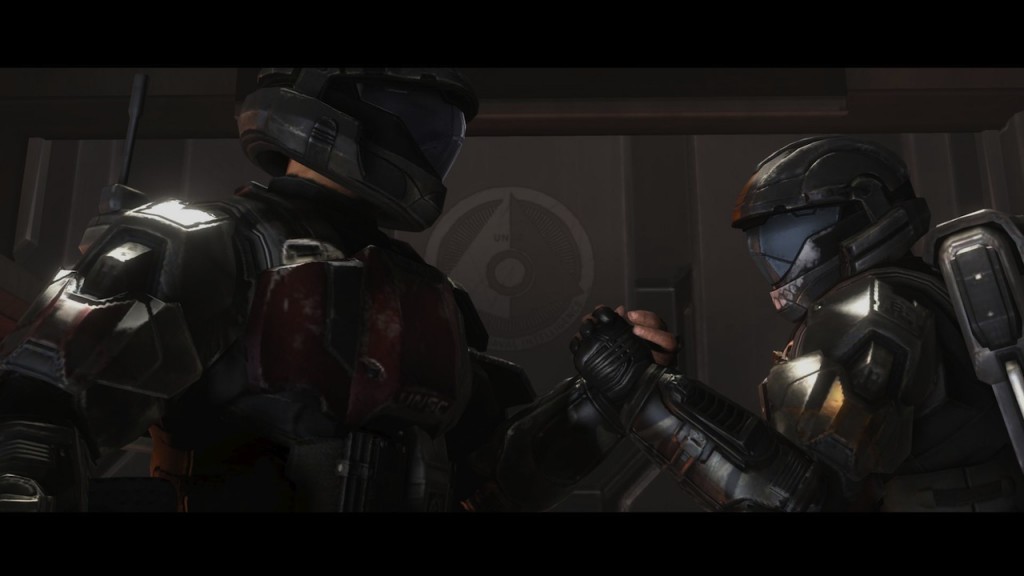
“Kizingo Boulevard” mainly serves as a very fun way to unite Dutch and Mickey, and in that way the story inches along. The team is getting back together–Dutch and Mickey, Buck and Romeo.
The next level is probably the shortest of the entire game, but it’s not without its moments. It starts off with the best explosion in a Halo game to date.

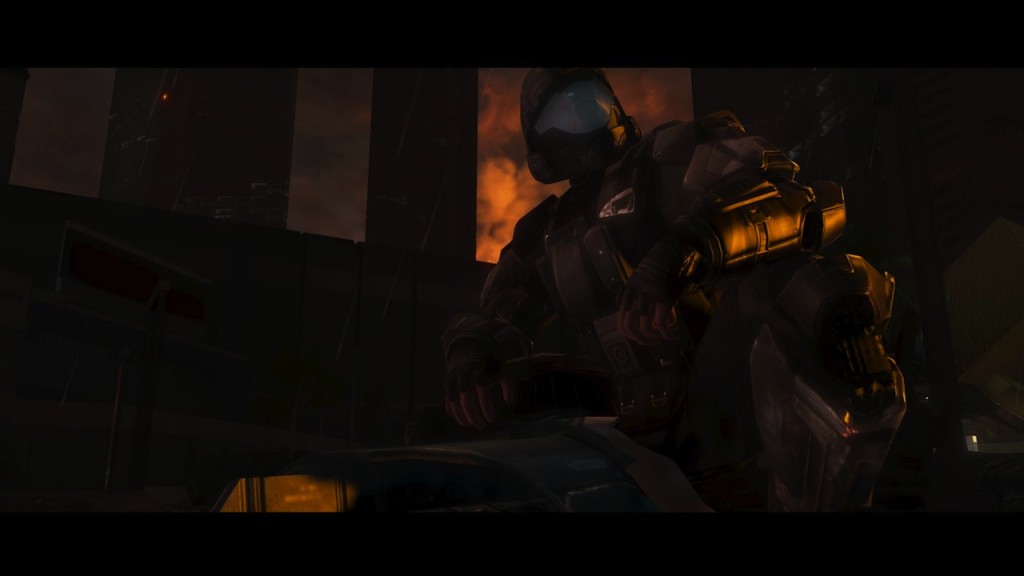
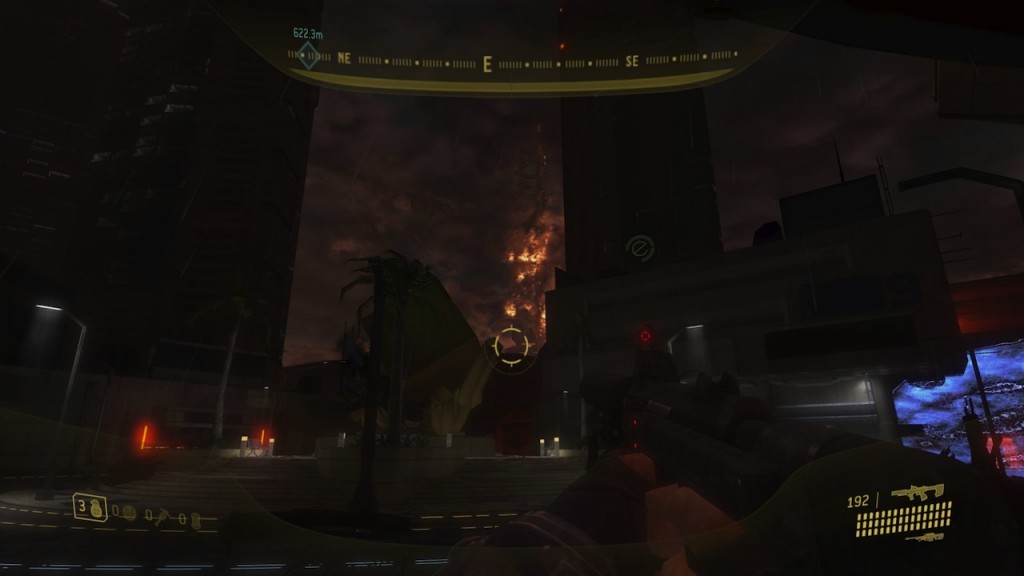
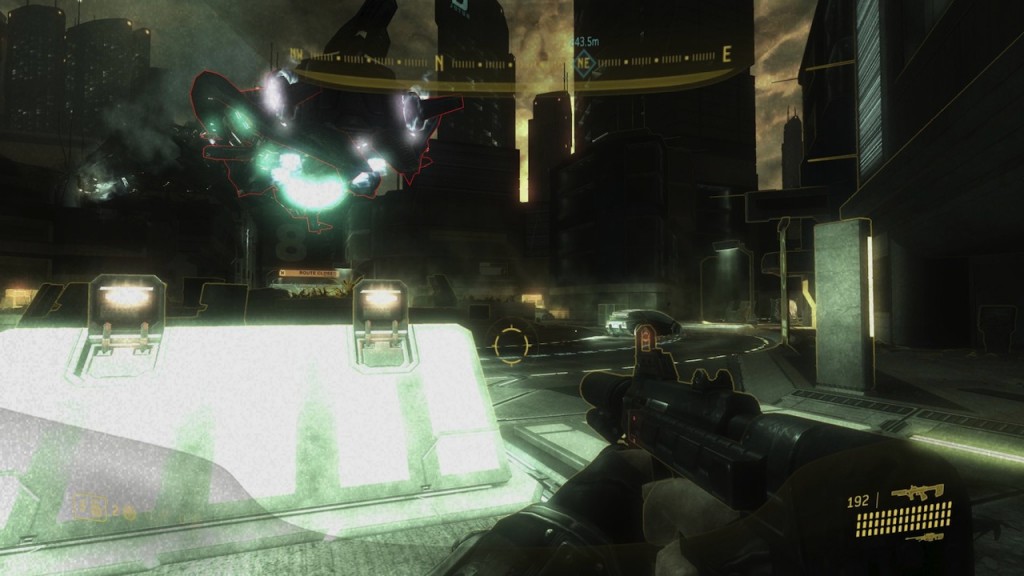
[…] ODST, by guest writer Michael Carollo, has just been updated with the Kizingo Boulevard entry- one of the best entries in the series so […]
este videojuego es ta super chido es el mejor yeah no hay otro que se le compare es la mano derecha de dios