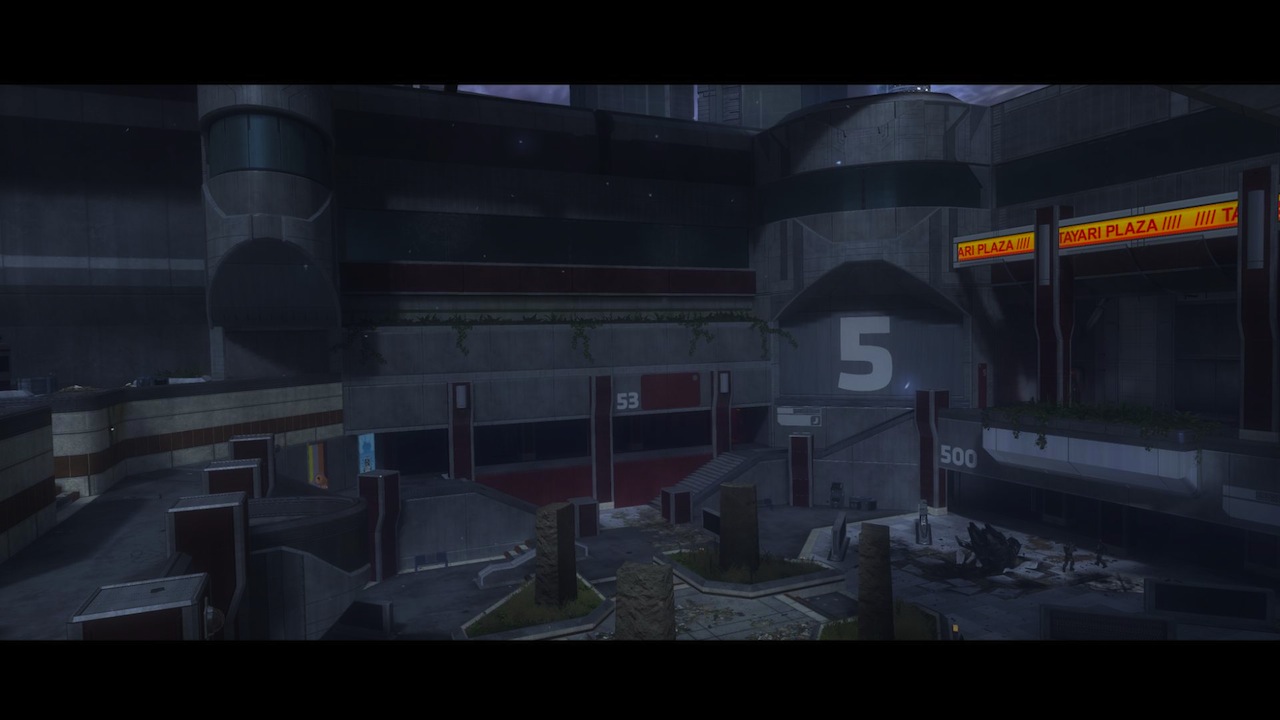
Tayari Plaza
Tayari Plaza
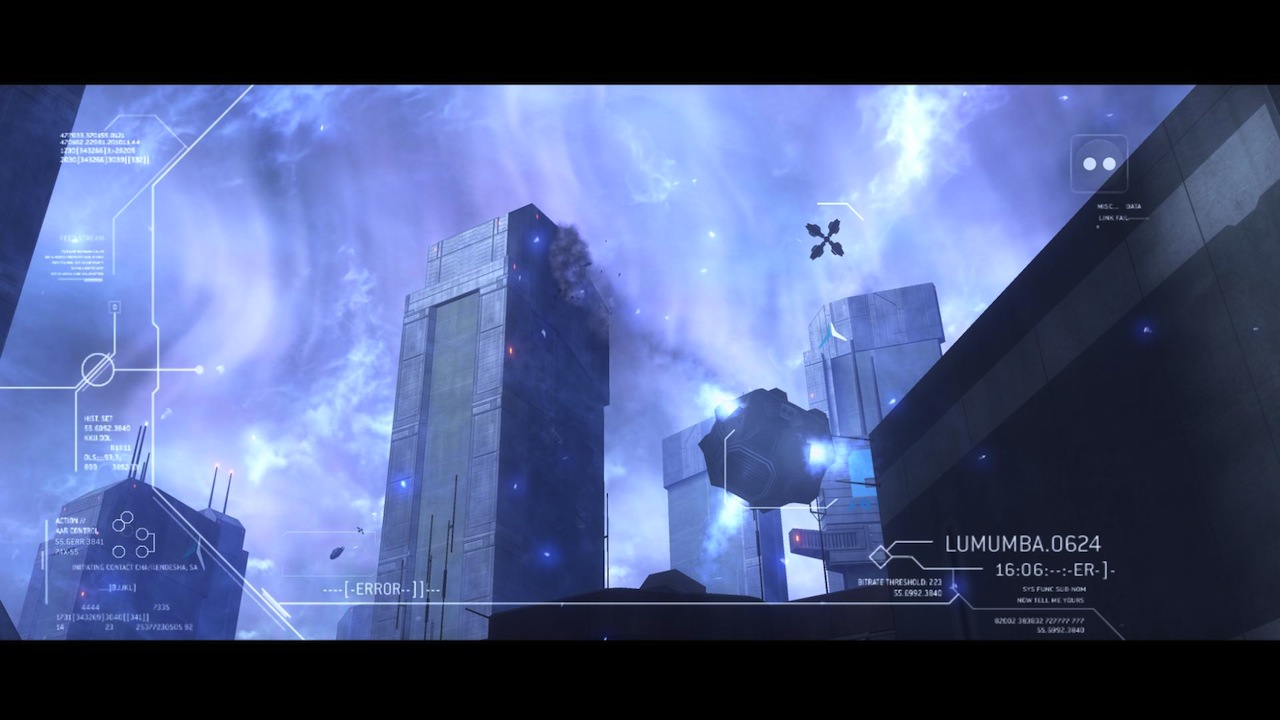
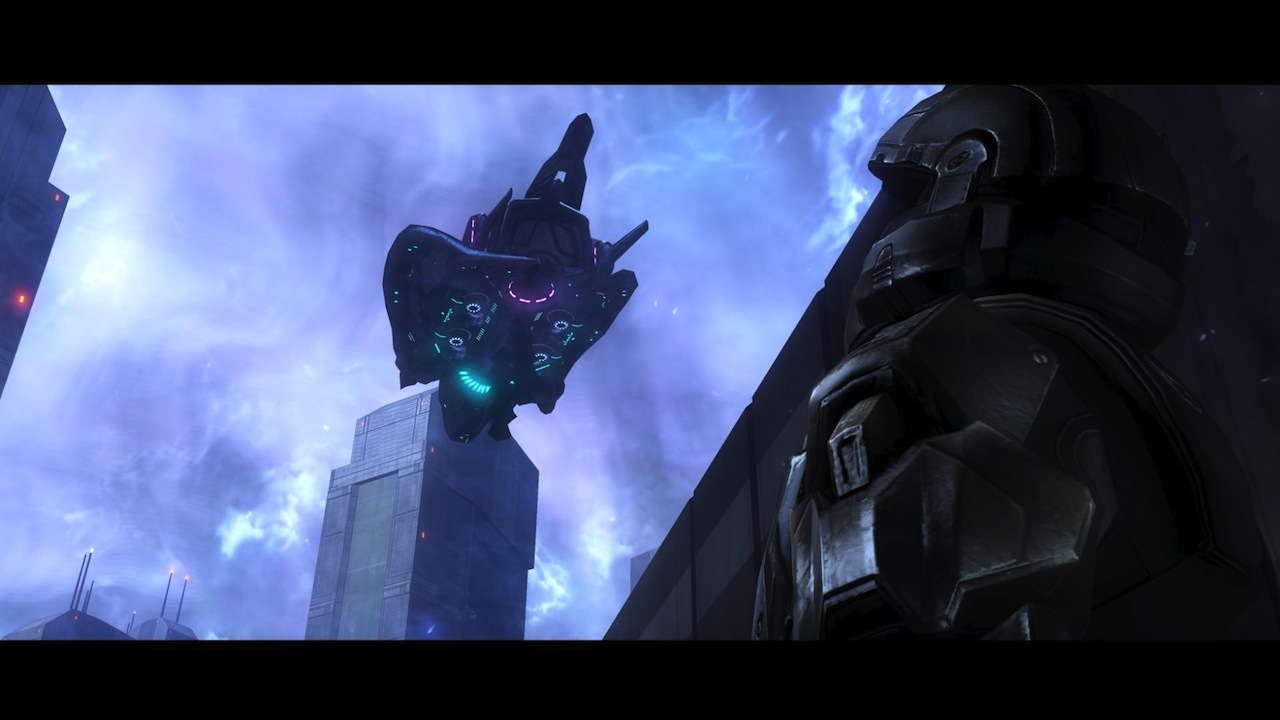
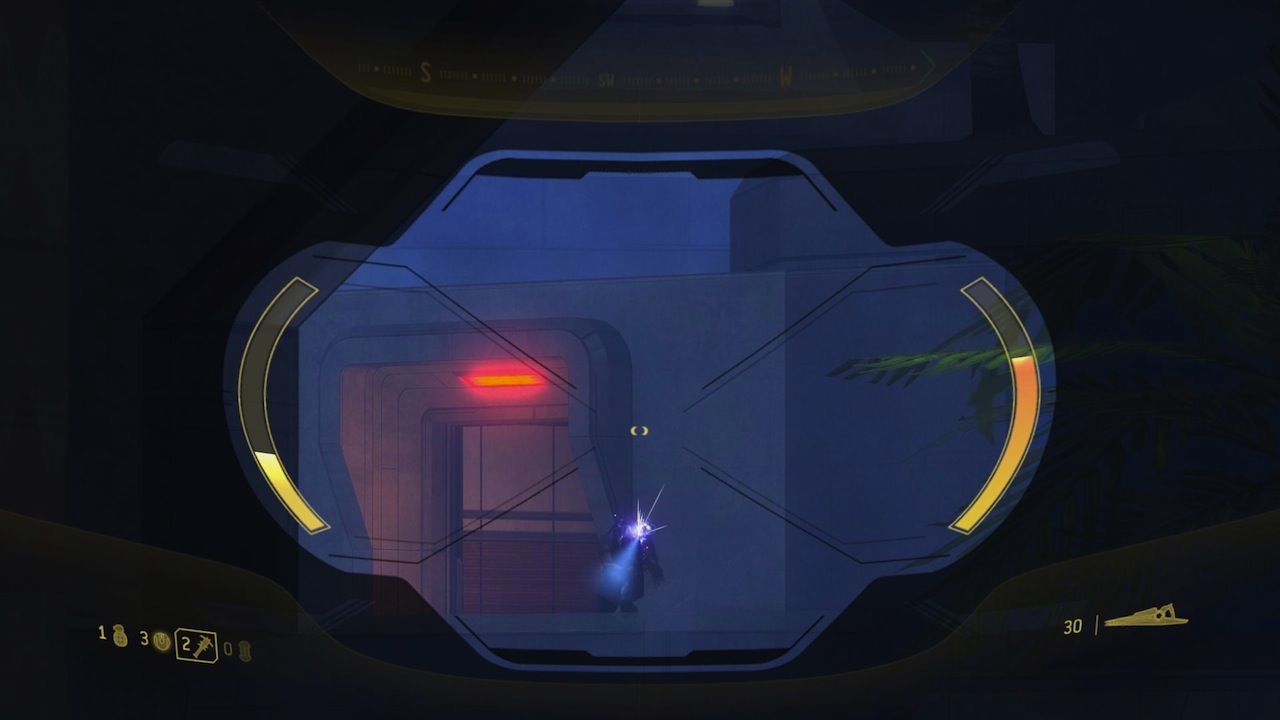
An HEV rockets into Vergil’s field of view and crash-lands.
Dare: Squad, what’s your status? You still with me, Buck?
Buck: Yeah. Give me a second.
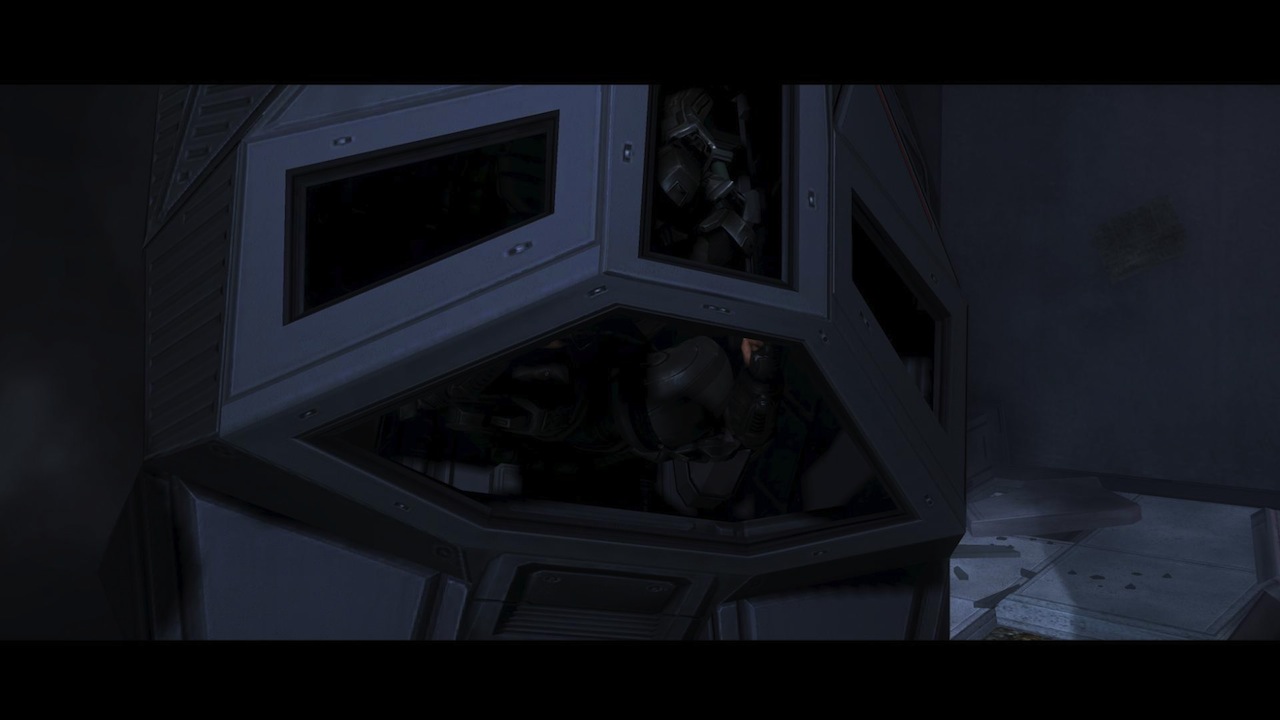
Dare: I hit pretty hard. My hatch won’t open. How about yours?
Buck: Ah! Works great.
Dare: Right. When you get done fooling around, I could use some help.
Buck: Did I…do something wrong? Because the only thing I regret about you and me? Not knowing you were a spook when we first met. I would’ve been a lot less charming.
Dare: That’s what I miss most about you, Buck. The way your mouth always a little faster than your brain. Look, don’t start about my job. We both agreed to end it.
Buck: That was years ago, Veronica. I’m (grunt) a little (grunt) fuzzy (grunt) on the (grunt) details. You must have met a lot of other saps since then. Why pick me for this safari?
Dare: First, you’re the best soldier I know, and second… You really don’t remember, that night?When you asked me in the morning?
Buck: I remember not getting an answer.
Dare: Say again, Buck? You’re breaking up.
Buck: I said stay put! I’m on my way!
At the beginning of Tayari Plaza players are given control of Gunnery Sergeant Edward Buck, voiced by Nathan Fillion. Dare is voiced by Tricia Helfer.
Dare: We missed our LZ. This grid is packed with Covenant. Be careful.
Buck: I appreciate the concern.
Dare: Won’t be much of a rescue if you’re dead.
Ah, Captain Reynolds. I see you favor an AR. Good. Very good.
It’s six hours before the Rookie wakes up. This is moments after Regret’s departure.
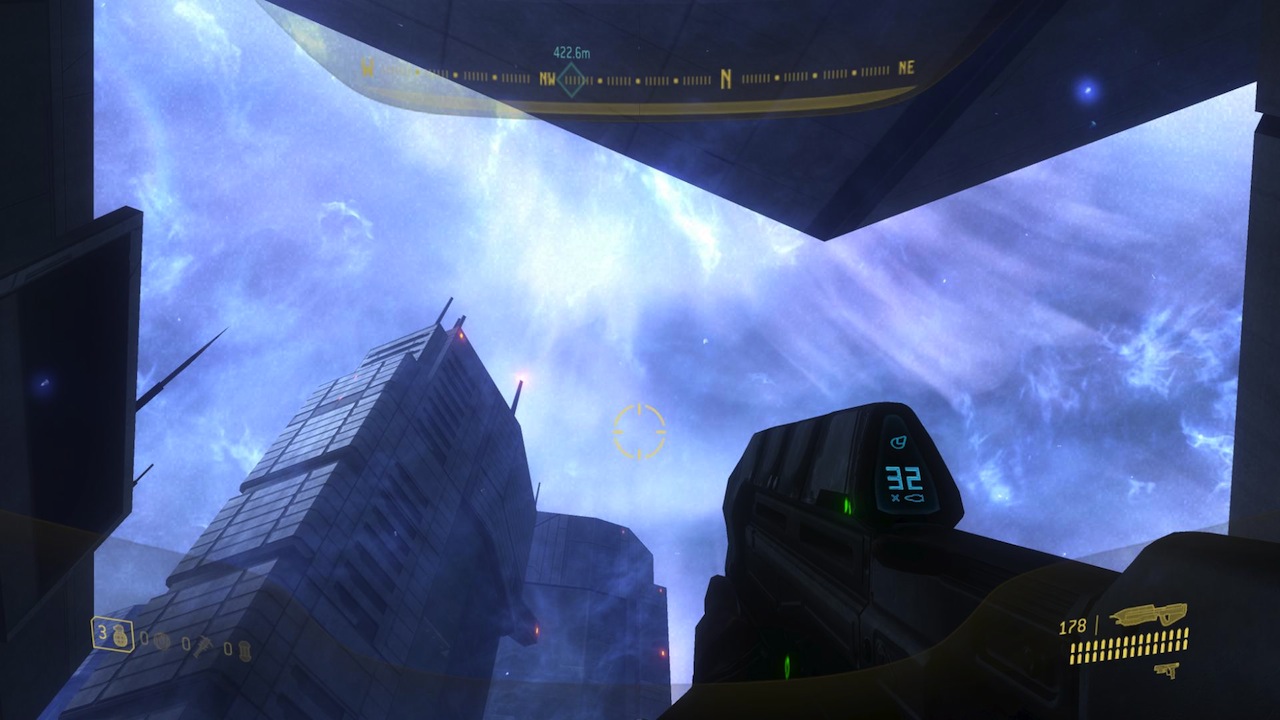
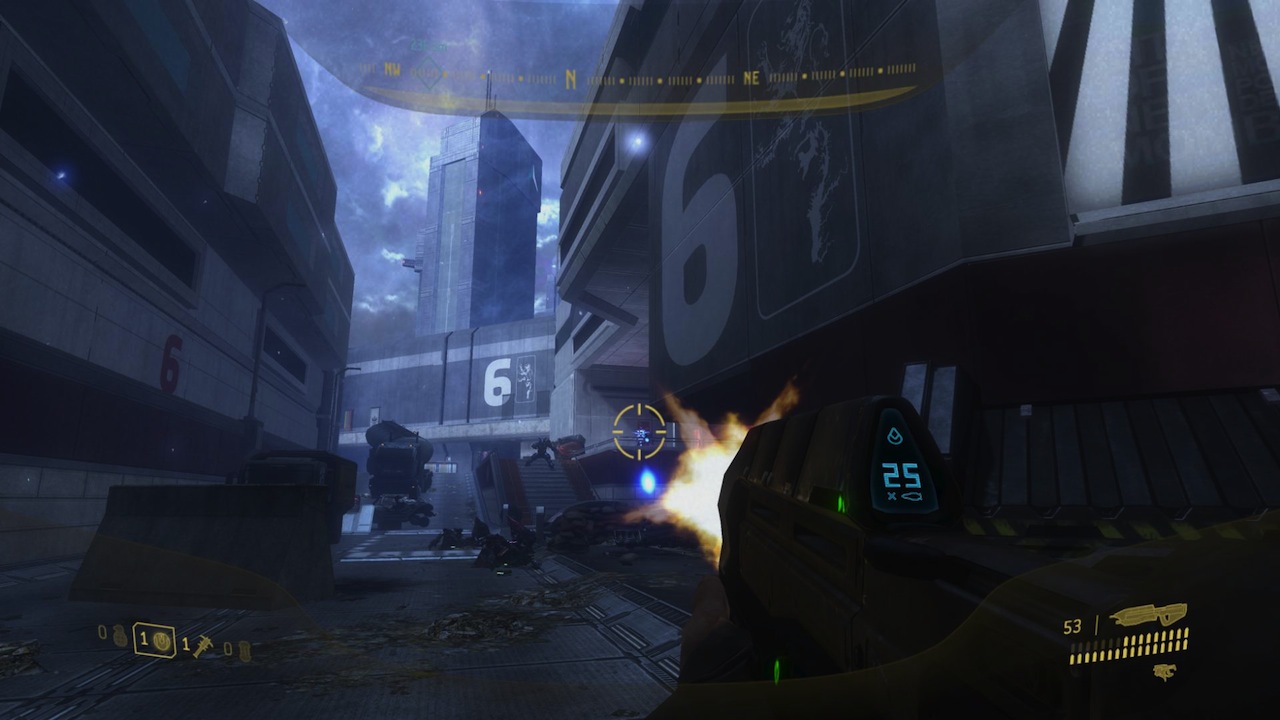
When the player takes control of Buck, what catches his or her eye first is the skybox. The in-atmosphere slipspace jump seems to have charged the sky, and the many particles floating within it, with an electric blue color. You can see winds sweep by over your head.
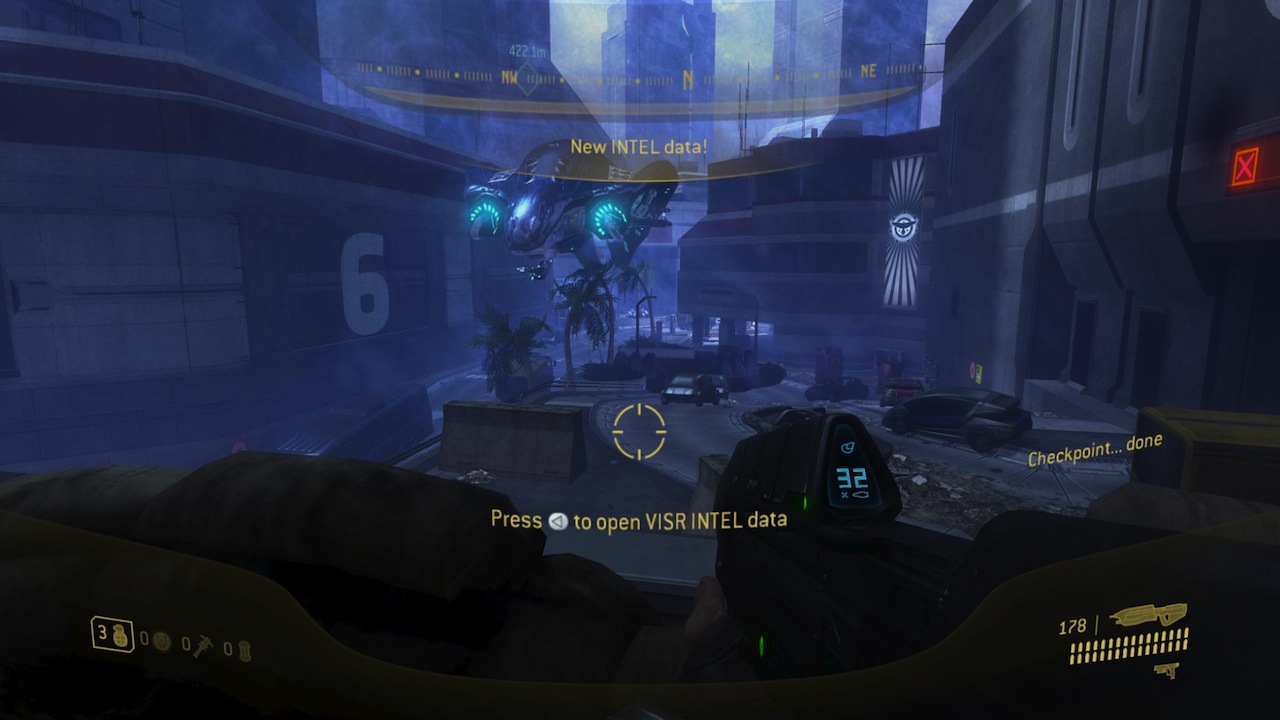
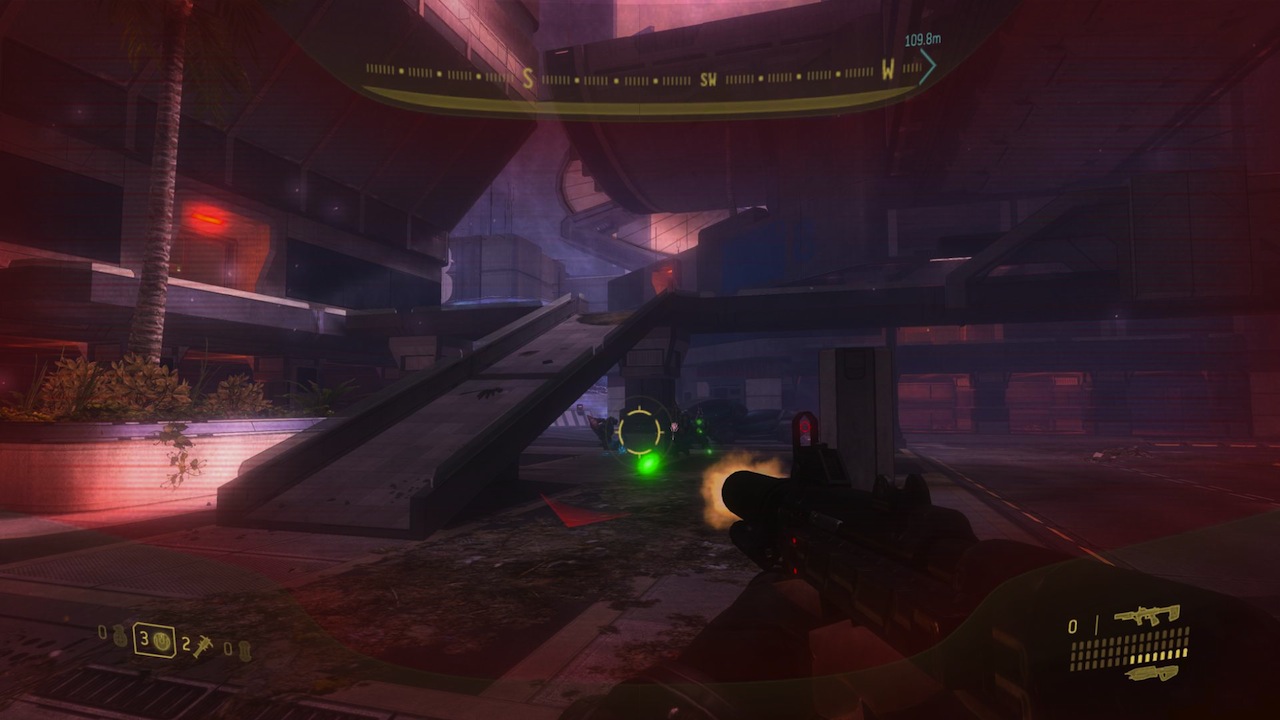
Ground-side, a Phantom unloads ground troops to head you off. What appears to be a narrow, sloping path with you starting at the top is more complex than it seems. This is your first encounter in ODST, and it’s important to emphasis Halo’s design philosophy: multiple ways to confront your enemies, and the encounters play out differently every time you play the game.
You can either stick with the high ground or, if you’re feeling aggressive, move to your left and drop down. No matter the angle, the Brutes send out Grunts ahead to soften you up (some Grunts will fall back near the two Brutes). If you whip out your pistol and kill most of them quickly with some nice headshot work, the few remaining will decide to turn around and flee.
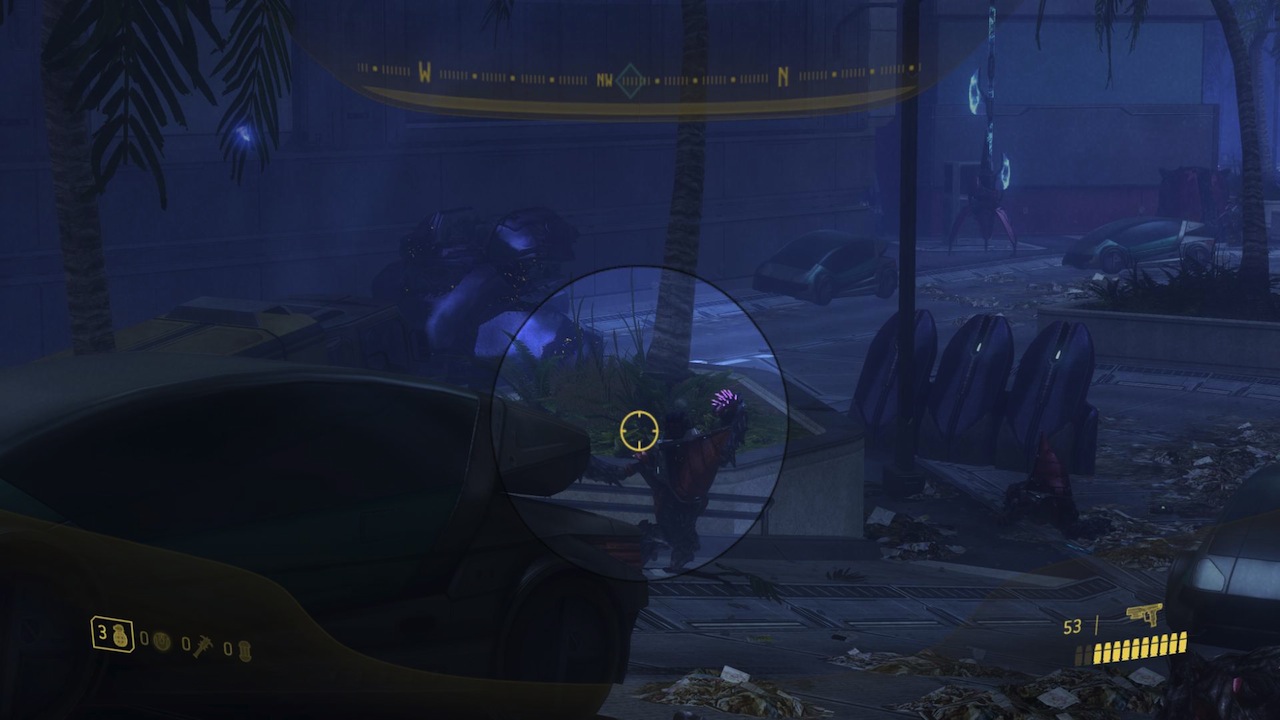
As for the Brutes, most of the time one Brute will take up a position closer to you, under the overhead of a building, while the second Brute hangs farther back. If you’re not careful, the Brute closer to you will charge if provoked, either by ceding ground to the Covenant or attacking him before you’re through with all the Grunts. If he gets aggressive, unload the AR on him then whip out your pistol and employ some finesse. Tread carefully, though! If you’re really unlucky, the second Brute will charge at you to help his buddy.
However, much of the time the Brute closer to you will hang back and use the columns of the building for cover. Use some grenades, bring him into medium- or close-range combat to maximize the effectiveness of your AR, then finish him off with the pistol. Unless you’re taking him from the lower angle, in which case you should employ other methods you would otherwise save for the Carbine Brute.
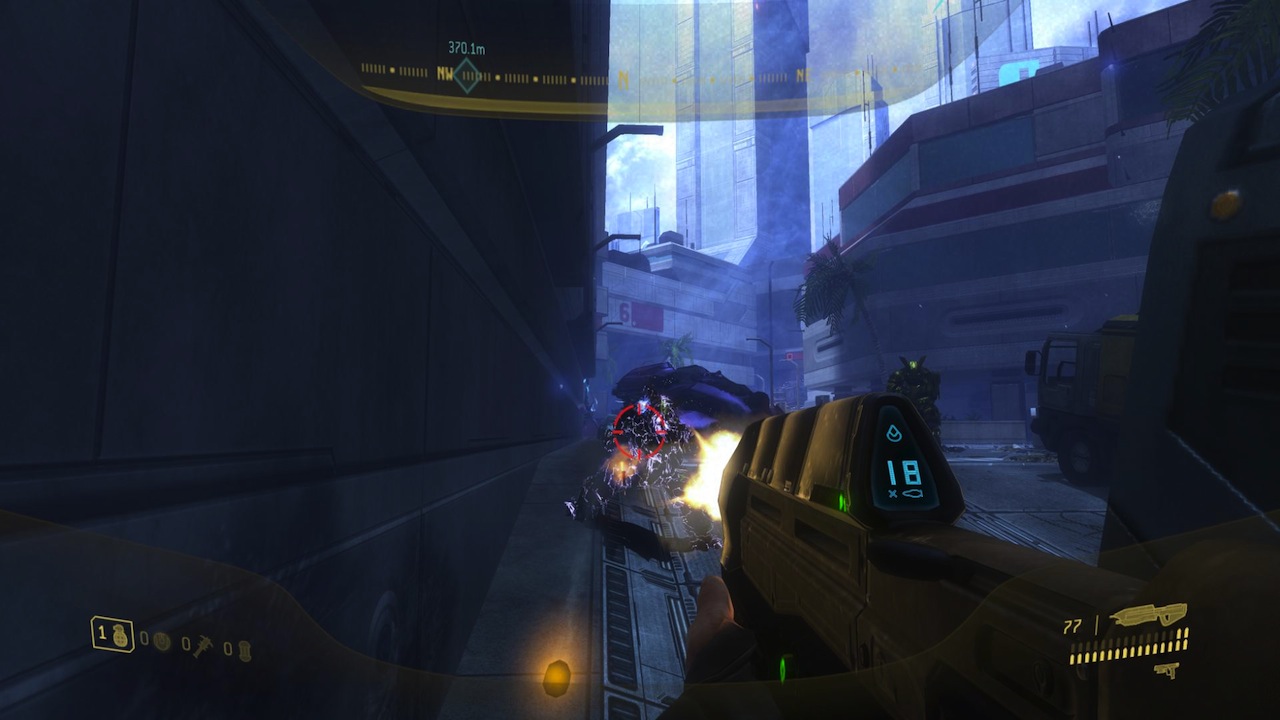
Now, because Halo’s sandbox is so complex, most of the time the same enemies will spawn with different weapons. On my play-through I got a Brute with a Carbine and one with a Brute Shot. The Carbine Brute was the second Brute that hangs back and was using distance to his advantage. This is a bit of a bind, but there are also several ways of approaching the problem. Threading the needle with the AR (pumping the trigger) gets the job done, but not very well, so pick up the whatever weapon the first Brute dropped or recover a Needler or a Plasma Pistol from a fallen Grunt. Using the Plasma Pistol overcharged shot and headshot weapon (pistol, in this case) combo usually gets the job done, but what beats seeing your enemies die in a cloud of pink mist?

So many ways for this first encounter to play out, and the level only gets more interesting from here. Pushing ahead, if you need health there’s a short street that leads to a dead end off to your right, but health packs line the wall in the upper left-hand corner.
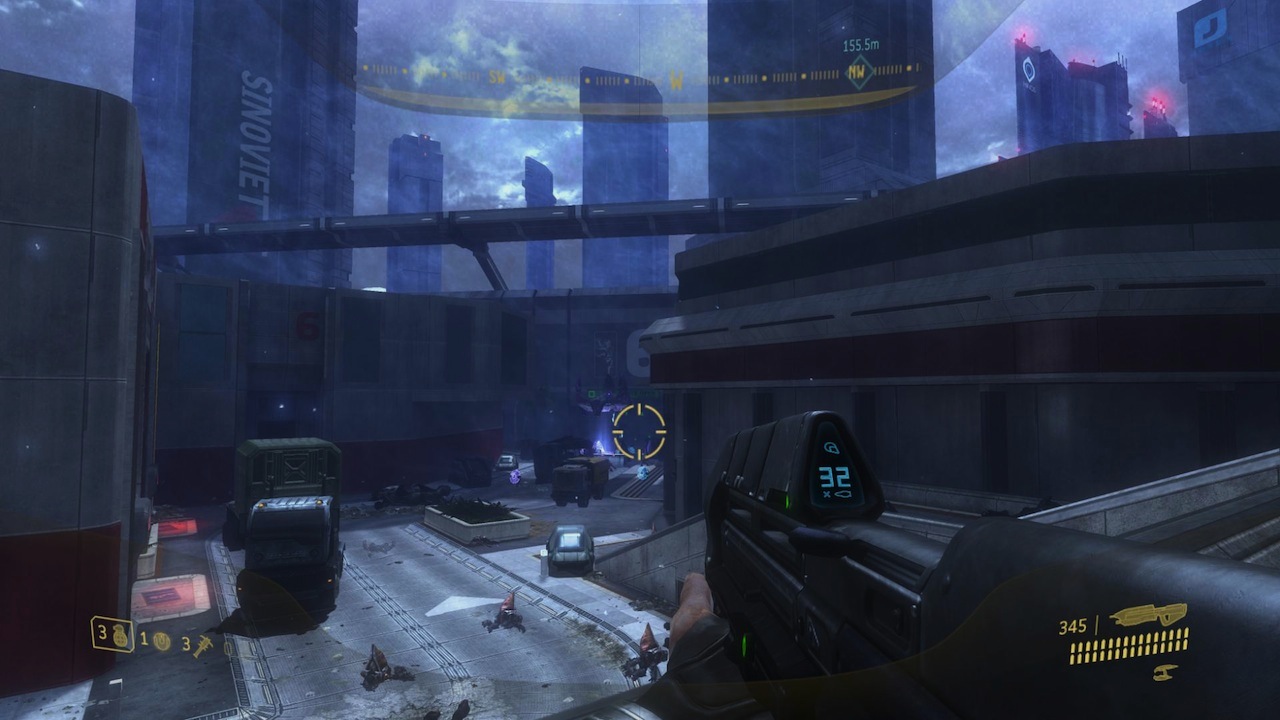
This brief respite is a good time to take in the rest of your environment. The streets are much like their counterparts at night. The city looks to be devoid of any civilian presence, no doubt they started evacuating as soon as the Covenant ship came to a stop over New Mombasa.
But unlike the Rookie, you’ll soon find allies in the conquered city. Travel farther ahead and you’ll happen upon a Marine taking cover behind the wreckage of a destroyed Warthog. Human forces appear to be scattered in the aftermath.
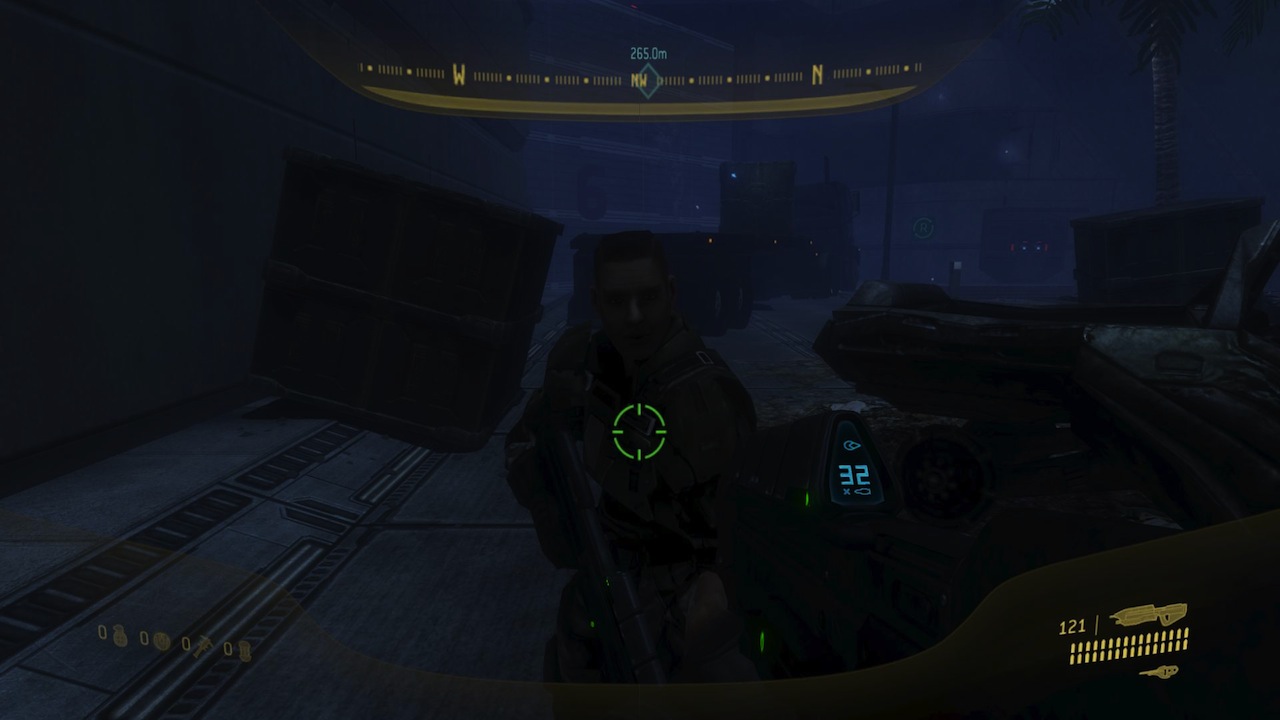
Private First Class Chips Dubbo: Trooper! Over here! I saw your pod hit. You’re one lucky S.O.B.
Buck: See any more come done?
Dubbo: Nah, negative! But I didn’t see much of anything after that flash. Uh, but listen! Some of these buildings are open. Should be able to get inside, flank the Covenant on the streets.
Buck: Roger that, thanks!
Turning our attention to the Covenant in the next alley, two paths are laid out for us. You can take the buildings as the Marine points out, but on the other hand, there’s nothing preventing you from attacking the Covenant at street level. (You can use a slight combination of both, too: Go inside the building, but instead of continuing left up the stairs, go right, and catch the Covenant off-guard). This encounter can play out in entirely different ways. It’s up to you.
I usually take the buildings because you get extra dialogue. Dead Brute and Elite bodies are everywhere. Spiker rounds are embedded in the walls.
Superintendent: School’s out. Please, slow down.
Buck: What the hell happened here?
Superintendent: Final notice. Bill past due.
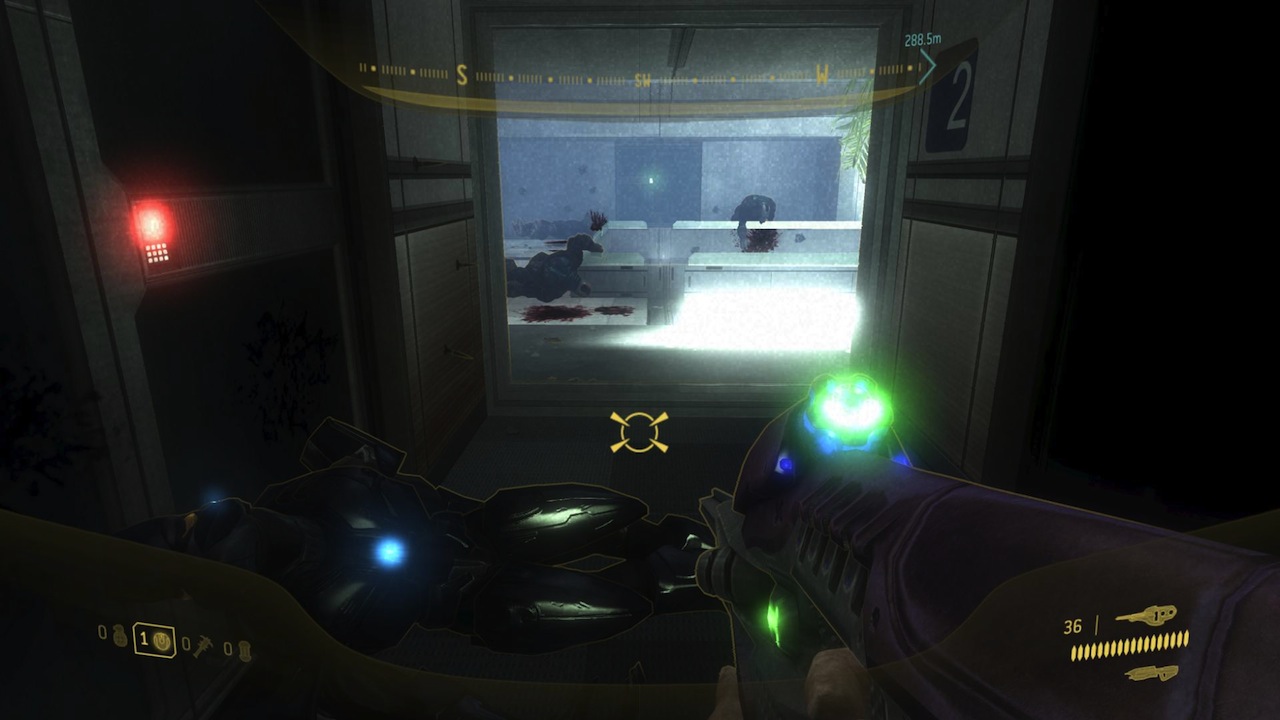
Rarely does a Halo game put you into a situation where you can attack the Covenant from such a high angle. It’s a welcomed change of opportunity because it changes the dynamics of the combat. It’s easier to lob grenades wherever you need them, and you’re in a position to overlook the entire area so it’s easier to pick the targets you want to go after first. The AI has no trouble coping with your advantage, so make sure to watch your back. Brutes can and will take the stairs if they need a better line of sight to shoot at you.
If you have some ammo left in your Carbine, or if you’re still rocking the pistol, the third floor provides the perfect angle for clearing out most of the Grunts in the next alleyway.
The main way Bungie distinguishes the characters in-game is through dialogue. Opportunities like Dare and Buck’s conversations throughout Tayari Plaza help remind players who they’re playing as, otherwise there wouldn’t be any significance in stepping into the shoes of another ODST. Combat dialogue plays a role too. In Buck’s case, you’ll hear shouting, “‘Bam,’ said the lady,” and “Nice catch! With your face.”
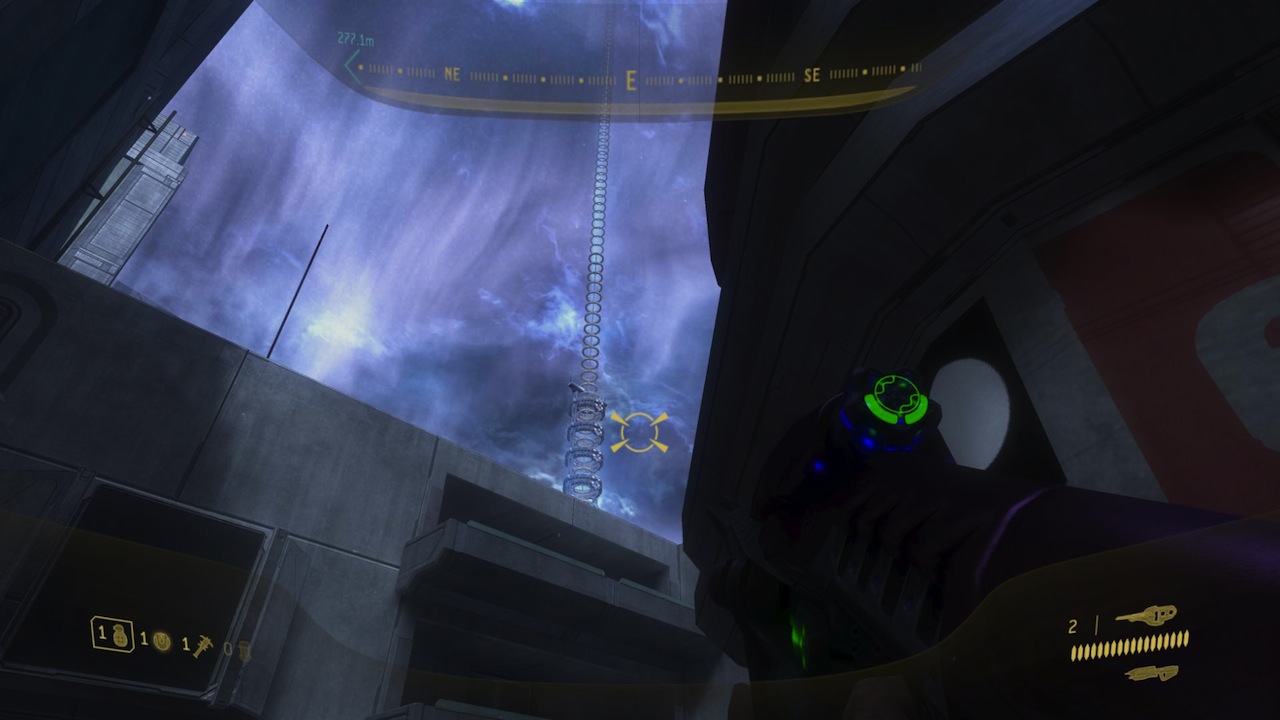
Being able to walk to a higher elevation gives you a better opportunity to notice stuff you wouldn’t have otherwise. The New Mombassa Orbital Space Elevator stands beautifully tall over the city.
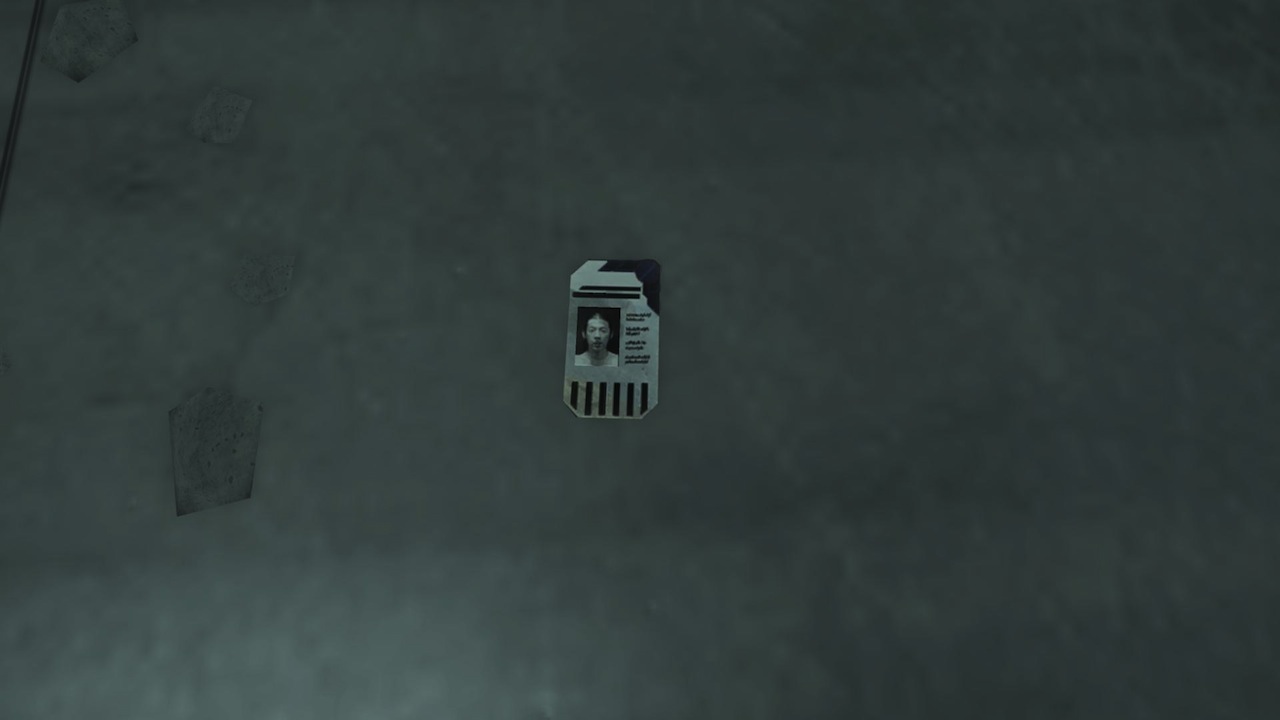
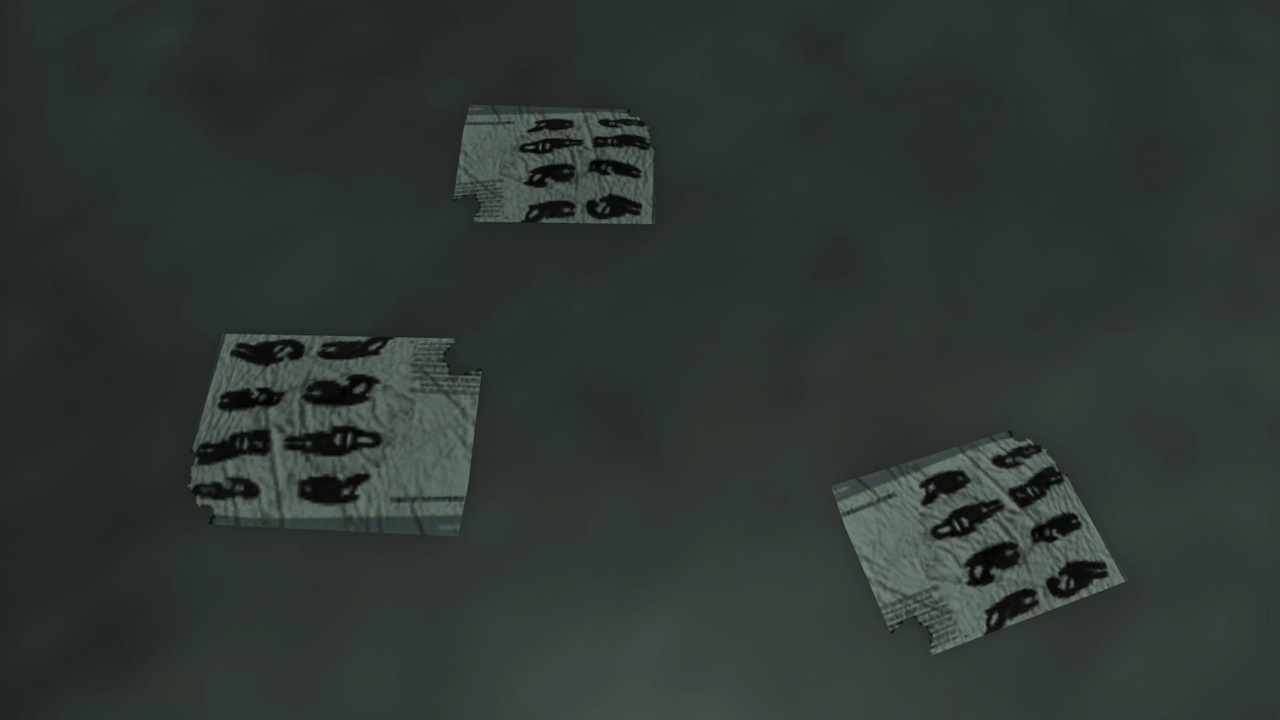
Easter eggs can be found in the various newspaper clippings and other pieces of paper on the ground. Identification cards of Bungie employees and what appears to be concept art for Covenant weapons for Halo: Reach.
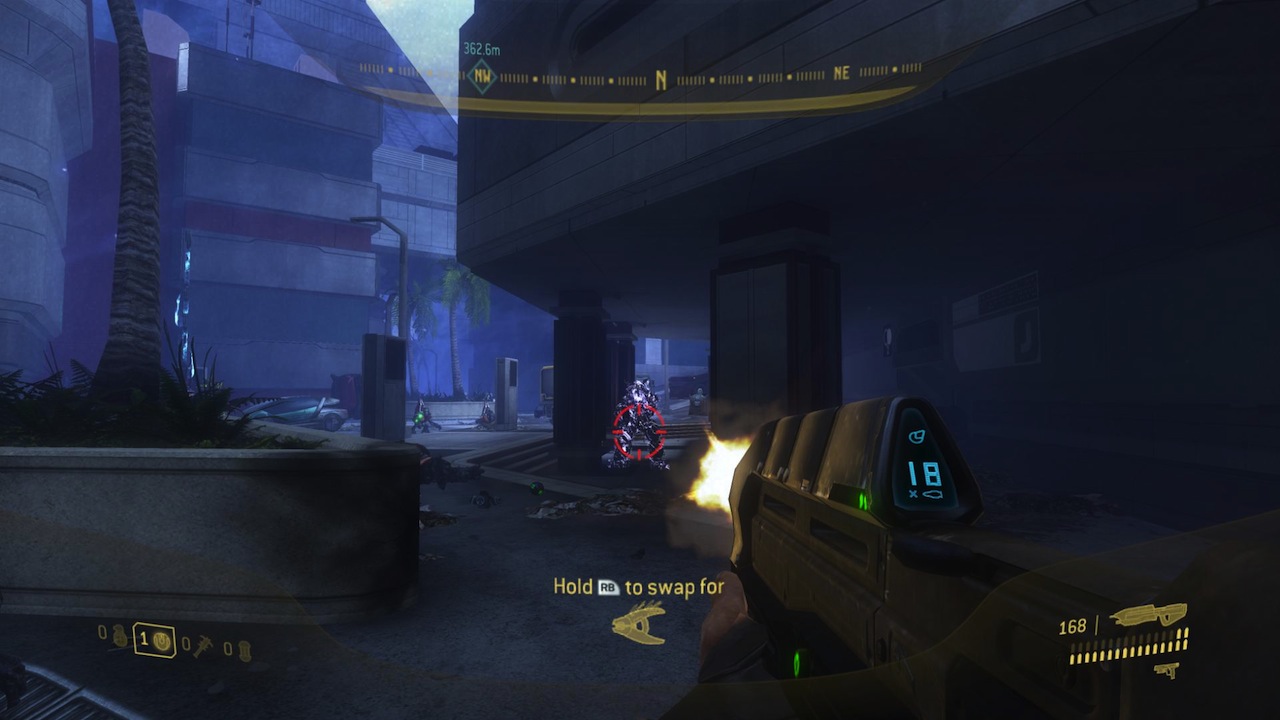
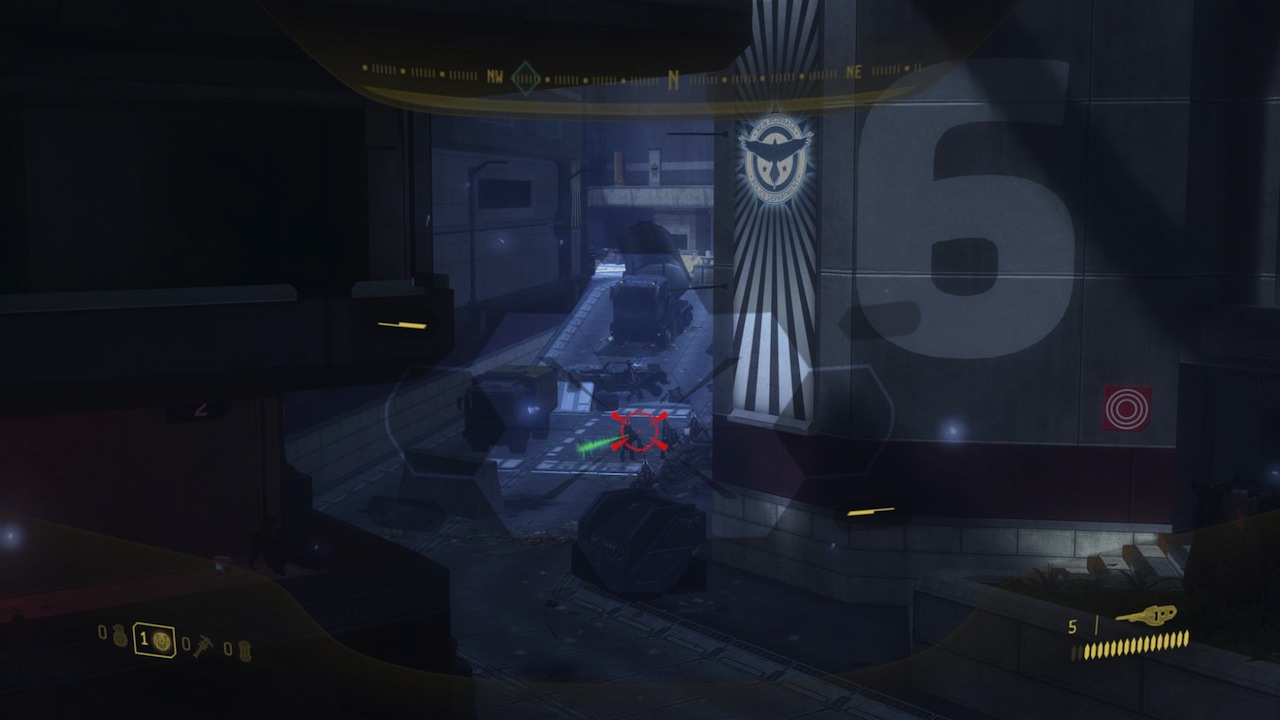
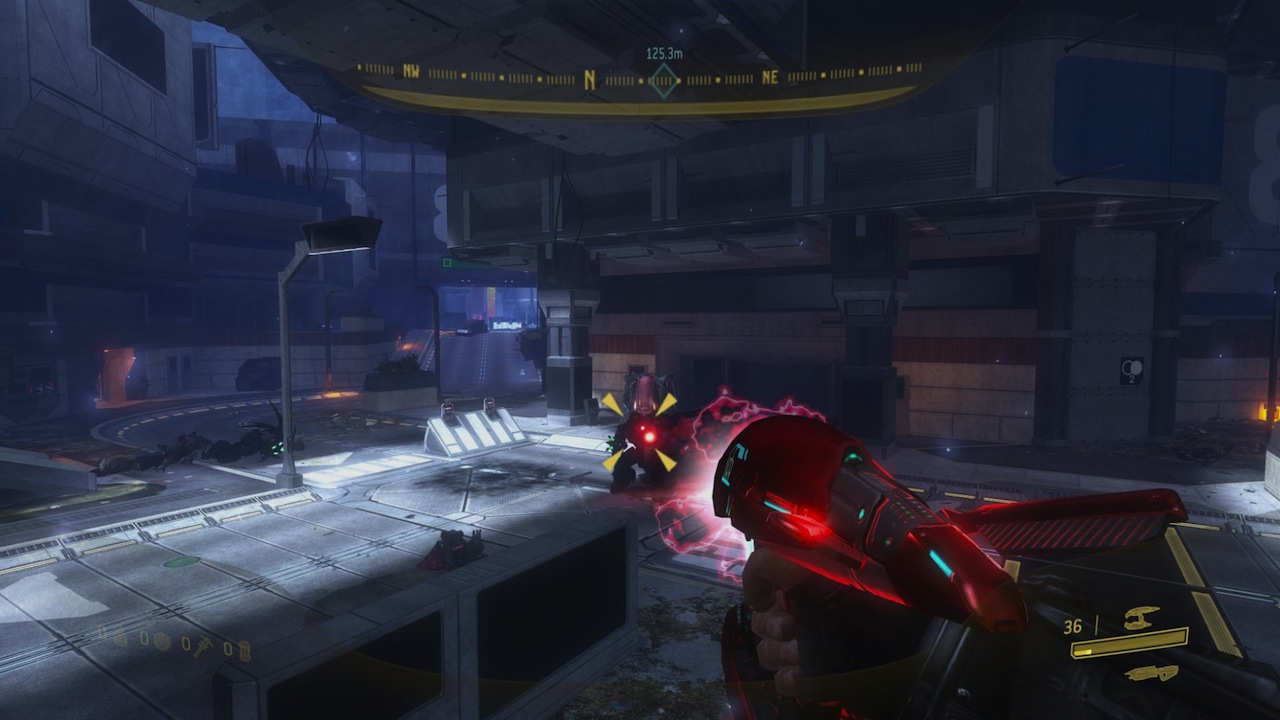
When you return to street level, or if you’ve been there the entire time, there’s a Grunt with a turret, a Brute, and a couple of supporting Grunts blocking your way. The AR is quite effective at killing the Grunt on the turret if you can believe it.
Watch out for the Brute. If you don’t kill him before you kill the Grunt using the turret, he’ll take it upon himself to finish you off with the turret. The AI is amazingly aware of its environment like that. Mop up the rest of the Grunts, and you’re free to proceed.
Buck: Veronica, what’s with all the dead Elites?
Dare: What do you mean?
Buck: It’s like a family feud, like they were killed by Brutes.
Dare: It’s classified.
Buck: Huh. Some things never change.
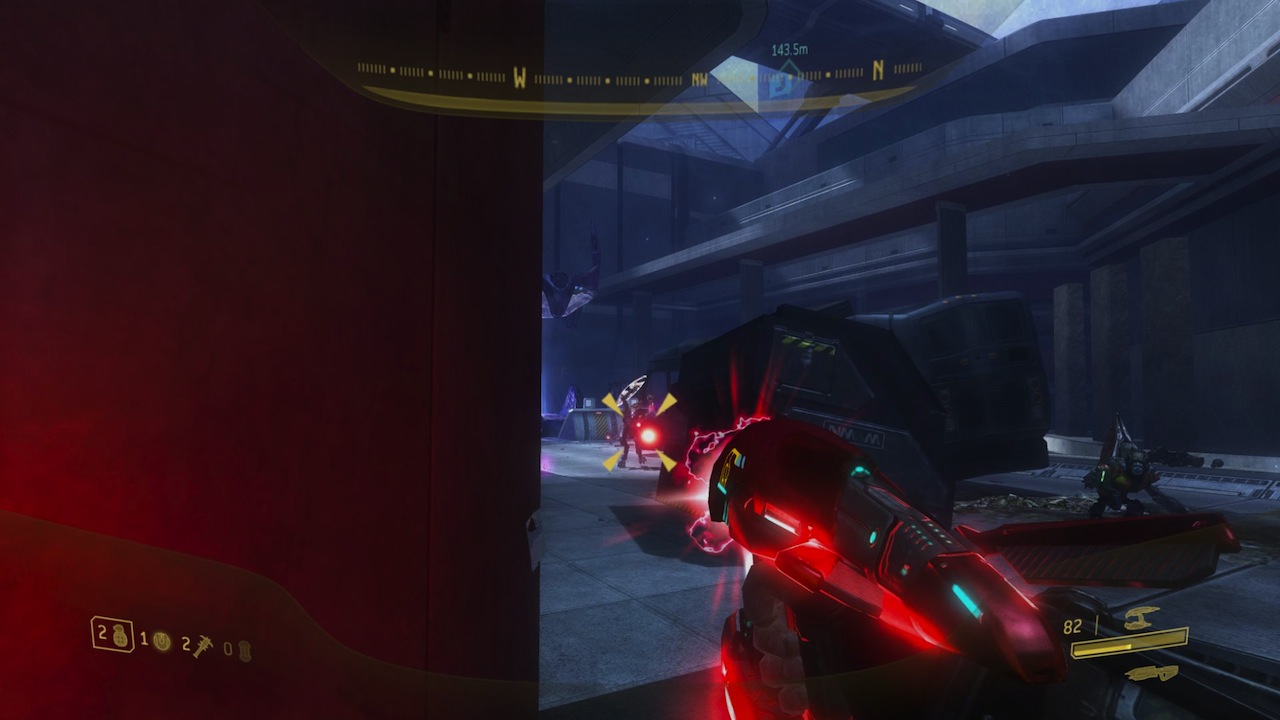
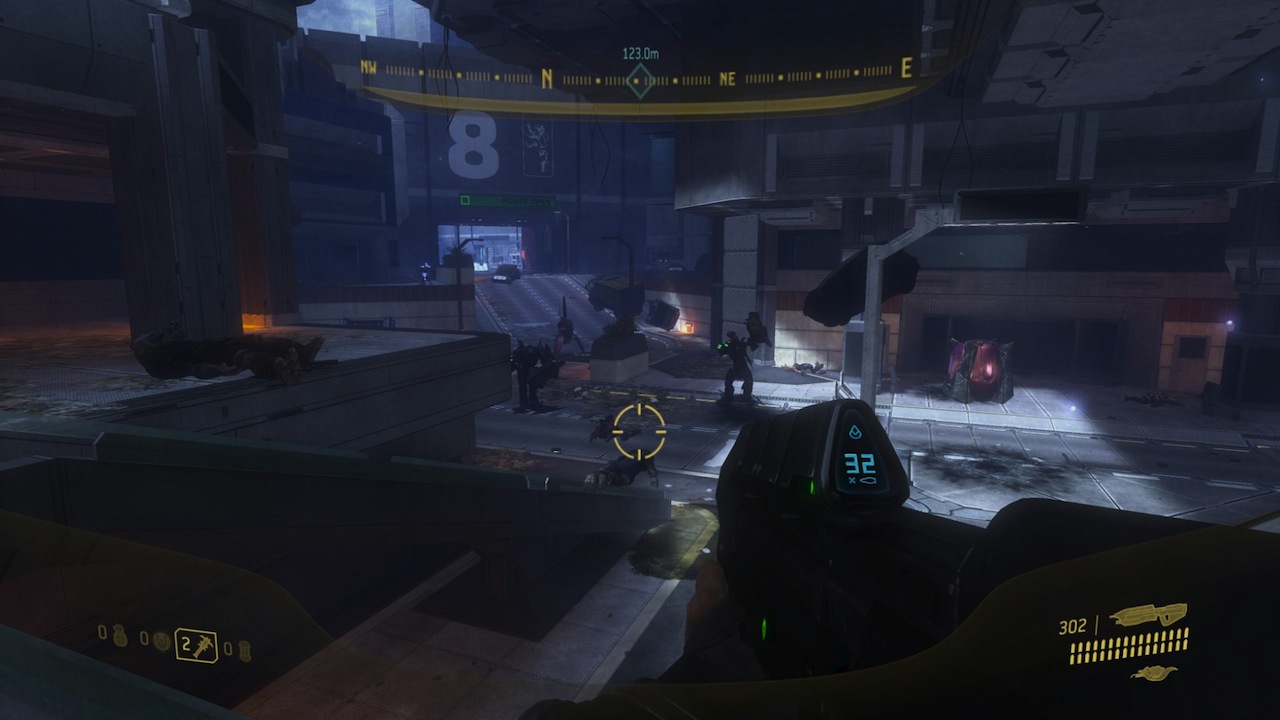
There’s an encampment of Grunts and Jackals of various kinds (shielded, carbine, and sniper) preventing you from getting any farther.
How you tackle this encounter depends on what weapons you have on hand. Having a ranged weapon will make it a lot easier to eliminate the Jackals with Carbines and snipers, allowing you to focus your full attention on the ground troops. If you’re in a position in which you have no ranged weapons on hand, you have to proceed carefully as you take out the ground troops and force the Jackals into medium-close range combat. The game allows for both situations as there is ample cover to avoid the long-range fire from the Jackals.
There’s a fully charged Brute Plasma Rifle near the stairs. Pick it up and go to town on the shielded Jackals, and mop up any Grunts in a similar manner. There’s also that stationary turret from before that you can dislodge and use.
Once you’re through all the standard Jackals and Grunts, shift your focus to the Jackal with the sniper rifle in the Covenant platform and the Carbine Jackals on the ground behind it. The distance is now favorable both ways.
The next encounter is the most complex of the entire level, and is one of the best in the game. What you took from the spoils of every previous battle in the level duel will affect how you approach the encounter.
Open the door blocking your way and continue on. You can jump right into the fight or proceed left for some extra dialogue with another Marine.
Marine: Trooper, we’re pinned down! Flank through this building. Hit ‘em from behind!
If you continue along the path you’ll find a pistol lying on the ground. If you have a Carbine, or a Covenant Sniper like me, it’s probably best if you save the pistol for later if you need it.
The are two main ways to tackle this encounter and a variety of ways to combine the two approaches. If you’re feeling sneaky, use the buildings as the Marine suggested and flank and attack the Covenant from the outer edge of the area. The other option is to jump right into the thick of things. Whichever way you take, the Jackals with Carbines and snipers surrounding the ares should be taken out first. There’s a Brute with a Carbine in the back that warrants equal attention.
If you’ve taken the sneaky method many times before, it’s a good idea to take the conspicuous approach. Great caution should still be employed until you know all the Jackals and the Brute with the Carbine are dead. There’s a Sniper Jackal near the exit of this area, as well as a Grunt with a turret. They’ll give you problems later on if they’re not dealt with immediately.
There is a group of 5-10 Brutes, some wielding BPRs and others spikers, and a number of Grunts to support them. You have plenty of human weapons with which to tackle the Covenant: there’s a rack of ARs and a pistol right past the female Marine, and silenced-SMGs near the wreckage of a Warthog at the entrance of the encounter. Your weapon options expand as you slowly take out the Covenant.
Not long after the fight begins, Dare updates you on her situation.
Dare: Buck, location?
Buck: Almost there! What’s wrong?
Dare: Multiple hostiles closing in on my position.
Buck: Whoa! Hang on, I’ll be right there!
Dare: Too late, they spotted me!
Buck: Dammit, no! Veronica? Talk to me! Don’t move! I’m coming, you hear?
Dare’s in trouble. You have to hurry.
This latest conversation between adds a sense of urgency to the encounter that wasn’t there previously. The tension mounts the longer it takes for you to get through the Covenant.
Once you’re nearly through with everyone, two lumbering giants will take their turn to tango with you.
Buck: Hunters?! No, I do not have time for this!
Hunters are a formidable opponent in “ODST.” You’re slower and can’t jump as high, limiting your maneuverability, and thereby your options, when fighting them. You’re playing a very dangerous game when engaging a Hunter in close-quarters combat.
There are incendiary grenades on the second floor of the building behind the Brute with the carbine. Very useful to help you take ‘em down.
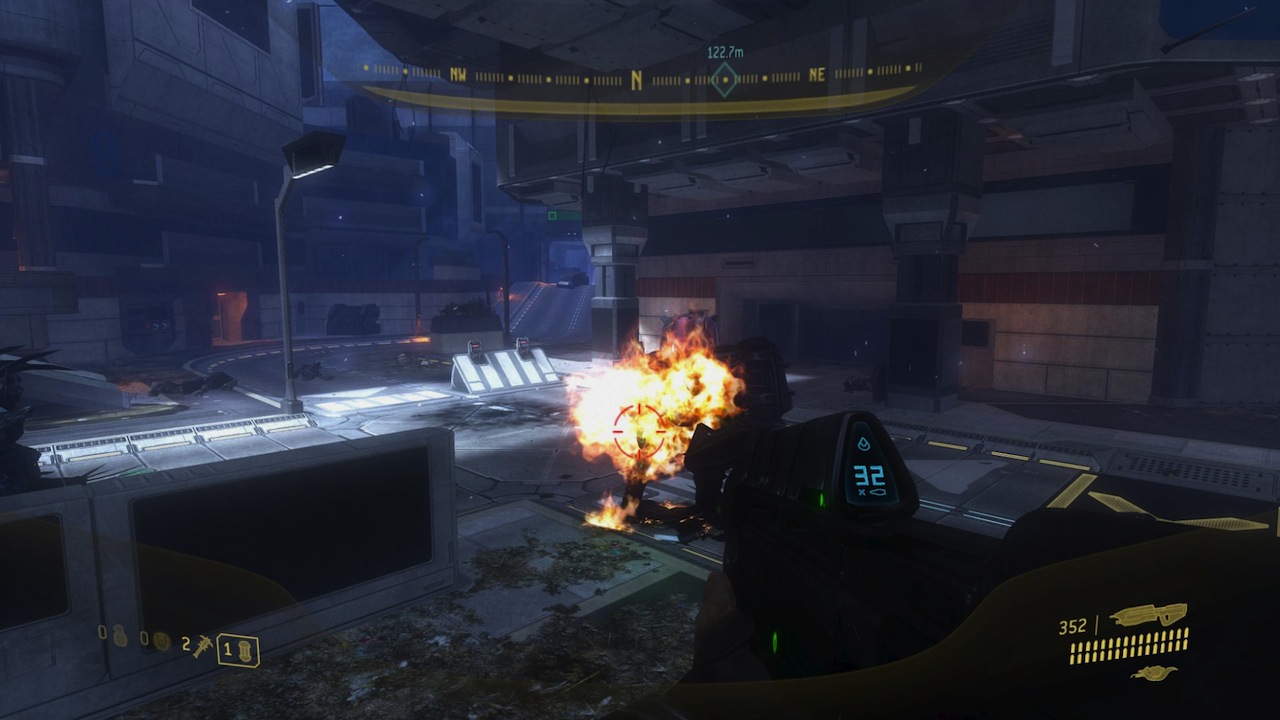
This encounter is as much of a sandbox as any when you’re dealing with the Hunters. You’re going to need to use almost all of the weapons that litter the ground from your previous fight. Especially on Legendary. I use a little of everything when dealing with these guys: spikers, BPRs, spike grenades, plasma grenades, AR, silenced-SMG, pistol, carbines, shotguns, and maulers.
Enough determination and even the mighty Hunters fall, and the music only helps to push you along. It’s exhilarating. Unlike “Halo 3” which mostly played variations of the main theme (not that there’s anything wrong with that ‘cause the main theme is fine music), ODST has several new tracks of music that all do a very good job of enhancing the excitement of the bigger battles.
Now your way forward is clear.
You’re now outside the building you left the Rookie in for this flashback. Realizing this, you’re able to find your footing quickly and look over the edge into the “crater.” The Superintendent makes sure you know you’ve reached your destination.
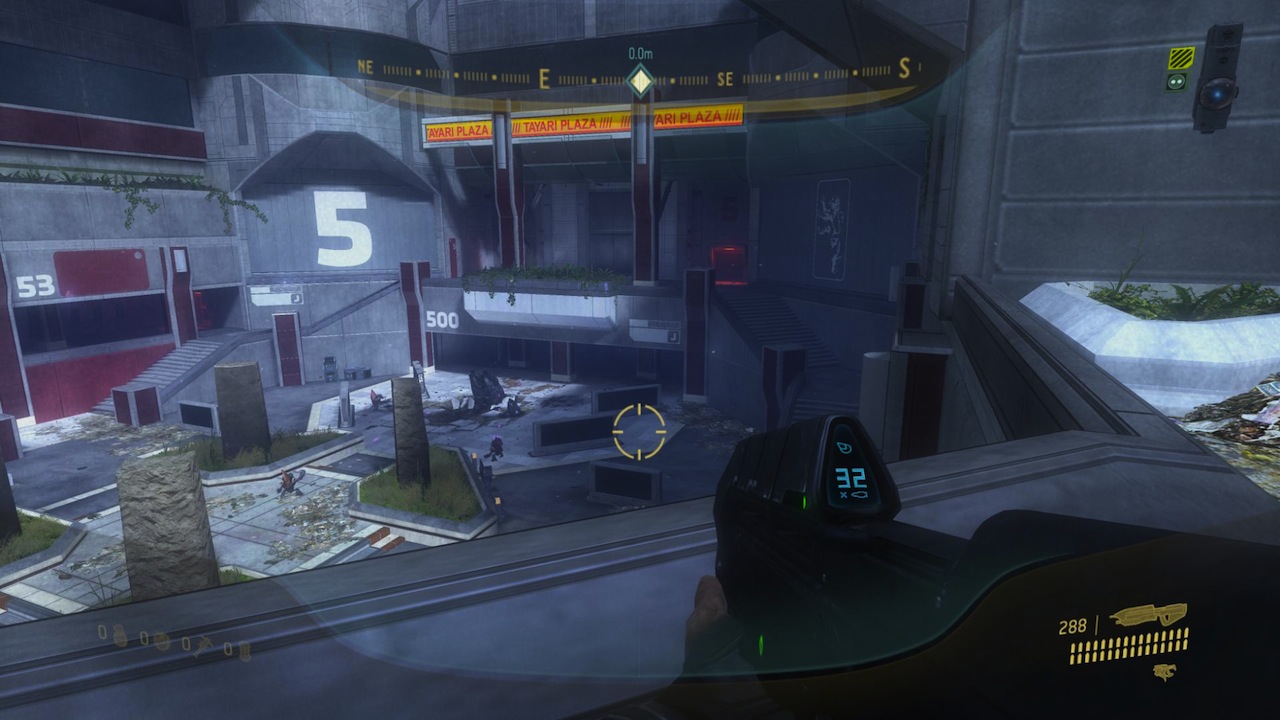
Superintendent: Attention, traveler! Lost item can be claimed on lower level.
Buck: There’s her pod. Now I just need to find a way down.
Take the stairs down to Dare’s pod and eliminate the Grunts attacking it. Easy enough.
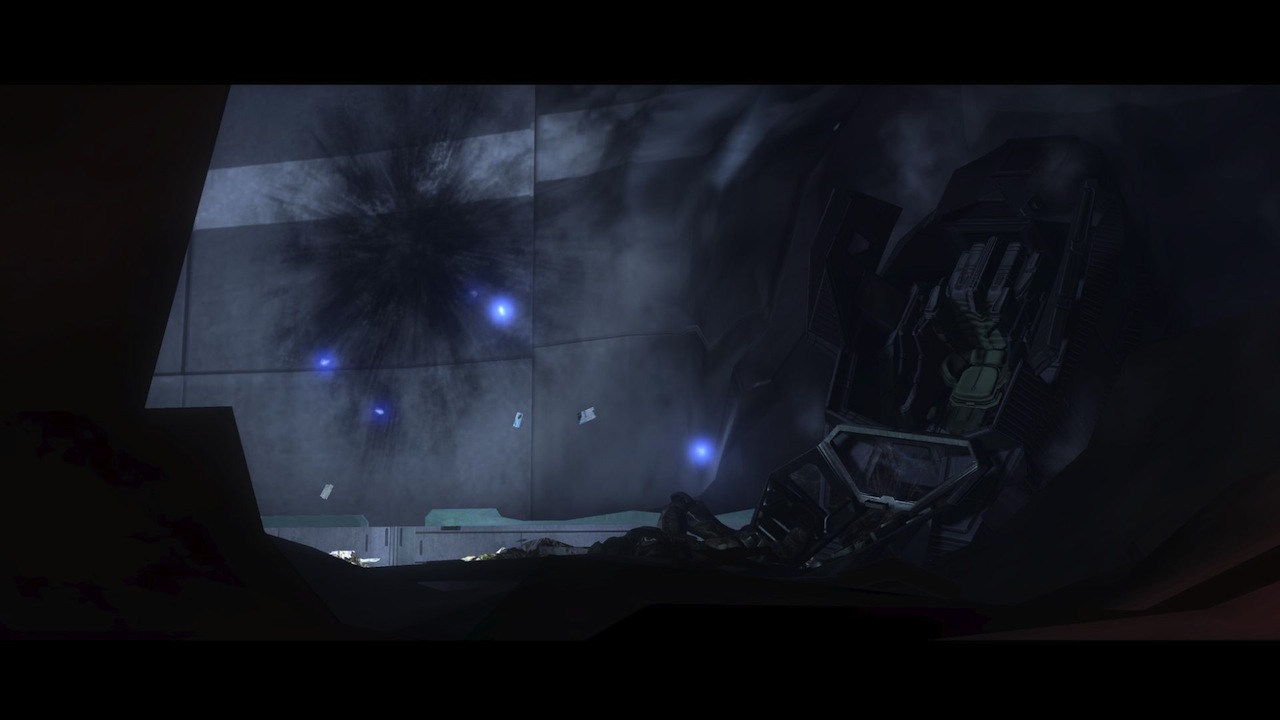
Buck finally manages to get to Dare’s pod. Pry it open.
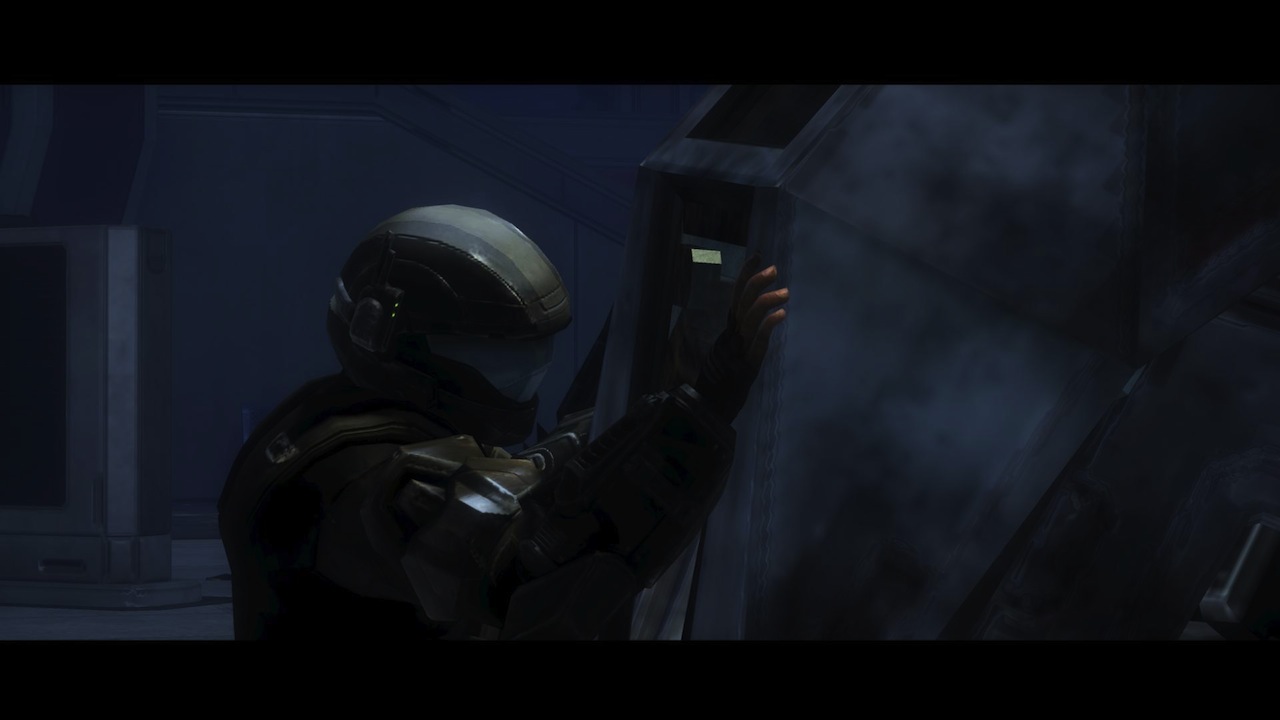
Buck: Argh! I’m here…I got ya…
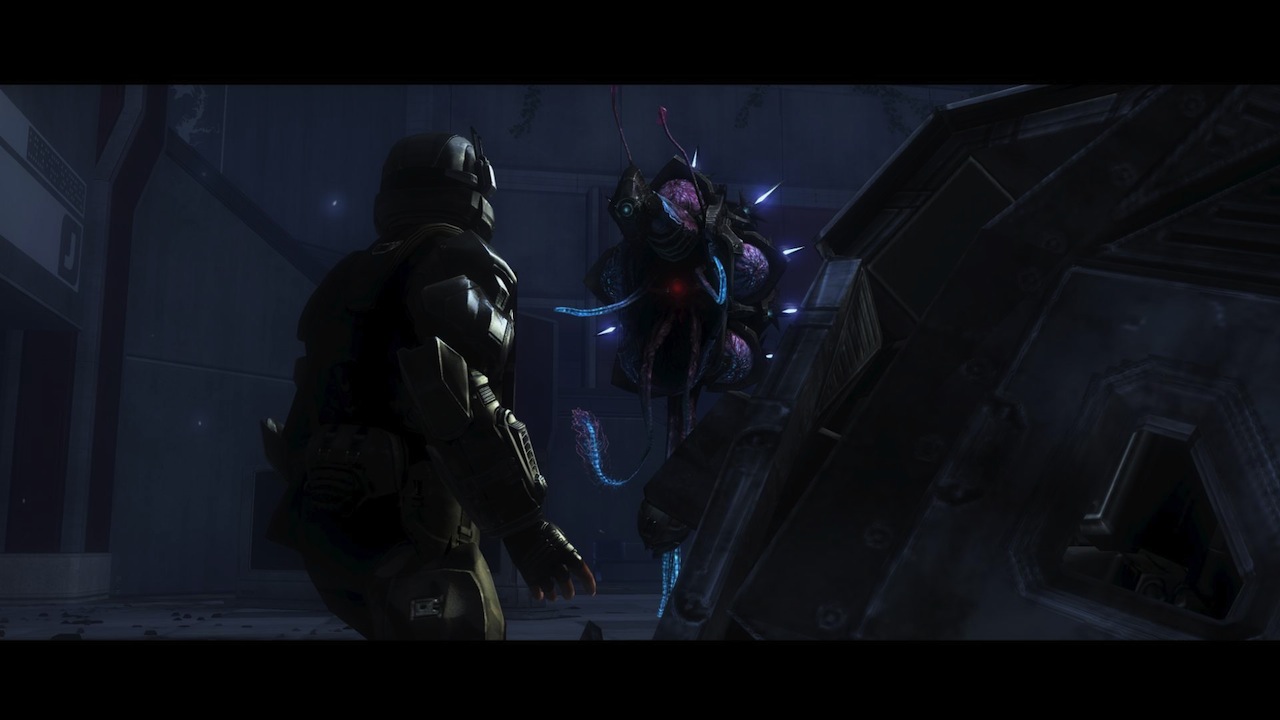
Buck: Aw nuts.
Whoa! Whoa! …Whoa!
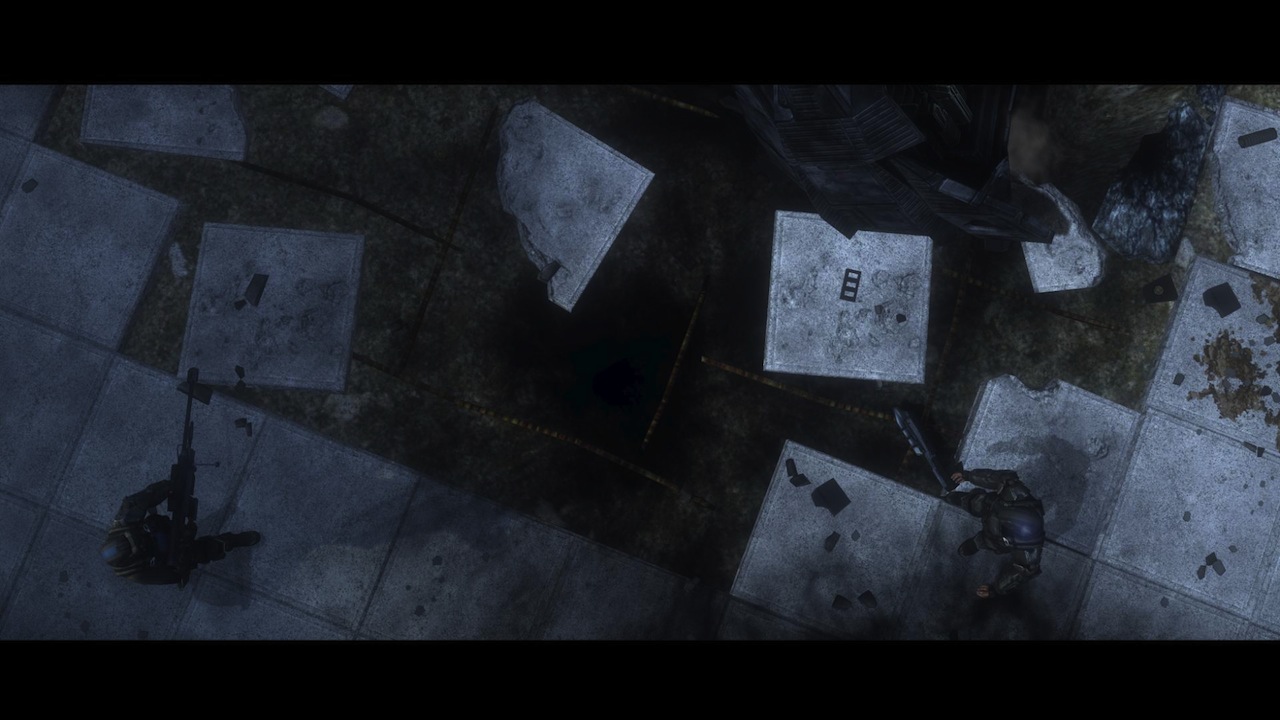
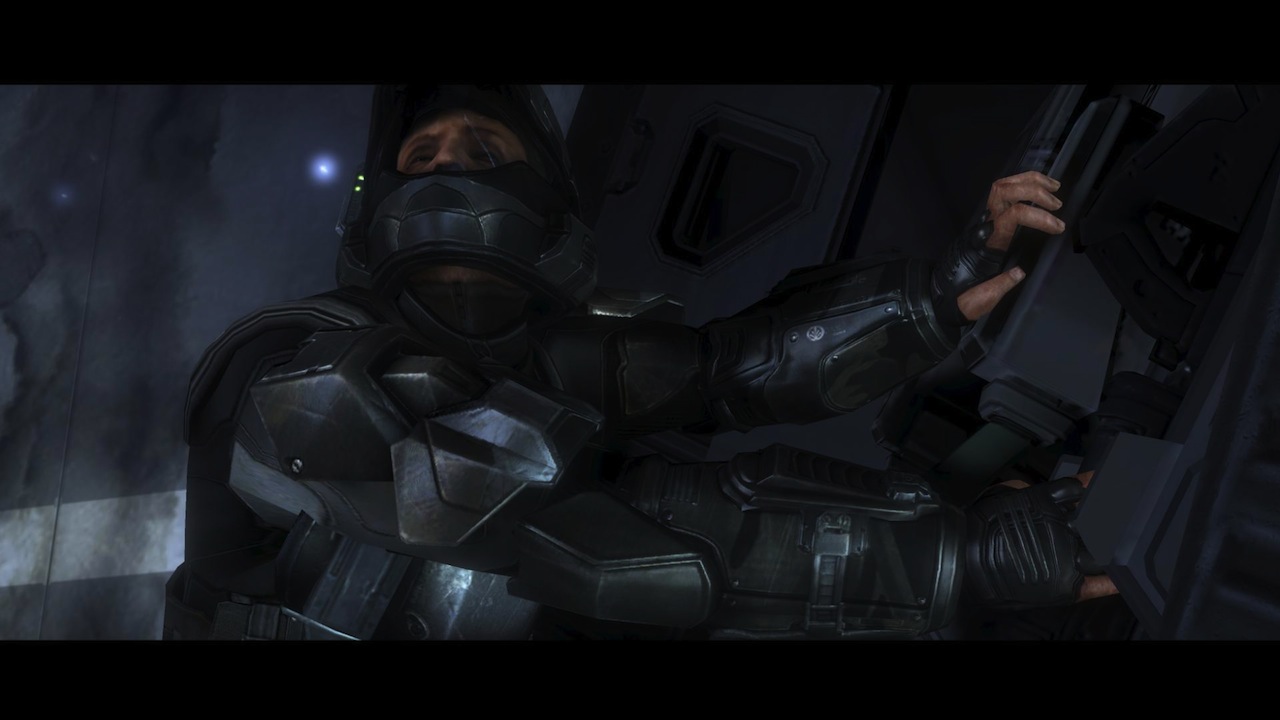
Buck: What the heck was that? You ever seen one before?
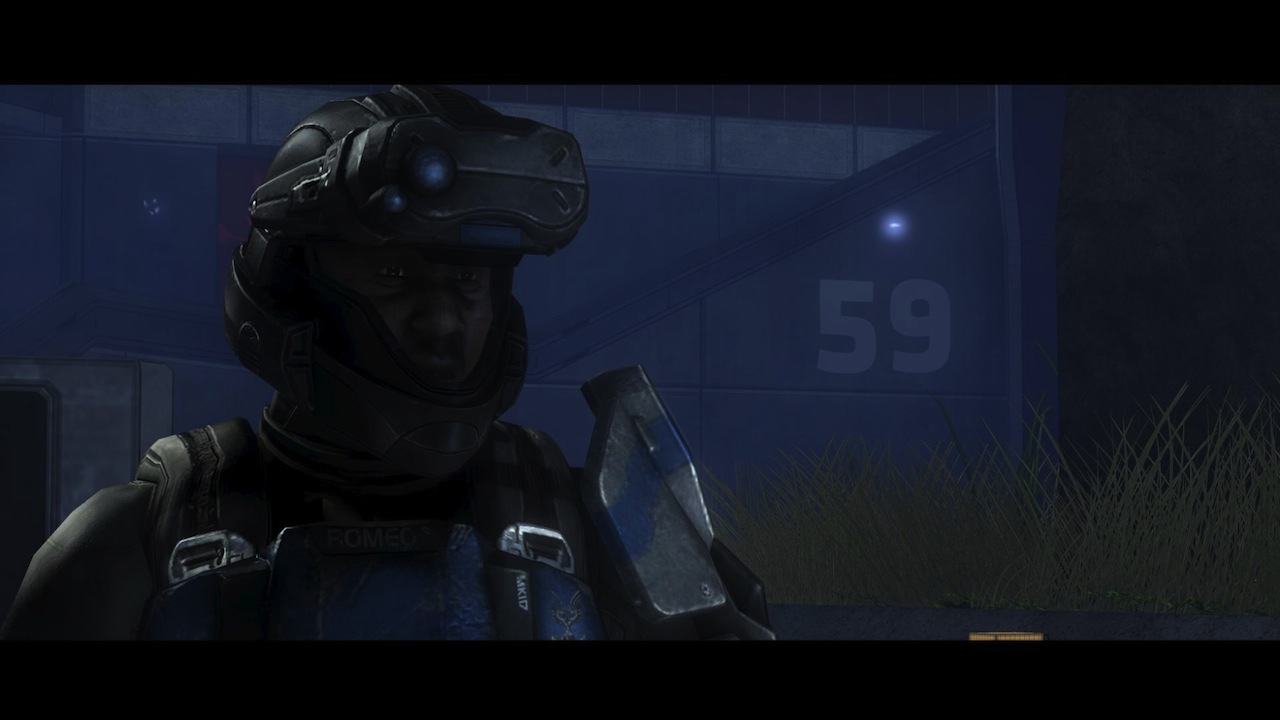
Hey, Romeo! You got your ears on?
Oh, I get it. Permission to speak, smart ass.
Romeo: No, I don’t what it was, but it was gonna grease your ass good. Just like it did the Captain.
Buck: Yeah. Maybe. You hear from Mickey? Dutch?
Romeo: Negative.
Buck: The rookie?
Romeo shakes his head.
Buck: We need to get above this crap, link with the BNet. One of our drones must have seen where they hit.
Romeo: So we’re poppin’ smoke in the lady’s mission? She ever tell you what she wanted?
Buck: No. Never. Doesn’t matter. All I care about now is getting my men out of the city. Even you.
a mi me gusta jugar mucho pero pz no e logrado jugarlo en mi casa pero me gusta mucho
yo tmb ansio mucho jugarlo :/